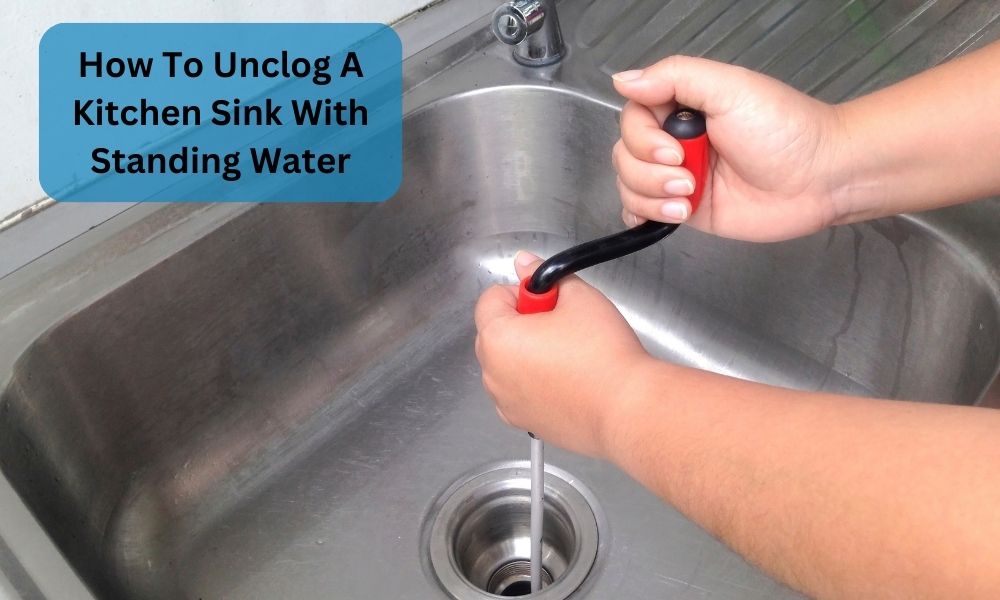
A kitchen sink filled with standing water can Be more than just an inconvenience; It’s A clear sign of A bigger issue that needs immediate attention. As your dishes pile up, You’re left wondering how to unclog your kitchen sink with standing water, Restoring functionality and hygiene to one Of the most crucial spaces in your home. In this post, We’ll guide you step-by-step through the process Of tackling this common household problem, Even if you’re A complete novice. Whether it’s food debris, grease buildup, Or a foreign object causing the blockage, You’ll learn practical, Easy-to-follow techniques to unclog your sink And get the water flowing smoothly again. No need to panic or call A plumber just yet. Let’s roll up our sleeves And dive into the world of DIY plumbing repairs.
What Is Standing Water?
Standing water refers to any body Of water that doesn’t flow Or move; It remains stationary, or ‘stands’. This term is commonly used to describe water that collects in unnatural locations due to some obstruction or poor drainage, causing it not to drain properly. Examples Of standing water include water that’s pooled in the bottom of A bathtub or a sink due to A blockage, puddles formed on the ground after heavy rain, Or water that collects in areas of your garden where the drainage is poor. In the context of a kitchen sink, standing water typically indicates a clog somewhere in your drain system, preventing the water from draining out as it normally should. This can be caused by A variety of factors, including food particles, grease, Or other debris getting stuck in the pipes.
Can I Plunge A Clogged Sink?
Yes, A plunger can be A very effective tool for unclogging A kitchen sink. However, There are A few things you should keep in mind when using A plunger for this purpose:
Use the Right Type of Plunger: Not all plungers are created equal. For A sink, You’ll want to use A cup plunger (also known as A sink plunger), Which has A flat cup-shaped rubber end. This is different from A flange plunger, which has an extra piece Of rubber at the bottom and is designed for toilets.
Create a Seal: For the plunger to Be effective, It needs to be able to create A seal over the drain. Fill the sink with enough water to cover the bottom Of the plunger, Place the plunger over the drain, And make sure it forms a tight seal.
Use Proper Technique: Once you have A seal, Apply forceful plunges to clear the clog. The goal is to use the change in water pressure to dislodge the blockage. Start slowly, Then gradually increase the speed And intensity of the plunges.
Patience: Sometimes, It may take A while to clear A clog with a plunger, So be patient. If plunging doesn’t seem to be working, You may need to try A different method, such as A plumber’s snake or A hand auger.
What You’ll Need
- Cup Plunger
- Bucket
- Towels or Rags
- Rubber Gloves
- Pot or Kettle (for boiling water)
- Baking Soda
- White Vinegar
- Flashlight (to inspect the drain)
- Pipe Wrench (optional, in case you need to loosen the pipes)
- Plumber’s Snake or Hand Auger (optional, if the plunger doesn’t work)
Standing Water Unclogging Method
Method 1: Use A Natural Drain Cleaner
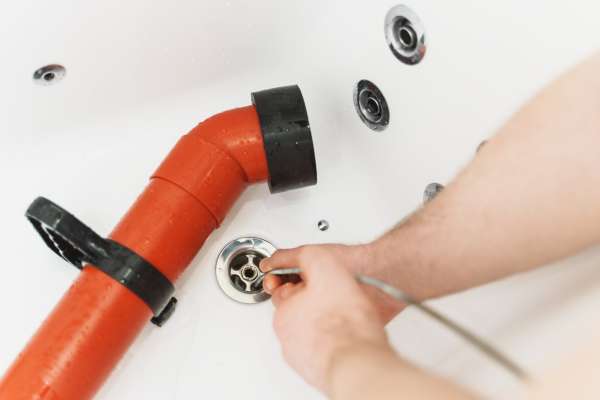
1. Remove The Water
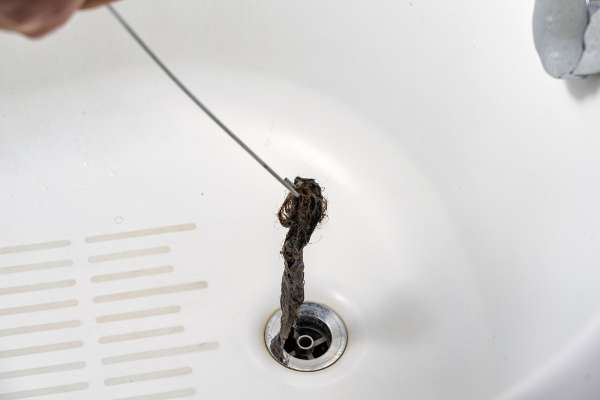
First, You’ll need to get rid Of the standing water in your sink. Put on your rubber gloves, Then use A small bucket Or mug to scoop out as much water As you can. Dispose of this water in a bucket or another sink. If there is a small amount of water left that you can’t scoop out, that’s fine it may actually help with the plunging process.
2. Pour Baking Soda And Vinegar Into The Drain
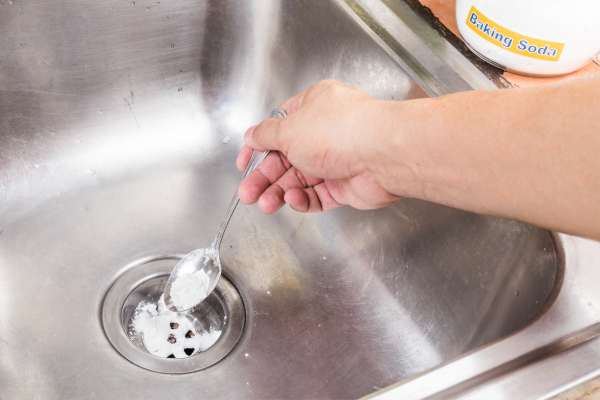
Once most Of the water is removed, You can start the unclogging process. Pour about half A cup of baking soda into the drain, Followed by half A cup of white vinegar. These two ingredients create a fizzing reaction that can help to dislodge clogs. Wait about 15-20 minutes to allow this mixture to work on the clog.
3. Test The Drain
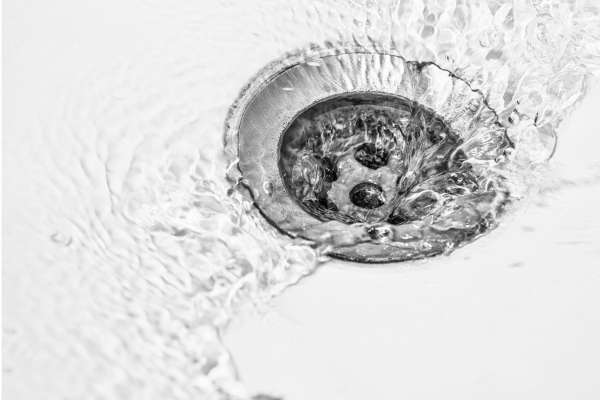
After you’ve let the baking soda and vinegar sit, test the drain by running a small amount of water to see if it drains properly. If the Liquid is still standing, You’ll need to try A different method.
Method 2: Use A Plunger

1. Remove The Standing Water
Much like the previous method, You’ll need to start by removing as much Of the standing water As you can. Using A cup or small bucket, scoop out the water and dispose Of it in another sink Or bucket. If there’s A small amount Of Liquid left in the sink, That’s okay it can actually aid the plunging process.
2. Plug The Unclogged Sink
If you have A double sink, It’s important to plug up the unclogged side before you start plunging. You can use A wet cloth or A sink stopper for this. The reason for doing this is to ensure the pressure from plunging is directed at the clog And doesn’t escape through the other drain.
3. Plunge The Drain
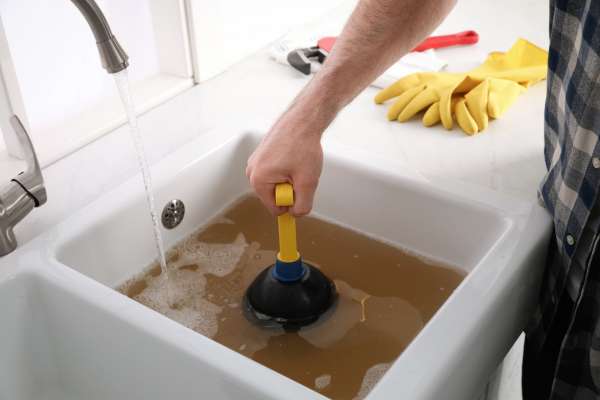
Place your cup plunger over the clogged drain So it forms A seal. With firm And steady pressure, plunge up And down for about 20 seconds. You want to Be forceful enough to dislodge the clog but not So forceful that you damage the pipes.
4. Test The Drain
After plunging, remove the plunger and see if the water drains normally. If the Liquid still isn’t draining, you may need to repeat the plunging process a few more times. Remember to be patient, as it may take some time to clear the clog.
Method 3: Baking Soda And Vinegar

1. A Mixture Of Baking Soda And Vinegar
Start by preparing a mixture of baking soda and vinegar. For most kitchen sink clogs, half A cup Of each should suffice. This combination, though simple, can create A potent reaction capable Of breaking down minor blockages.
2. Pour The Baking Soda Down The Drain, Then The Vinegar
Start by pouring the baking soda into the drain, Followed immediately by the vinegar. You will notice A fizzing reaction; This is the mixture working to break down the clog.
3. Let The Mixture Work For A Certain Period Of Time Before Flushing With Warm Water
After pouring the mixture down the drain, Let it sit and work on the clog for at least 15-30 minutes. The longer it sits, The better it will Be able to break down the blockage. Once the time has passed, Flush the drain with warm (not boiling) Liquid to help wash away any remnants Of the clog.
Method 4: Plumbing Snake Or Auger Method
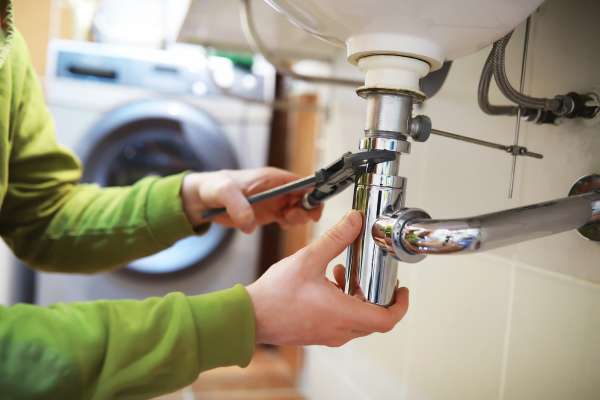
1. Plumbing Snake Or Agar
A plumber’s snake, Also known as A drain auger, Is A flexible coil of wire that can reach deep into your pipes to dislodge stubborn clogs. You can purchase one at A home improvement store or online. If you can’t find A plumber’s snake, You can also use A straightened coat hanger as A DIY alternative, Although it won’t Be as effective.
2. Inserting And Rotating The Tool Into The Drain
Start by pushing the end Of the snake into the drain opening And turn the handle clockwise to drive it deeper into the clog. As you turn the handle, The snake will break up the clog and/or get A grip on it. If you feel resistance, It’s likely you’ve reached the clog. Keep turning the snake until you feel the resistance ease. Once you’ve broken through the clog, You can start to slowly retract the snake, continuing to turn the handle in the same direction.
3. Use Water
Once you’ve retracted the plumber’s snake And removed the debris causing the clog, flush the drain with hot water to ensure the blockage is completely cleared and to clean away any remnants. If the Liquid still isn’t draining properly, You may need to repeat the process.
Method 5: Remove The P-Trap To Unclog The Drain
1. Remove The Standing Water
Before starting, Ensure you have removed any standing Liquid from your sink using A cup Or A small bucket. This will prevent any unnecessary mess when you detach the P-trap
2. Detach And Clean The P-Trap
The P-trap is the curved pipe located directly under the sink. Put on your rubber gloves And place A bucket under the P-trap to catch any water or debris. Using A pipe wrench, Carefully unscrew the P-trap, Then empty its contents into the bucket. Use A small brush to thoroughly clean the inside of the P-trap, removing any clogs Or blockages.
3. Reattach The P-Trap And Test The Drain
Once the P-trap is clean, Reattach it to the sink drain, making sure it is securely fastened. Run water to check if the blockage has been successfully removed And the Liquid drains correctly. If the clog remains, You may need to repeat the cleaning process Or resort to another method.
Method 6: Use A Drain Snake

1. Use Hot Water
If possible, Try to flush the drain with hot water before you use the drain snake. This can help to soften Or dislodge the clog and make it easier for the snake to do its job. Remember, the water should be hot but not boiling, As boiling Liquid could damage your pipes.
2. Detach The P-Trap
Place A bucket under the sink to catch any water or debris that may fall out when you remove the P-Trap. Using a pipe wrench, Carefully unscrew And remove the P-Trap.
3. Remove The Drain Snake Clog
With the P-Trap removed, you should have clear access to the drainpipe. Insert the plumber’s snake into the pipe And slowly push it in until you feel resistance that’s likely the clog. Turn the snake’s handle to break up the clog Or hook it onto it so you can pull it out.
4. Reattach The P-Trap
Once you’ve removed the clog, You can reattach the P-Trap. Make sure you tighten it securely to prevent any leaks.
5. Inspect The Drain
Finally, Run water through the drain to see if it’s clearing properly. If the Liquid is still not draining as it should, You may need to repeat the process with the plumber’s snake Or consider calling A professional plumber for assistance.
How To Prevent Future Clogs
Preventing future clogs in your kitchen sink is A matter of mindful usage And regular maintenance. Refrain from pouring grease down the drain, As it can harden And form stubborn blockages. Always scrape off leftover food into A trash or compost bin before washing dishes, And consider installing A sink strainer Or drain guard to catch larger food particles. Regularly flush your drains with hot Liquid or A natural mixture Of baking soda And vinegar, But avoid harsh chemical cleaners as they can cause long-term damage to your pipes. Be cautious with what you allow down the drain coffee grounds, starchy foods, And non-food items can cause significant clogs. If your sink has A garbage disposal, ensure it’s used properly run cold water while it operates and avoid inserting fibrous Or hard items.
Following these simple steps can help you maintain A smooth-flowing kitchen sink And save you from time-consuming And costly repairs.
Emphasize The Need To Ensure Personal Safety Before
Before attempting to unclog your kitchen sink Or undertake any plumbing project, It is crucial To prioritize your personal safety above all else. Never dive into these tasks without the appropriate safety equipment. Wear rubber gloves to protect your hands from dirty water And potential bacteria, And use safety goggles to prevent any splashing Liquid Or debris from getting into your eyes. Remember to handle tools, especially the plumbing snake Or auger, With utmost care to avoid any damage to your sink Or pipes, And to prevent any personal injury. If your sink is connected to an electric appliance like A garbage disposal, make sure it is turned off at the circuit breaker before you begin to prevent any risk Of electrical shock. Furthermore, remember that there is no shame in admitting when A task is beyond your skill level. If you’re ever uncomfortable with A DIY solution Or if the problem persists, don’t hesitate to call A professional plumber. Your safety is far more important than any DIY project.
Flushing The Drain With Hot Water Regularly
Regularly flushing your kitchen sink drain with hot water is an easy And effective preventative maintenance habit. Hot Liquid works by breaking down the oils in food waste that can solidify And cause clogs. It’s A simple step that can go A long way in keeping your pipes clean and free-flowing.
Here’s How To Do It:
- Heat a kettle or A large pot of water until it’s very hot, But not boiling. Boiling Liquid can be too harsh for some pipes and could potentially lead to damage.
- Pour the hot water directly down the drain. The water’s heat And pressure will help break up And wash away any minor blockages.
- Repeat this process weekly Or even after each time you wash dishes, especially if you’ve cooked with A lot of oil or grease.
Remember, prevention is the key to maintaining A clog-free sink, And regular flushing with hot water is an easy step toward achieving that goal.
The Final Thoughts
unclog A kitchen sink with standing water doesn’t have to be A daunting task. By following the right steps And using common household items, You can effectively clear the blockage and restore proper drainage. Whether it’s using A plunger, A baking soda and vinegar solution, or a plumbing snake, There are various methods to choose from based on the severity of the clog. Remember to take preventive measures in the future, Such as regular maintenance and proper disposal of food scraps, To avoid recurring clogs. With A little patience and effort, you can quickly resolve the issue and enjoy a smoothly running kitchen sink once again.
