Creating kitchen towels with pot holders is a fantastic way to enhance your kitchen’s functionality and style. This DIY project is perfect for those who love crafting and want to add a personal touch to their kitchen accessories. Whether you’re a seasoned sewist or a beginner looking to try your hand at a new project, learning how to make kitchen towels with pot holders is both fun and rewarding. Not only do these handmade items serve a practical purpose, but they also make great gifts for friends and family. In this guide, we’ll walk you through the steps to create beautiful and durable cook room towels with pot holders, ensuring your kitchen is equipped with essential tools that reflect your unique taste.
What Type of Fabric Is Best for Kitchen Towels?
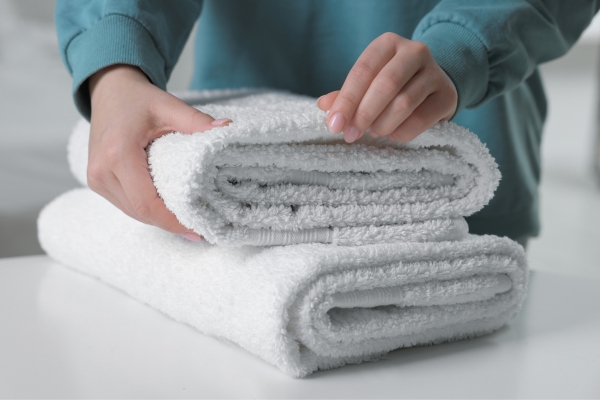
When selecting fabric for your kitchen towels, choosing the right material is crucial for durability and functionality. The best fabrics for towels are typically cotton and linen. Cotton is highly absorbent, soft, and easy to wash, making it ideal for everyday kitchen use. Linen, on the other hand, is known for its durability and natural antibacterial properties. It dries quickly and can withstand frequent washing without losing its quality. Additionally, consider fabrics with a tight weave to prevent fraying and ensure longevity. Avoid synthetic fabrics as they are less absorbent and may not withstand the rigors of cook room tasks.
How Do I Attach the Pot Holders to the Kitchen Towels?
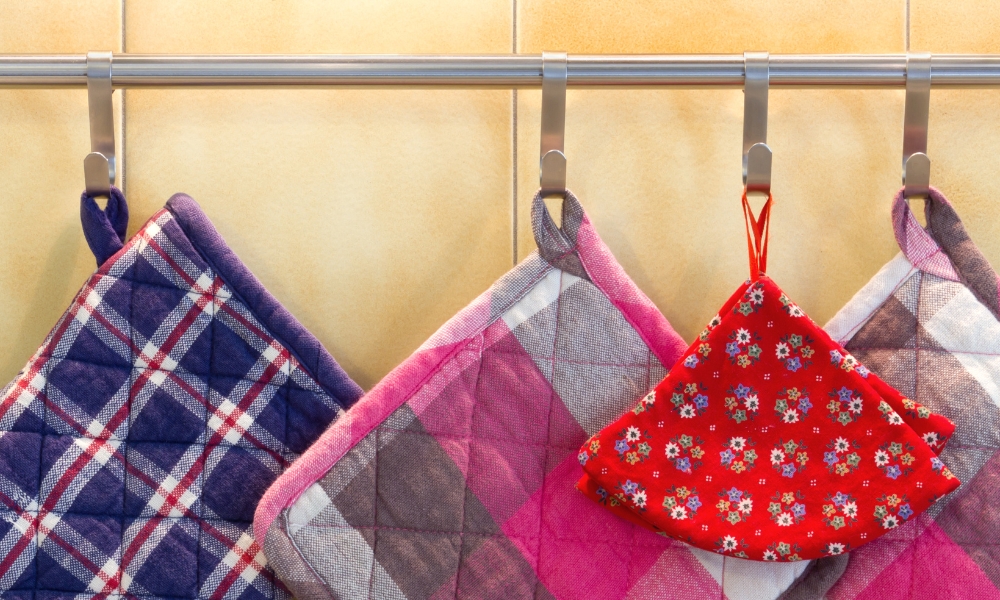
Attaching pot holders to kitchen towels can be a simple and straightforward process, adding convenience and functionality to your kitchen accessories. Start by selecting pot holders that complement your towel fabric in color and material. To attach them, fold the top edge of the kitchen towel over and stitch it securely to create a loop that can hold the pot holder. You can use a sewing machine for a neat finish or hand-stitch for a more personalized touch. Ensure the stitches are strong enough to withstand daily use. Alternatively, you can sew a small strip of fabric or a ribbon to the pot holder and then attach it to the towel, allowing you to detach and reattach it as needed. This method not only enhances the practicality of your kitchen towels but also adds a decorative element to your cook room decor.
Materials Needed
Before You Start, Gather The Following Materials:
- Fabric
- Thread
- Scissors
- Pins
- Sewing Machine
- Iron And Ironing Board
- Measuring Tape Or Ruler
- Bias Tape
Step-By-Step Guide
Step 1: Prepare The Fabric

To begin your project on how to cook room towels with pot holders, start by preparing your fabric. Choose high-quality cotton or linen for the towels and coordinating fabric for the holders. Measure and cut the fabric into the desired size for your cook room towels, typically around 16 x 28 inches. For the holders, cut two squares of fabric, each 8 x 8 inches. Don’t forget to cut a piece of insulating batting to the same size for added heat protection. Prewash all fabrics to prevent shrinkage and iron them to remove any wrinkles, ensuring smooth, easy sewing.
Step 2: Sew The Pot Holders

Next, it’s time to sew the holders. Layer the two fabric squares with the insulating batting in between. Pin the layers together to prevent shifting. Sew around the edges with a ¼-inch seam allowance, leaving a small opening for turning. Clip the corners to reduce bulk, then turn the pot holder right side out through the opening. Press the pot holder flat with an iron, then sew a topstitch around the edges to close the opening and add a professional finish. You can also add quilting lines or patterns for extra durability and a decorative touch.
Step 3: Attach The Pot Holders To The Towels

Now that your holders are ready, you can attach them to the kitchen towels. Fold the top edge of the kitchen towel over by about 2 inches and pin it in place. Position the pot holder in the center of the folded edge. Sew the folded edge to create a loop, then securely stitch the pot holder to the looped edge of the towel. Ensure your stitches are strong and neat, as this will ensure the pot holder remains securely attached through regular use.
Step 4: Add Personal Touches

The final step in making a cook room with holders is to add personal touches. Customize your towels with embroidery, fabric paint, or appliqué to match your kitchen decor. You can also add decorative trims, such as lace or ribbon, to the edges of the towels for an extra flair. If you’re gifting these towels, consider adding a monogram or a special design that reflects the recipient’s personality. These personal touches not only enhance the appearance of your kitchen towels but also make them unique and special, perfect for your home or as thoughtful handmade gifts.
Tips For Success
- Use Quality Materials: Invest in high-quality fabrics and insulating batting to ensure your cook room towels and holders are durable and functional.
- Prewash Fabric: Always pre wash your fabric to prevent shrinkage after your project is completed.
- Iron Fabric: Iron your fabric before cutting and sewing to ensure smooth and accurate measurements.
- Use a Rotary Cutter: For precise cuts, use a rotary cutter and cutting mat, especially when cutting multiple pieces.
- Reinforce Stitches: Reinforce your stitches, especially when attaching pot holder to the towels, to ensure they hold up to frequent use.
- Test Insulation: Test the insulating batting in your holders to ensure they provide adequate heat protection.
- Customize Thoughtfully: Personal touches can make your towels unique, but ensure any additions like trims or embroidery are securely attached and won’t affect the towel’s functionality.
Conclusion
Creating kitchen towels with pot holders is a practical and enjoyable DIY project that enhances both the functionality and aesthetic appeal of your kitchen. By carefully selecting the right materials and following a structured step-by-step process, you can craft durable, stylish, and highly useful kitchen accessories. These personalized towels not only serve a practical purpose but also add a touch of your unique style to your kitchen or make thoughtful, handmade gifts for friends and family. With the tips provided, you’ll be well-equipped to achieve success in your project and enjoy the satisfaction of creating something both beautiful and functional.
