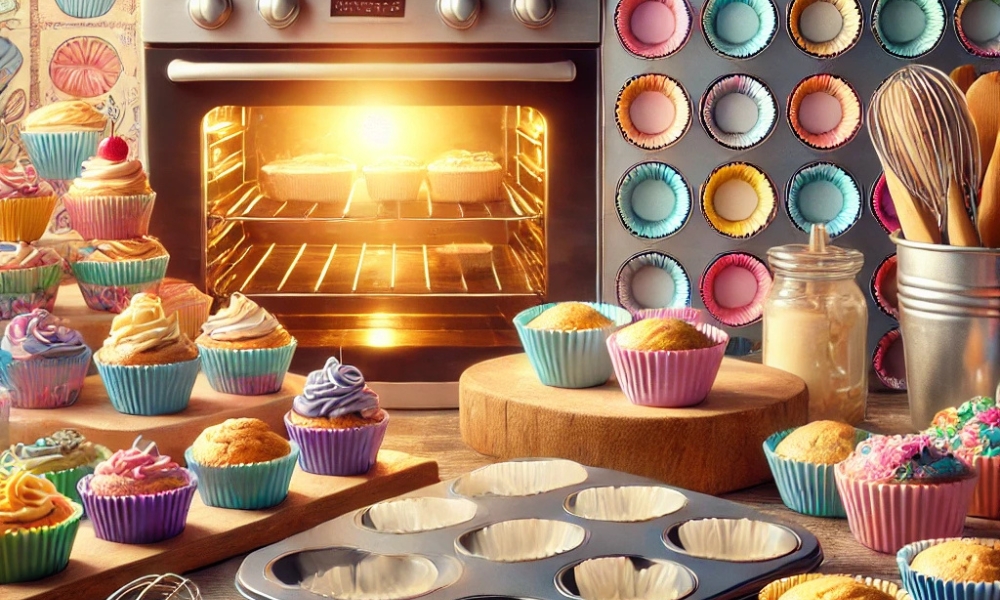
Baking cups, commonly referred to as cupcake or muffin liners, are a delightful tool for any baking enthusiast. These colorful and practical liners not only add a decorative touch but also make cleanup easier and maintain the shape of baked goods. The good news is, yes, you can put baking cups in the oven—but it’s essential to use them correctly to achieve the best results. Depending on the material—whether paper, silicone, foil, or glassine—muffin liners are designed to withstand varying oven temperatures. Most paper liners are safe up to 425°F (218°C), while silicone cups can endure up to 500°F (260°C). Ensuring you use the right type of liner for your baking needs is key to avoiding mishaps such as burnt liners or unevenly baked treats.
To make the most of your baking cups, always place paper liners in a muffin or cupcake pan for support, especially if they’re thin and prone to collapsing. Silicone cups, however, can stand alone on a baking sheet and are an eco-friendly option for multiple uses. Avoid overfilling the cups to prevent batter spillage, and always preheat your oven for consistent paper results. By understanding the nuances of each type of baking cup and following proper baking techniques, you can create beautiful, evenly baked goods with ease. Whether you’re whipping up muffins for breakfast or cupcakes for a celebration, muffin liners are a versatile, oven-safe ally in the kitchen.
Understanding Baking Cups
Baking cups come in a variety of materials, each designed to cater to different paper needs. The most common are paper paper cups, made from parchment or greaseproof paper, which can handle oven temperatures up to 425°F (218°C). These disposable liners are affordable, available in various designs, and excellent for reducing cleanup. However, they may lose shape or become greasy if not placed in a sturdy muffin pan. For a more durable option, silicone muffin liners are reusable, non-stick, and can withstand a wider temperature range from -40°F to 500°F (-40°C to 260°C). Their flexibility and eco-friendly nature make them a popular choice, although they require a higher upfront investment and more storage space.
For those seeking extra sturdiness, foil baking cups lined with aluminum retain their shape and eliminate the need for a muffin pan. These are ideal for high-temperature baking, typically up to 450°F (232°C), but are not reusable and can be costlier. Lastly, glassine muffin liners, made from glossy, grease-resistant material, offer an elegant touch for premium paper presentations. With a heat tolerance similar to parchment paper, they combine beauty and functionality but are less widely available and more expensive. Choosing the right type of baking cup depends on your paper priorities, whether it’s convenience, aesthetics, or sustainability.
Can Baking Cups Be Put in the Oven?
Yes, baking cups can safely go in the oven when used properly, but the type of baking cup and method you choose significantly impact the outcome. For paper and foil muffin liners, it’s essential to use a muffin or cupcake pan to maintain their shape, as they can collapse under the weight of the batter without support. Silicone baking cups, on the other hand, are sturdy enough to stand on their own but often benefit from a pan to ensure even heat distribution. Selecting the right pan and cup combination can make all the difference in achieving perfectly shaped baked goods.
Additionally, always check the temperature rating of your muffin liners. Paper and silicone cups generally have clear manufacturer guidelines, and exceeding these limits can lead to discoloration, warping, or even fire hazards. Avoid overfilling the cups, as this can cause batter overflow, leading to uneven paper and unnecessary mess. Filling each cup two-thirds full is a reliable rule of thumb. Finally, preheating your oven is crucial to ensure that your baked goods cook evenly and develop the right texture and rise from the start. Following these guidelines will help you achieve consistent, delicious results every time.
Common Mistakes to Avoid
While baking cups are a convenient and oven-safe tool, there are a few common mistakes that can negatively impact your paper results. One of the most frequent errors is using unlined or decorative paper cups not meant for baking. Thin, decorative cups may look appealing but can burn or stick to your batter if they aren’t specifically designed for oven use. Another mistake is skipping grease for non-nonstick liners. While many liners are advertised as non-stick, some may still cling to baked goods unless lightly sprayed with oil, especially for denser batters.
Another pitfall to watch out for is forgetting to use a muffin pan with paper liners. Without the structural support of a pan, paper liners are prone to collapsing, leading to uneven shapes and potential spills. Lastly, when using silicone baking cups, always inspect them for cracks or tears. Damaged silicone cups may not retain their structure or perform well in the oven, potentially ruining your baked goods. By avoiding these mistakes, you can ensure consistent, mess-free, and beautifully baked treats every time.
How to Use Baking Cups for Best Results
Step 1: Choose the Right Baking Cup
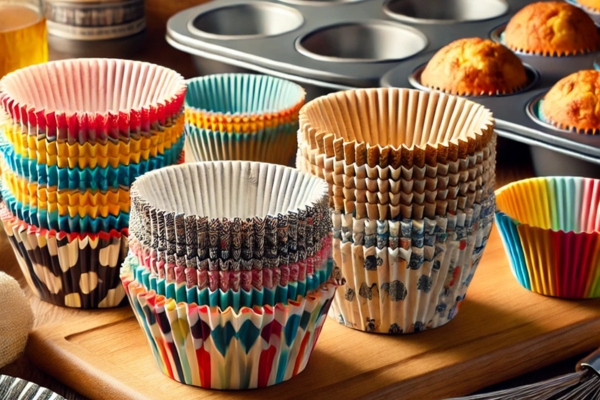
Selecting the right baking cup is the first step toward paper success. For standard cupcakes or muffins, paper liners are a popular choice due to their affordability, variety of designs, and ease of use. They are perfect for everyday paper and come in greaseproof or decorative options to suit any occasion.
If you’re looking for something sturdier or reusable, consider silicone muffin liners, which are non-stick and eco-friendly. These are ideal for heavier batters and eliminate the need for a muffin pan. Similarly, foil liners provide excellent structural support and can be used independently of a pan, making them perfect for high-temperature baking or when you want a more polished presentation.
Step 2: Prepare Your Pan
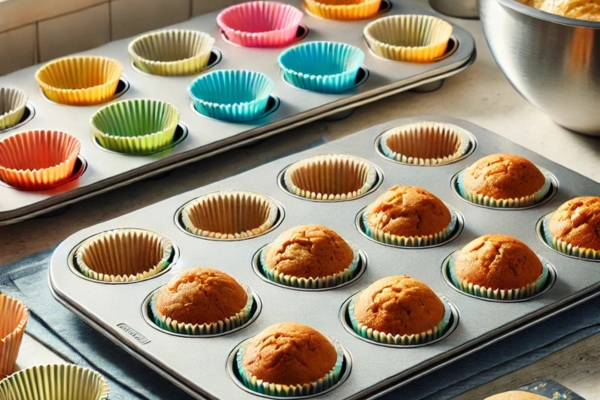
Once you’ve chosen the right baking cup, it’s time to prepare your pan. For paper and foil baking cups, place them in a muffin or cupcake pan to provide the necessary structural support during paper. This helps maintain their shape and ensures even heat distribution, resulting in evenly baked treats.
For silicone muffin liners, you have the flexibility to use them in different ways. If you prefer convenience, you can place them directly on a baking sheet, as they are sturdy enough to stand on their own. Using a muffin pan with silicone cups can help stabilize them further and promote consistent paper, especially if you’re making multiple batches at once.
Step 3: Fill the Cups with Batter
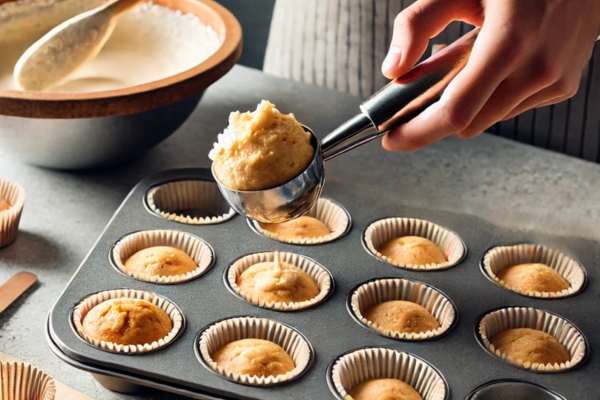
After preparing your pan and placing the baking cups, it’s time to fill them with batter. Use a spoon, piping bag, or ice cream scoop to evenly distribute the batter into each cup. An ice cream scoop is particularly handy as it ensures consistent portions, helping your cupcakes or muffins bake evenly and look uniform.
Be careful not to overfill the cups. A good rule of thumb is to fill each cup about two-thirds full. Overfilling can cause the batter to spill over the edges, resulting in unevenly baked goods and a messy cleanup. Leaving some space allows the batter to rise properly, giving your baked treats a beautiful domed top.
Step 4: Bake and Cool
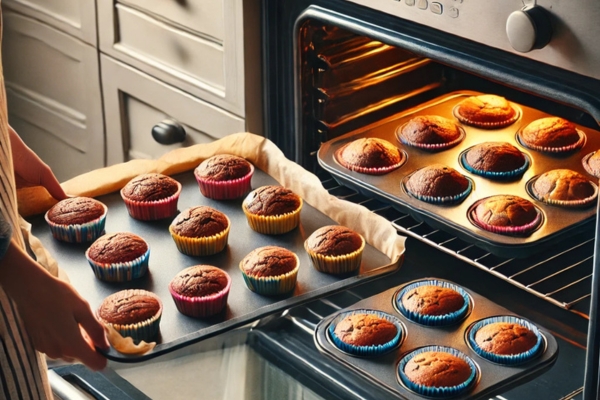
Once your paper cups are filled with batter, place the pan in a preheated oven and bake according to the time and temperature specified in your recipe. Preheating ensures that your baked goods begin cooking at the correct temperature immediately, promoting even rising and a perfect texture. Be sure to position the pan in the center of the oven for optimal heat circulation.
When baking is complete, remove the pan from the oven and allow the baked goods to cool for a few minutes in the pan. This brief cooling period helps the treats set, making them easier to handle. Afterward, carefully transfer them to a wire rack to cool completely. Proper cooling prevents condensation from forming in the muffin liners, which could lead to sogginess. Enjoy your delicious creations once they’ve cooled!
Tips for Perfect Results
To achieve flawless baked goods every time, consider these handy tips for using cupcake molds:
- Double-Up for Strength: If your paper liners feel thin or flimsy, double them up by stacking one inside another. This adds extra strength and helps the liners maintain their shape, ensuring your cupcakes or muffins bake evenly.
- Experiment with Colors and Patterns: Decorative liners are an easy way to elevate the presentation of your baked goods. Use festive designs for holidays, themed patterns for parties, or elegant solid colors for formal occasions to match the vibe of your event.
- Store Silicone Cups Properly: Silicone baking cups are reusable and durable, but they need proper care to last. After each use, wash them thoroughly, dry them completely, and Store Cups In Kitchen them in a clean, dry place. This prevents residue buildup and preserves their non-stick properties for future paper adventures.
By incorporating these tips into your paper routine, you can enjoy perfectly baked treats that not only taste great but also look stunning!
FAQs About Baking Cups in the Oven
1. Can you bake directly in silicone cups without a muffin pan?
Yes, you can bake directly in silicone cupcake molds without needing a muffin pan. Silicone cups are designed to be sturdy and self-supporting, making them a versatile option for baking. Simply place the silicone cups on a baking sheet for additional stability and easy handling. This setup ensures even heat distribution and makes transferring the cups in and out of the oven more convenient. Silicone cups are perfect for hassle-free paper and can handle a variety of batters without collapsing.
2. Do I need to grease baking cups?
In most cases, paper cups, particularly those made from parchment paper or silicone, are designed to be non-stick and do not require additional greasing. These materials allow baked goods to be released easily without leaving residue.
If you’re using non-greaseproof paper liners or working with dense batters like brownies or cheesecakes, applying a light spray of oil or non-stick cooking spray can ensure a smoother release. This extra step is especially helpful if you want the baked goods to come out perfectly intact and presentation-ready.
3. Can you reuse paper baking cups?
No, paper cupcake molds are generally designed for single use and are not reusable. Once they’ve been used in baking, they often become oily, discolored, or lose their structural integrity, making them unsuitable for a second use.
If you’re looking for a reusable option, consider silicone cupcake molds. These are durable, easy to clean, and can be used repeatedly, making them an eco-friendly and cost-effective alternative to disposable paper liners.
4. Are foil baking cups better than paper?
Foil paper cups have advantages over paper liners, particularly in terms of sturdiness. Unlike paper cups, foil liners can hold their shape independently. And do not require a muffin pan for support, making them ideal for quick and convenient baking. They are also less likely to become greasy, ensuring your baked goods look polished and professional.
Foil cups tend to be more expensive than paper liners, which are more affordable and widely available. Paper cups also offer greater versatility, with a broader range of designs, colors, and patterns for various occasions. For everyday baking, paper liners are a cost-effective option, while foil cups are best for special occasions or when extra durability is needed.
Conclusion
Baking cups are a versatile and practical tool that can enhance your baking experience, offering convenience and style while making cleanup a breeze. Whether you’re crafting cupcakes, muffins, or other baked delights, cupcake molds are oven-safe when used correctly, ensuring your treats turn out perfectly every time.
By selecting the right type of baking cup for your needs, adhering to proper techniques. And avoiding common mistakes, you can elevate your paper skills and create beautifully baked goods with ease. So, preheat your oven, grab your favorite recipes, and let cupcake molds be your trusty companion in the kitchen. Happy baking!
