Silicone baking cups need to be greased are loved for their flexibility, durability, and non-stick properties, making them a go-to choice for both novice and seasoned bakers. Typically, these cups don’t require greasing thanks to their natural non-stick surface. High-quality silicone ensures that baked goods, such as muffins or cupcakes, slide out effortlessly without sticking. However, there are situations where greasing might be beneficial, such as when working with sticky batters containing honey or caramel or when using older cups that may have lost some of their non-stick effectiveness over time. For most standard recipes, like cupcakes with enough butter or oil, greasing is entirely optional.
That said, lightly greasing silicone cups can provide an added layer of security, especially for low-fat or fat-free recipes where sticking is more likely. To grease, simply apply a thin layer of oil or non-stick spray using a pastry brush or paper towel. Whether you decide to grease or not, always ensure the cups are placed on a stable baking tray for support and allow your baked goods to cool completely before removing them. By understanding when to grease and following a few best practices, you can achieve flawless results and enjoy the convenience of these eco-friendly baking tools.
Understanding Silicone Baking Cups
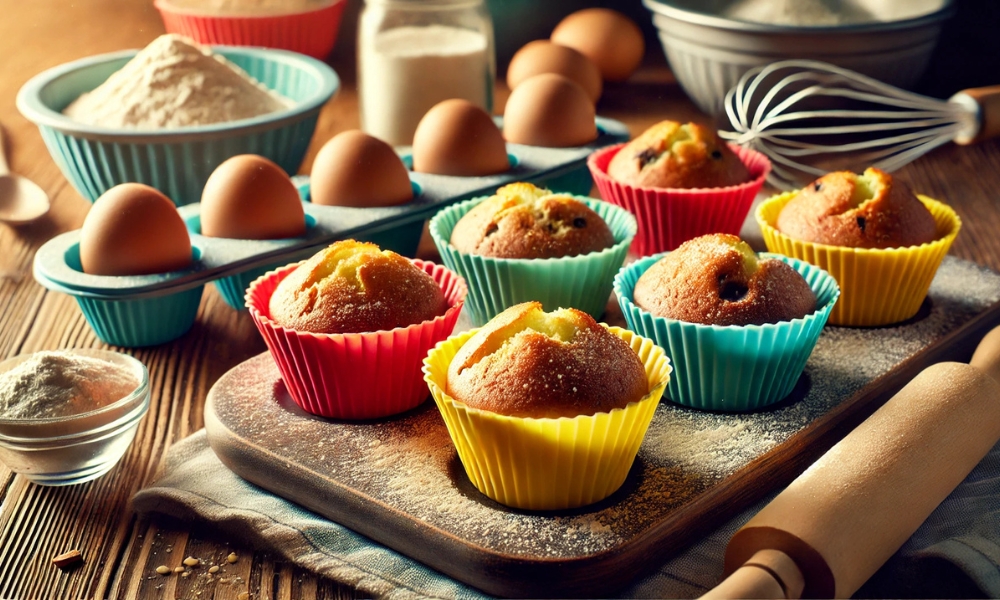
Silicone baking cups, crafted from food-grade silicone, are revolutionizing the baking world with their flexibility, durability, and heat-resistant properties. Unlike disposable paper liners, these cups are reusable and environmentally friendly, making them a cost-effective and sustainable option for bakers. Available in a wide variety of shapes, sizes, and vibrant colors, they offer a creative edge to baking and presentation. From traditional cupcakes to mini quiches or even bite-sized cheesecakes, It opens up a world of possibilities for home cooks and professionals alike.
One of the key benefits of silicone cups is their naturally non-stick surface, which allows baked goods to release effortlessly without leaving behind crumbs or residue. However, the degree of non-stick performance can depend on several factors, including the quality of the silicone, the type of batter used, and the baking temperature. High-quality silicone cups generally perform well, but sticky batters, such as those containing honey or caramel, may occasionally require a light coating of grease for optimal results. Understanding these nuances can help bakers get the best out of their It, ensuring both convenience and beautifully baked treats.
Do Silicone Cups Need Greasing?
The Short Answer Is: Not Always. The natural non-stick properties of It mean that most recipes don’t require greasing. However, there are exceptions to this rule, and understanding when to grease can save you from frustration or disappointing results.
When Greasing Is Not Necessary:
- High-Quality Silicone: Premium It with a smooth surface rarely require greasing. These are designed to release baked goods without sticking.
- Recipes with Enough Fat: If your recipe already contains sufficient fat (like butter or oil), you’re unlikely to experience sticking. This is common with muffin and cupcake recipes.
- Proper Cooling: Allowing baked goods to cool completely before attempting to remove them can help prevent sticking. Silicone retains heat, so cooling fully is essential.
When Greasing Is Beneficial:
- Sticky Batters: Recipes with sticky ingredients, like honey, molasses, or caramel, may benefit from light greasing.
- Low-Fat Recipes: If you’re making a low-fat or fat-free recipe, the absence of fat can increase the chances of sticking. A light coating of oil or cooking spray can help.
- Older or Worn Silicone Cups: Over time, the surface of silicone cups may lose its non-stick properties. Light greasing can revive their performance.
How To Properly Grease Silicone Cups
If you decide that greasing your cups is necessary, follow these steps for the best results:
- Choose Your Grease: Use a neutral-flavored oil (such as canola or vegetable oil), melted butter, or non-stick cooking spray. Avoid using too much grease, as it can alter the texture of your baked goods.
- Apply Lightly: Use a pastry brush or a paper towel to apply a thin, even layer of grease inside, Put Baking Cups In The Oven. Ensure that all surfaces are lightly coated.
- Clean Thoroughly After Use: Greasing can leave a residue on It, so be sure to wash them with warm, soapy water to maintain their non-stick properties.
Tips For Using Silicone Baking Cups
1. Use A Baking Tray For Stability
Silicone cups are flexible, which can make them tricky to handle when filled with batter. Placing them on a sturdy baking tray or muffin tin ensures stability and even baking.
2. Don’t Overfill
When using It, fill them about two-thirds of the way with batter. Overfilling can cause the batter to spill over, making it difficult to remove baked goods cleanly.
3. Grease Only When Necessary
As mentioned earlier, greasing isn’t always required. Experiment with your recipes to determine whether greasing improves the results.
4. Cool Completely Before Removing
Silicone retains heat longer than metal, so it’s important to let your baked goods cool fully before attempting to remove them. This helps the baked goods firm up and release more easily.
5. Wash And Dry Thoroughly
Clean your silicone baking cups immediately after use to remove any grease or batter residue. Dry them completely before storing to prevent any lingering moisture.
Benefits Of Using Silicone Baking Cups
If you’re new to silicone cups, here are some benefits that make them worth the investment:
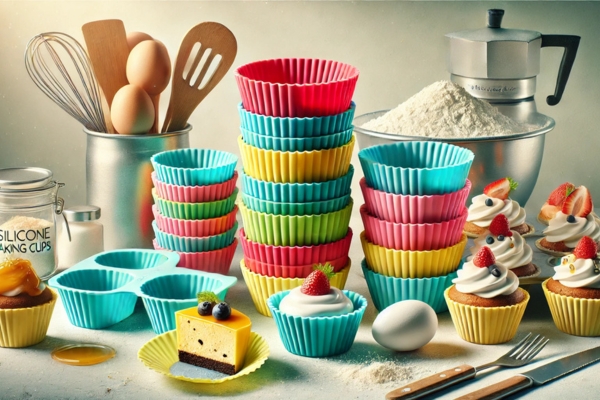
- Reusable and Eco-Friendly: Unlike paper liners, It can be washed and reused countless times, reducing waste.
- Versatile: They can be used for baking, freezing, or even serving snacks. From cupcakes to mini cheesecakes, the possibilities are endless.
- Non-Toxic: High-quality It are BPA-free and safe for food contact, giving you peace of mind.
- Easy to Store: Their flexibility makes them easy to stack or tuck into a drawer without taking up much space.
- Even Baking: Silicone distributes heat evenly, ensuring consistent results.
Common Mistakes To Avoid
To ensure a smooth baking experience, avoid these common pitfalls when using cups:
- Using Poor-Quality Silicone: Not all silicone products are created equal. Low-quality silicone may lack the non-stick properties you’re expecting.
- Skipping a Baking Tray: Attempting to bake with freestanding silicone cups can lead to spills or uneven baking. Always use a tray for support.
- Over-Greasing: Too much grease can cause baked goods to become soggy or greasy.
- Not Cleaning Properly: Silicone can retain odors and residue if not cleaned thoroughly. Use hot, soapy water and a soft sponge for best results.
- Removing Too Soon: Be patient! Removing baked goods while they’re still warm can lead to breakage or sticking.
Frequently Asked Questions (FAQs)
1. Are Silicone Baking Cups Oven-Safe?
Yes, silicone cups are oven-safe and designed to handle high temperatures, typically up to 450°F (232°C). This makes them perfect for baking a wide variety of recipes, from cupcakes to savory dishes like mini quiches or egg bites. Their heat-resistant properties ensure that they won’t warp, melt, or release harmful chemicals while in the oven. However, it’s always a good idea to check the manufacturer’s guidelines for specific temperature limits, as these can vary slightly depending on the brand and quality of the silicone.
2. Can I Use a Silicone Cup For Savory Recipes?
Absolutely! Cups are incredibly versatile and can be used for a variety of savory recipes, making them a great addition to any kitchen. From mini quiches and egg bites to meatloaf muffins and individual casseroles, these cups provide a convenient and mess-free way to prepare single-serving portions. Their non-stick properties ensure easy release, even with stickier ingredients like cheese or sauces. Plus, the flexible silicone makes cleaning up a breeze, allowing you to focus more on enjoying your delicious creations.
3. How Do I Prevent Odors In Silicone Cups?
It can occasionally retain odors from strongly flavored ingredients, but removing these odors is simple. To prevent and eliminate lingering smells, soak the cups in a solution of warm water and baking soda for a few hours. Baking soda is a natural deodorizer that helps neutralize odors without damaging the silicone. After soaking, wash the cups thoroughly with warm, soapy water, and allow them to air dry completely. For persistent odors, repeat the process or try boiling the cups in water with a tablespoon of baking soda for a few minutes. This ensures your silicone cups are fresh and ready for your next baking adventure.
4. Can I Use a Silicone Baking Cup In The Microwave?
Yes, It is microwave-safe and perfect for preparing quick, single-serving recipes. Their heat-resistant and non-toxic properties make them a reliable choice for cooking or reheating food in the microwave. Whether you’re whipping up a mug cake, steaming veggies, or preparing mini egg bites, It can handle the task without warping or releasing harmful chemicals. Just ensure the cups are placed on a microwave-safe plate for stability, and avoid overfilling them to prevent spills while cooking.
5. Do I Need To Adjust Baking Times For Cups?
Yes, baking times may need slight adjustments when using cups because silicone retains and distributes heat differently than metal pans. While silicone often ensures even baking, it can take a bit longer for the heat to transfer through the material, especially with dense batters. To avoid over- or under-baking, monitor your baked goods closely during the final minutes of baking and perform the toothpick test to check for doneness. If you’re transitioning from metal pans to silicone, you might need to add 1-2 extra minutes to your baking time, depending on the recipe and oven performance.
Final Thoughts
So, do silicone baking cups need to be greased? The answer depends on several factors, including the quality of your silicone cups, the type of batter, and the specific recipe. For most high-fat recipes and premium cups, greasing is not necessary as they are designed to release baked goods easily. However, for stickier batters, like those with honey or caramel, or when using older cups that have lost their non-stick surface, a light coating of grease can prevent frustration and ensure a smooth release. Taking the time to understand your tools and recipe can make all the difference in achieving great results.
By following the tips and best practices shared in this blog, you’ll find cups to be a valuable addition to your kitchen. Whether you’re crafting fluffy muffins, decadent cupcakes, or even savory snacks like mini quiches, these versatile and eco-friendly cups make baking a breeze. Their flexibility, reusability, and ease of use not only simplify your baking process but also reduce waste, making them a smart choice for both amateur and experienced bakers. With a little care and experimentation, you’ll be on your way to effortless baking success!