
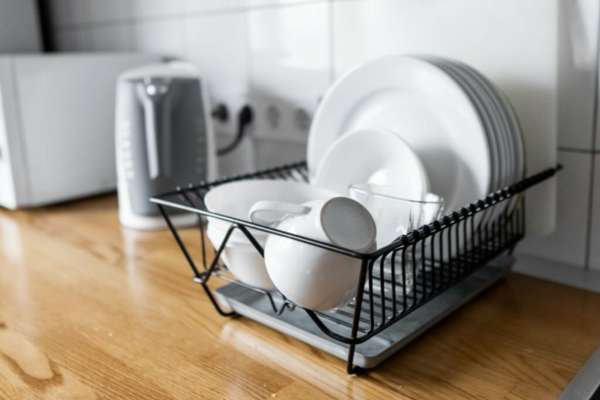
Keeping your kitchen accessories clean is as essential as cleaning the dishes they hold. Over time, dish racks can accumulate soap scuds, grime, and food particles, leading to the growth of bacteria and mold if not cleaned regularly. Fortunately, There’s A simple, natural, And inexpensive solution to this problem baking soda. This common household item, known for its deodorizing and gentle abrasive properties, can efficiently clean your dish rack, ensuring its longevity and your family’s health. In the following steps, we will guide you on how to clean a dish rack using baking soda.
The Benefit Of Dish Rack Clean
Regularly cleaning your dish rack brings numerous benefits:
- Improved Hygiene: Dirty dishes racks can become breeding grounds for bacteria, molds, and fungi, which can then be transferred onto your clean dishes, posing a risk to your health. Regular cleaning helps to eliminate these health risks.
- Odor Prevention: Food particles and moisture trapped in the dish racks can lead to unpleasant odors over time. Regular cleaning keeps your kitchen smelling fresh and clean.
- Enhanced Durability: Regular cleaning can extend the lifespan of your dish racks. Accumulated grime and water can lead to rust in metal dish racks, or staining and weakening in plastic ones.
- Better Kitchen Appearance: A clean dish rack enhances the overall cleanliness and aesthetic appeal of your kitchen. A grimy dish rack can detract from an otherwise clean and tidy kitchen.
- Prevents Pest Infestation: Leftover food particles can attract pests like ants, roaches, or rodents. Regular cleaning helps prevent these infestations.
- Efficiency: A clean dishes rack holds and drains dishes better. Build-up can block proper drainage, causing water to pool and potentially spill over.
Importance Of Regular Cleaning And Maintenance
Regular cleaning and maintenance of any space, item, or appliance in your home, including a dish racks, is critical for several reasons:
Health and Safety: Regular cleaning helps To eliminate germs, bacteria, viruses, And other pathogens that can compromise your health. It can also prevent the formation Of hazardous substances such as mold Or the accumulation of dust that can trigger allergies and respiratory problems.
Longevity: Regular maintenance ensures that your items and appliances function correctly for a longer period. Cleaning can help prevent rust, decay, and mechanical failures, saving you money on replacements or costly repairs.
Efficiency: Appliances and tools that are regularly cleaned and maintained often work more efficiently. For instance, a clean oven heats up more quickly and evenly than one coated with food particles, and a clean dishes rack drains better than a dirty one.
Aesthetics: Regular cleaning helps maintain the aesthetic appeal of your items and home. A well-maintained, clean space is more enjoyable and inviting.
Value Preservation: Regular maintenance can preserve or even increase the value of your home and belongings. This is particularly important for items Of significant value, like real estate Or high-end appliances.
Prevention of Bigger Issues: Regular maintenance allows you to spot minor issues and fix them before they become bigger, more complex problems.
Step-By-Step Guide Clean Your Dish Rack With Baking Soda
Cleaning your dishes rack with baking soda is a straightforward and efficient process. This natural cleanser is excellent for breaking down stubborn grime and eliminating odors.
Let’s Look At Each Step Of The Process:
Step 1. Remove All Dishes, Utensils, And Other Items From The Rack

This allows you to focus entirely on the task of cleaning the dish racks itself and gives you the chance to clean these other items separately if required.
Step 2. Disassemble Any Removable Parts For Thorough Cleaning

After you’ve emptied your dishes rack, disassemble any removable parts for more comprehensive cleaning. Parts like utensil holders or trays often have tight spaces and hidden areas that can trap debris or even encourage the growth of mold. Disassembling these components can provide better access to these areas, allowing you to clean them more thoroughly.
Step 3. Pre-Soak The Dish Rack In Warm, Soapy Water To Loosen The Debris
Now it’s time to pre-soak your dishes rack and its various parts in warm, soapy water. This step helps to loosen and soften any built-up grime, making the subsequent cleaning much easier. Simply fill your sink or A large basin with warm water, add A few drops of your favorite dish soap, And submerge the rack and parts, letting them soak for about 10-15 minutes.
Step 4. Sprinkle Baking Soda Liberally On The Dish Rack Surfaces

Once the dish racks have soaked and any loosened debris has been rinsed off, sprinkle Alkaline powder liberally all over its surfaces. Baking soda acts as a mild abrasive, helping to scrub away any stubborn stains or stuck-on food particles. It’s also a natural deodorizer, so it will help to neutralize any lingering odors on your dishes rack.
Step 5. Use A Soft Brush Or Sponge
After you’ve sprinkled the dish racks with baking soda, use a soft brush or sponge to scrub it into the surfaces. This will create a paste with moisture from the pre-soaking process. The Alkaline powder’s abrasive nature, combined with the soft brush or sponge’s scrubbing, will help break down and lift stubborn stains and stuck-on grime.
Step 6. Allow The Baking Soda To Sit For A Few Minutes

Let the baking soda sit on the dish racks for A few minutes. This pause allows the baking soda to penetrate deeper into the grime and further neutralize any lingering odors.
Step 7. Scrub The Dish Rack

After the baking soda has had time to sit, go back in with your brush or sponge and give the dishes rack a thorough scrub. Make sure to pay extra attention to corners, crevices, And any areas where dirt And grime tend to accumulate.
Step 8. Use A Mixture Of Warm Water And Dish Soap For Added Cleaning Power
For added cleaning power, create a mixture of warm water and dishes soap. After you’ve scrubbed the dishes rack with the baking soda, wash it with this soapy water mixture. This helps to remove any remaining baking soda residue and further ensures any last bits of grime are removed.
Step 9. Rinse The Dish Rack With Clean Water
Rinse the dish racks thoroughly with clean water. Make sure all the soap and Alkaline powder are washed away. You don’t want any residue left behind, as this could attract more dirt and dust.
Step 10. Use A Clean Towel
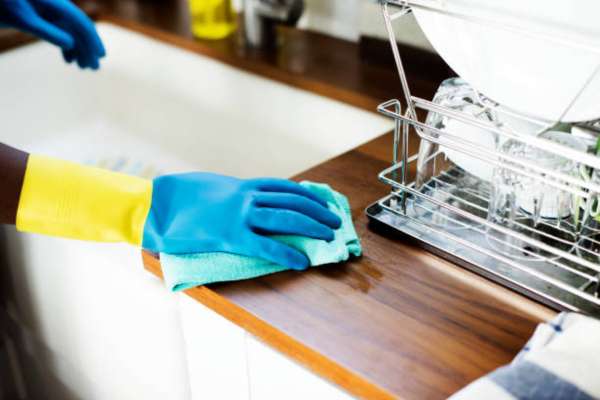
Once the dish rack is rinsed, Use A clean towel to dry it thoroughly. Leaving it wet could encourage the growth of mold and mildew. Drying the dish racks immediately after cleaning helps to prevent this.
Step 11. Regularly Clean The Dish Rack Using Baking Soda To Prevent Buildup

Finally, make a habit of regularly cleaning your dishes racks using Alkaline powder. This will prevent the buildup of grime, bacteria, And odors over time. Depending on how heavily you use your dishes rack, you might consider a deep clean like this every week or two.
Tips For Maintaining A Clean Dish Rack
Maintaining a clean dishes rack can be easily managed with some basic practices and habits.
Here Are Some Useful Tips:
- Regular Cleaning: As with many cleaning tasks, consistent And regular cleaning can prevent the build-up of grime, mold, and bacteria. Depending on usage, a weekly or bi-weekly deep clean is typically sufficient.
- Proper Drying: Ensure that your dish rack is completely dry after each use and especially after cleaning. This can prevent the growth of mold and mildew. You can use A clean, Dry towel to speed up the process.
- Immediate Dish Removal: Avoid leaving clean dishes on the racks for extended periods. The longer dishes sit, the more likely water can accumulate and potentially breed bacteria.
- Drain Tray Cleaning: If your dish racks has a drain tray, ensure it is regularly cleaned and emptied. Water that collects in trays can be a breeding ground for bacteria and can lead to unpleasant smells.
- Handle Food Residue: Ensure that dishes placed on the rack are free of food residue. Leftover food particles can attract pests and create a breeding ground for bacteria.
- Rotate Cleaning Tools: If you’re using A sponge Or brush for cleaning, make sure these tools are also clean And dry after use, Or bacteria can grow on them. It’s a good practice to replace these tools regularly.
- Use of Baking Soda: As mentioned, This is A natural and effective cleaning agent. Regularly use it for cleaning your dish racks to keep it fresh and free of odors.
With these tips in practice, you can keep your dishes rack clean and hygienic, contributing to a healthier kitchen environment.
The Final Thoughts
Maintaining the cleanliness of your dish rack is essential for overall kitchen hygiene and the longevity of the rack itself. Using baking soda, a natural and inexpensive household item, can effectively cleanse your dish rack. The process involves removing All items from the rack, Disassembling any parts, pre-soaking in warm, Soapy water, And then liberally applying Alkaline powder. Scrubbing with a soft brush or sponge helps remove stubborn grime, while a final rinse and thorough drying ensure no residue is left behind. Regularly cleaning your dish rack with baking soda not only keeps it clean and extends its lifespan but also contributes to a healthier and more pleasant kitchen environment.