If you love adding A touch of garlic to your dishes, Then having a garlic press in your kitchen is an absolute must-have. This handy tool allows you to effortlessly crush and mince cloves of garlic, saving you time and effort. However, after using a garlic press, the thought of cleaning it may seem daunting. But fear not! In this article, We will guide you through the simple steps on how to clean A garlic press effectively, Ensuring that it remains in top-notch condition for future use. So let’s dive into the world of easy cleaning techniques that will have your garlic press looking as good as new!
What Is A Garlic Press?
A garlic press is a kitchen utensil designed specifically for crushing garlic cloves. It typically consists of two hinged handles connected to a chamber with small holes or slots. To use a garlic press, you place a peeled garlic clove inside the chamber and squeeze the handles together. The garlic is forced through the holes, resulting in finely minced or crushed garlic. A garlic press provides a convenient and efficient way to prepare garlic, saving time and effort compared to manual chopping. It allows for consistent mincing and can enhance the flavor and aroma of garlic in various culinary dishes.
The Importance Of A Clean Garlic Press
Maintaining a clean garlic press is crucial for several reasons. Firstly, a clean press ensures the integrity and quality of your garlic preparations. Residual garlic left in the press can become rancid over time, affecting the taste and aroma of future minced garlic. Secondly, a clean press helps prevent cross-contamination. Garlic can leave a strong odor and flavor, which may transfer to other foods if the press is not properly cleaned. Additionally, A clean garlic press is more hygienic, Reducing the risk of bacterial growth or foodborne illnesses. Regular cleaning also prevents the accumulation of dried garlic residue, which can hinder the smooth operation of the press. By prioritizing cleanliness, you can maintain the functionality, taste, and safety of your garlic press, ensuring optimal performance in your culinary endeavors.
The Potential Health Hazards Of A Dirty Garlic Press

Neglecting to clean a garlic press can lead to potential health hazards. A dirty garlic press can harbor bacteria, mold, and other pathogens that can contaminate your food. These microorganisms can multiply And cause foodborne illnesses, Leading to symptoms such as nausea, vomiting, diarrhea, And abdominal pain. Additionally, The accumulation of dried garlic residue on a dirty press can become a breeding ground for bacteria, further increasing the risk of contamination. Proper cleaning and maintenance of a garlic press are essential to prevent the transmission of harmful pathogens and ensure the safety of the food you prepare.
Basic Steps To Cleaning A Garlic Press
1. Pre-Rinse Phase

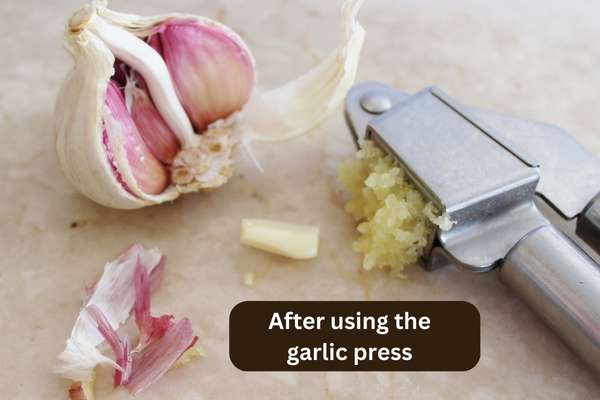
After using the garlic press, immediately rinse it under warm running water. This helps remove any loose garlic residue and prevents it from drying and becoming harder to clean later on. Use your fingers or a small brush to dislodge any stuck bits of garlic.
2. Deep Cleaning Phase

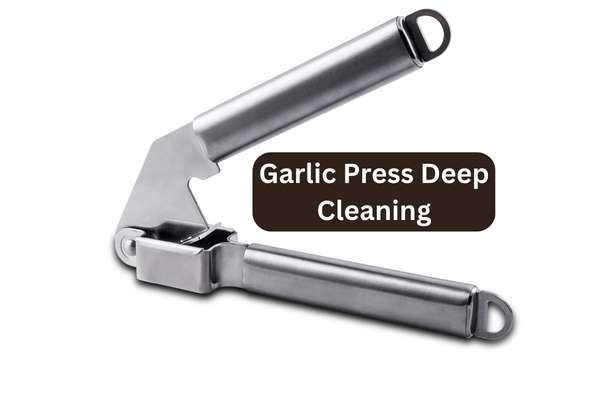
Fill a basin or sink with warm water And add A small amount of mild dish soap. Submerge the garlic press in the soapy water and use a brush or sponge to scrub the surfaces thoroughly. Pay attention to the holes or slots in the chamber, ensuring they are cleaned of any remaining garlic or residue. For stubborn or hard-to-reach areas, Use a toothpick or A small brush to remove any debris.
3. Post-Cleaning Phase
Rinse the garlic press under warm running water to remove any soap residue. Inspect it to make sure it’s completely clean, And then dry it with A clean towel or let it air dry. Ensure all parts are fully dry to prevent any potential rust or corrosion. Once dry, store the garlic press in a clean and dry area ready for future use.
Cleaning Materials Needed
1. Using Dish Soap

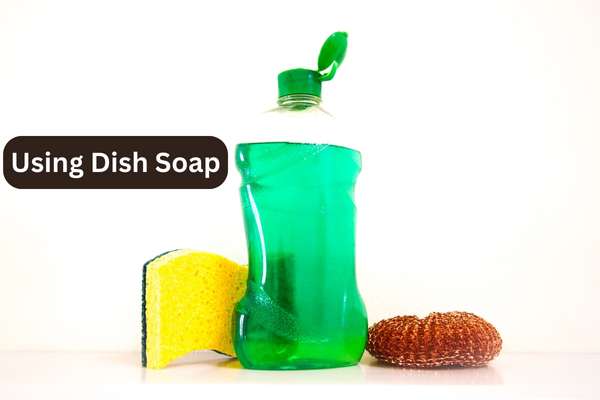
Mild dish soap is an effective option for general cleaning. It helps remove garlic residue and grease. Combine warm water with a few drops of dish soap and use a brush or sponge to scrub the press thoroughly.
2. Using Baking Soda

Baking soda is a natural cleaner and deodorizer. Make a paste by mixing baking soda with water, and then apply it to the garlic press. Use a brush or sponge to scrub the surface, paying attention to the holes or slots.
3. Using Vinegar

Vinegar is a natural disinfectant. You can soak the garlic press in A mixture Of equal parts vinegar And warm water for about 15-30 minutes. This helps remove any lingering odors and disinfect the press. After soaking, scrub the press with a brush or sponge, and rinse it thoroughly.
4. Using A Dishwasher

Some garlic presses are dishwasher-safe. Check the manufacturer’s instructions To see if your press can Be safely cleaned in the dishwasher. Place it on the top rack And run it through A regular cycle with other dishwasher-safe utensils.
5. Using A Toothbrush

A toothbrush can be useful for reaching small crevices and cleaning the holes or slots of the garlic press. Apply dish soap or baking soda paste to the toothbrush and scrub the press thoroughly, focusing on hard-to-reach areas.
Benefits Of A Toothbrush For Cleaning
Using a toothbrush for cleaning offers several benefits. Firstly, a toothbrush’s small and compact size makes it ideal for reaching and scrubbing hard-to-reach areas of the garlic press, such as holes or slots. The bristles of a toothbrush are effective in dislodging any stuck garlic or residue. Additionally, the gentle yet firm bristles of a toothbrush are less likely to scratch or damage the surface of the garlic press compared to harsher scrubbing tools. The versatility of a toothbrush allows for precise cleaning and ensures thorough removal of debris, resulting in a cleaner and more hygienic garlic press.
Maintaining Your Garlic Press
Maintaining your garlic press is important to ensure its longevity and optimal performance. After each use, make sure to clean the press thoroughly, removing any garlic residue or food particles. Rinse it under warm water and use a brush or sponge to scrub the holes or slots. Dry the press completely to prevent rust or corrosion. Regularly lubricate the hinge with a food-safe oil to keep it smooth and functional. Store the garlic press in a dry and clean area to avoid moisture or contamination. By properly maintaining your garlic press, you can enjoy its benefits for a long time and consistently achieve finely minced garlic in your culinary creations.
Regular Cleaning

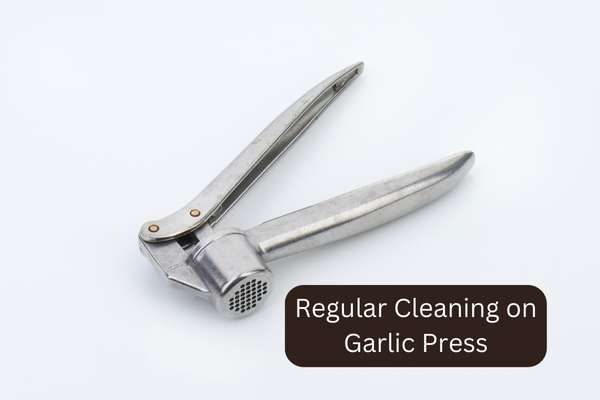
Regular cleaning of your garlic press is essential to maintain its functionality and hygiene. After each use, rinse the press under warm water to remove any garlic residue or food particles. Use a brush or sponge to scrub the holes or slots thoroughly, ensuring they are free from any remaining debris. If necessary, you can use mild dish soap to remove stubborn stains or odors. Rinse the press again to remove any soap residue. Dry it thoroughly with a clean towel or let it air dry before storing. By incorporating regular cleaning into your kitchen routine, you can keep your garlic press in top condition and ready for use whenever you need it.
Proper Storage
Proper storage of your garlic press involves cleaning and drying it before storage, separating any detachable parts, using a protective case or bag, designating a specific storage location, and keeping it away from moisture and heat. Following these guidelines ensures the longevity of your garlic press and keeps it clean and accessible for future use in your kitchen.
The Final Thoughts
Keeping your garlic press clean is essential for maintaining its functionality and preventing the transfer of unwanted flavors to your dishes. By following these simple steps, you can easily keep your garlic press in pristine condition. Regularly rinse it with hot water immediately after use, Use a small brush or toothbrush to remove any stubborn residue, And dry it thoroughly before storing. Additionally, periodic deep cleaning with vinegar or baking soda can help eliminate any lingering odors. With proper care and maintenance, Your garlic press will continue to serve you well in the kitchen for years to come. So don’t neglect this important tool – start incorporating these cleaning tips into your routine today!
