In the grand scheme of kitchen maintenance, the dish drying rack clean doesn’t often command much attention. It quietly holds your freshly washed dishes, allowing them to drip dry, seemingly harmless. Yet, lurking within its nooks and crannies is a hidden world of grime, mold, and bacteria that, if left unchecked, can turn your drying rack into a less-than-sanitary tool. This unassuming piece of kitchen equipment, constantly exposed to water, must be properly maintained. Neglecting it can lead to unsavory odors and, even worse, potential health hazards. Cleaning your Dish holder is more than just a task of keeping things tidy—it’s about ensuring the cleanliness of the very items you eat from every day.
Understanding The Importance Of A Clean Dish Drying Racks
A dish drying rack may seem like a simple contraption—its sole purpose is to keep your dishes off countertops so they can dry. But over time, it becomes more than just a drying station. Residual water, bits of food debris, and hard water deposits combine to create a thriving environment for bacteria and mildew. What starts as a convenient tool can quickly turn into a breeding ground for germs if not properly cleaned. This goes beyond just a kitchen looking neat. It is about maintaining a hygienic space where your dishes are truly clean from start to finish.
Why Keeping Your Dish Drying Racks Clean Matters
Every plate, every utensil, every glass that touches the stand is exposed to whatever filth has collected there. What’s worse? Water that doesn’t evaporate can harbor mold, and the bits of food left behind can harden, turning into a stubborn buildup that’s harder to clean over time. This grime creates a perfect storm for bacteria to flourish. Before you know it, your once-clean dishes are now sitting on a dirty stand. The vicious cycle continues as you place freshly washed items back onto it, unaware that they may be picking up harmful bacteria. Keeping the Dish holder clean matters because it keeps everything else in your kitchen cleaner.
How A Dirty Dish Drying Rack Can Affect Your Dishes And Health
The health risks of a dirty dish drying racks are often overlooked, but they’re very real. Mold and mildew are some of the first signs that your stand has been left too long without proper cleaning. These microorganisms thrive in moist, enclosed environments. Not only do they cause a sour, musty odor, but they can also transfer to your dishes, especially those made of wood or plastic. This poses a direct threat to your health, as certain bacteria, including E. coli and salmonella, can make their way from the stand to your plates, putting you at risk of cross-contamination. So, while it may seem like a small matter, the cleanliness of your Dish holder plays a significant role in kitchen safety.
How Often Should You Clean Your Dish Drying Rack?
Consistency is key when it comes to cleaning your Dish holder. For most households, a weekly clean will suffice to keep bacteria at bay. However, if your home has hard water, which can lead to quicker mineral buildup, you might want to consider giving it a quick rinse every few days. Watch for signs like water spots, a lingering musty smell, or visible grime. These are signals that your drying stand is overdue for a scrub. Regular maintenance not only prevents the need for heavy-duty scrubbing later but also extends the life of the rack itself. By keeping on top of it, you avoid the inconvenience of deep cleaning and, ultimately, prolong its usefulness.
Gather Your Cleaning Supplies
- Dish soap
- Sponge or scrub brush
- Vinegar and baking soda (optional for deep cleaning)
- Clean towel or dishcloth
Step-By-Step Guide To Cleaning A Dish Drying Racks
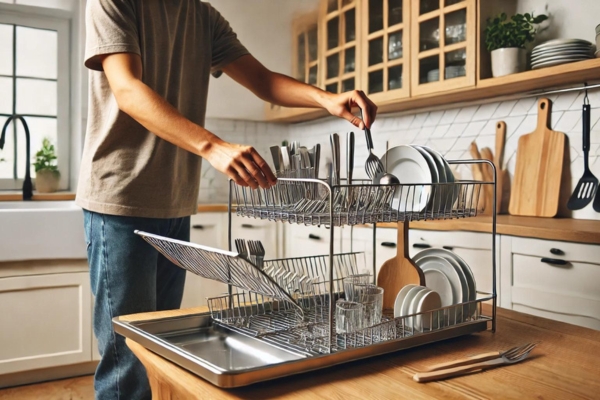
1. Remove All Items From The Rack
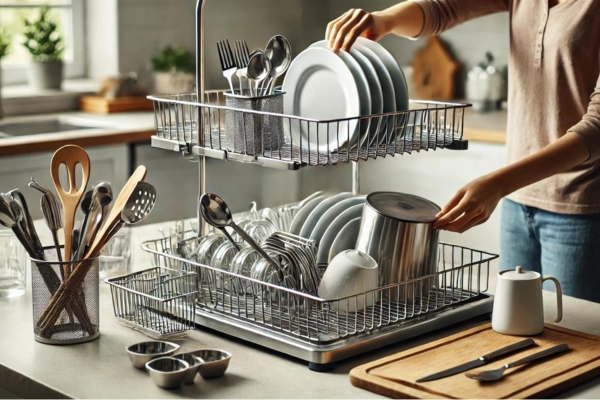
First things first—empty the stand completely. This may sound obvious, but to do a thorough cleaning, you’ll need full access to all the areas where dirt loves to hide. Disassemble any removable parts like trays or utensil holders. It’s easy to miss those small, out-of-sight compartments where grime accumulates.
2. Rinse The Rack With Warm Water
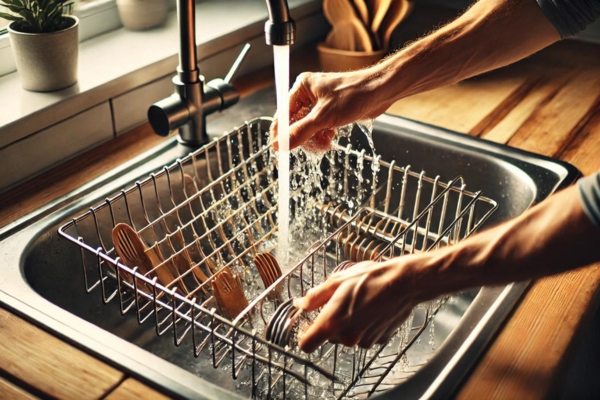
Rinsing with warm water helps to loosen up any stuck-on food particles, dust, or grime. Allow the water to flow through every crevice. Be sure to focus on the tight corners and the base, where moisture can linger and mold can form.
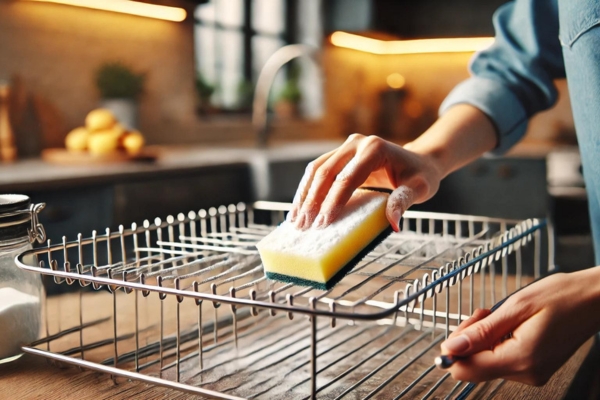
3. Scrub The Rack With Dish Soap

Apply dish soap generously to a sponge or a scrub brush. Scrub all surfaces, making sure to reach into every nook and cranny. If your stand is metal, using a soft-bristled brush ensures that you won’t scratch the surface while still getting into hard-to-reach spots. For plastic racks, a softer sponge will do the trick. Focus particularly on areas where grime seems to collect, such as the joints and folds.
4. Use A Baking Soda Paste For Tough Stains
When soap alone doesn’t cut through the grime, baking soda comes to the rescue. Mix a small amount of baking soda with water to create a paste. Apply this paste to stubborn spots or mineral deposits. Let it sit for several minutes before scrubbing. Baking soda’s mild abrasiveness works wonders without damaging the surface of your stand.
5. Rinse The Rack Again

After you’ve scrubbed the rack thoroughly, it’s time to rinse away all soap and residue. Use warm water to ensure any cleaning agents are fully removed. Leaving any soap behind can mix with standing water, creating new grime.
6. Disinfect With Vinegar

Vinegar, nature’s disinfectant, is ideal for killing any bacteria that might still be lingering on the stand. Spray or pour vinegar directly onto the stand, letting it sit for 10 minutes. This not only disinfects but also helps to break down any remaining mineral deposits. Rinse thoroughly afterward.
7. Dry The Rack Thoroughly
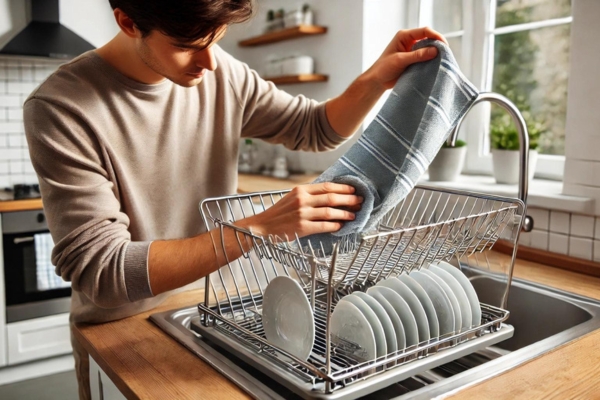
Once the cleaning is complete, grab a clean towel and dry every part of the stand. If your rack has multiple parts, dry each one separately. Mold thrives in damp environments, so it’s crucial to ensure your drying stand is completely dry before reassembling. You can also leave it to air dry for an extra level of dryness.
8. Reassemble And Place Back In Use
Now that the rack is squeaky clean and dry, reassemble any detachable parts. Your dish drying stand is ready to be placed back into service, fresh, clean, and sanitary.
When To Replace Your Dish Drying Rack
No matter how diligent you are with cleaning, dish drying racks have a limited lifespan. If you start noticing rust that won’t scrub off, or cracks in plastic or wooden parts, it’s time to replace it. Persistent mildew odors that linger even after cleaning may also signal that the material has been compromised. Investing in a new stand when the old one can no longer serve its purpose is not just about aesthetics—it’s about maintaining a hygienic kitchen environment.
How Can I Prevent My Dish Drying Racks From Smelling?
Odor prevention starts with drying. After every use, shake off excess water from the stand, and wipe it down with a dry cloth. Never leave water sitting in the drip tray, as stagnant water breeds odors. Position the stand in a well-ventilated area, or better yet, where it can catch a bit of sunlight. Regular cleaning paired with quick post-use maintenance will keep bad smells at bay.
Can I Use Bleach To Clean My Dish Drying Racks?
While bleach is undeniably a powerful disinfectant, it isn’t always the best choice for cleaning your Dish holder . On metal racks, bleach can cause corrosion over time, while for plastic or wood, it may be too harsh. Natural alternatives like vinegar are effective and gentle enough to protect the integrity of your stand. If you do choose to use bleach, ensure it’s heavily diluted and rinsed off thoroughly to prevent any harmful residue.
Conclusion
A clean dish drying rack doesn’t just make your kitchen look good—it helps keep you and your family healthy. By incorporating a regular cleaning routine and staying mindful of potential bacteria buildup, you ensure that your drying stand remains a safe place for your dishes. It’s a small task that has a big impact on your overall kitchen hygiene. So, take the time to care for your Dish holder and enjoy the peace of mind that comes with a truly clean kitchen.