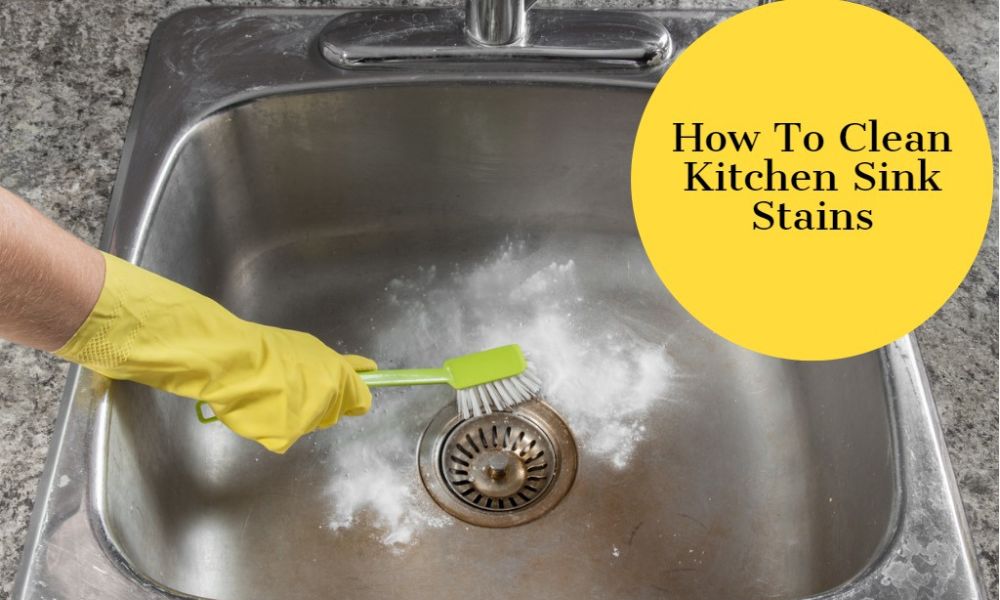
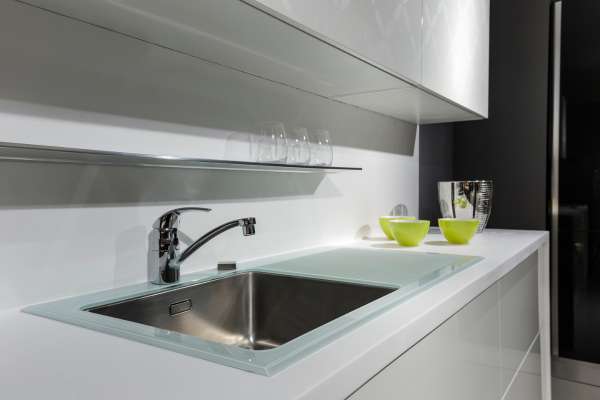
A clean kitchen sink can make all the difference in your home’s appearance. Unfortunately, It doesn’t take long for stains and buildup to accumulate, Leaving you with an unsightly And potentially germ ridden sink. The good news is that cleaning kitchen sink stains is not As difficult As you might think. In this article, We’ll explore some Of the most effective ways to clean common types Of kitchen sink stains.
Whether you’re dealing with stubborn grease buildup Or rust stains from your metal fixtures, These tips will help you get your sink looking sparkling clean in no time at all. So grab A cleaning cloth and let’s dive in!
What Causes Sinks To Become Stained Or Dirty?
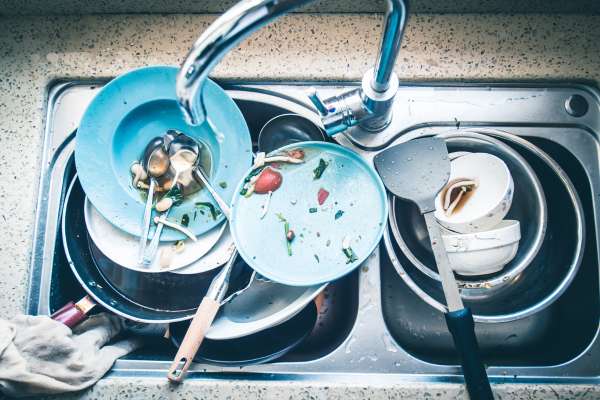
Kitchen sinks can easily become stained or dirty due to various reasons. Here are the most common causes:
Food Debris: Leftover food particles can cling to the sides and bottom of your sinks, leading to discoloration over time. This can be especially true for foods with strong colors, like coffee or beetroot, that may leave noticeable stains.
Hard Water: Minerals in hard water can leave deposits behind, causing whitish or greenish spots and stains on your sinks. These are especially common around the faucet and drain.
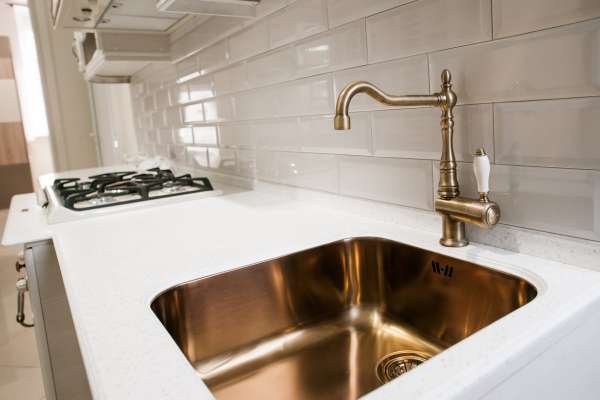
Metal Objects: If you leave metal cans, pots, or utensils in your sink for too long, they can rust and leave brown stains on the sink’s surface.
Chemical Reactions: Certain types Of cleaning agents Or chemicals can react with the material Of your sinks (such as stainless steel, porcelain, Or granite) And cause discoloration or dullness.
Heat Damage: Excessive heat can cause damage and discoloration to your sinks, especially if it’s made from materials like acrylic or certain types of solid surface materials.
Soap and Grease Buildup: Over time, soap scum and cooking grease can build up on the surface of your sink, leading to a grungy and stained appearance.
Preparing For The Cleaning Process
Before commencing the cleaning process, it’s crucial to prepare properly. Start by identifying the material of your sinks as different materials necessitate unique cleaning methods. Once you’re aware of what’s appropriate for your sinks, gather your cleaning tools And materials which may include mild detergent, baking soda, vinegar, hydrogen peroxide, A non-abrasive sponge or brush, And A clean, dry cloth.
Then, clear your sink of all dishes, utensils, and food debris. If you’re going to use any strong cleaning products, protect your hands with rubber gloves and ensure good ventilation in your kitchen to avoid inhaling potentially harmful fumes. Lastly, always test your chosen cleaning solution on a small, hidden area of your sinks to confirm it won’t cause any damage or discoloration. By adequately preparing, you’ll ensure the task is carried out safely, efficiently, and effectively.
Gathering Necessary Cleaning Supplies
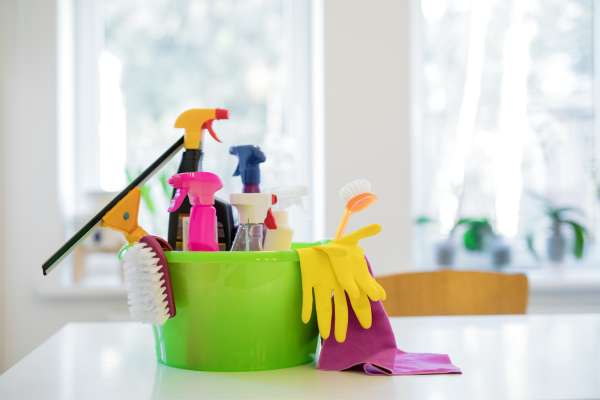
Here are the essential cleaning supplies you might need to effectively clean your kitchen sinks:
- Mild Detergent or Dish Soap
- Baking Soda
- Vinegar
- Hydrogen Peroxide
- Non-abrasive Sponge or Brush
- Clean, Dry Cloth
- Rubber Gloves
- Commercial Cleaner (if necessary, and specifically designed for your sinks material)
Type Of Stains
1. Removing Mould Stains
Mould typically occurs in damp, dark areas. To remove it, use a mixture of one part bleach to two parts water and apply it to the mould stains. Scrub the area with A non-abrasive brush until the mould is gone, Then rinse thoroughly.
2. Tackling Stubborn Stains
Stubborn stains such as tea, coffee, or food stains can be removed using a paste made from baking soda and a little water. Apply the paste to the stain, Let it sit for 15-20 minutes, Then scrub gently and rinse.
3. Dealing With Hard Water Stains
These are usually green or white mineral deposits from the water. They can often be removed using vinegar. Soak A cloth in vinegar, apply it to the stain, And let it sit for A few minutes before scrubbing and rinsing.
4. Removing Rust Stains

Rust stains can be treated with a paste made from salt and lemon juice. Apply the paste to the rust stain, Let it sit for A few minutes, then scrub gently and rinse. For more stubborn rust stains, you may need to use a commercial rust remover. Always make sure To follow the manufacturer’s instructions when using such products.
Cleaning Methods For Kitchen Sink Stains
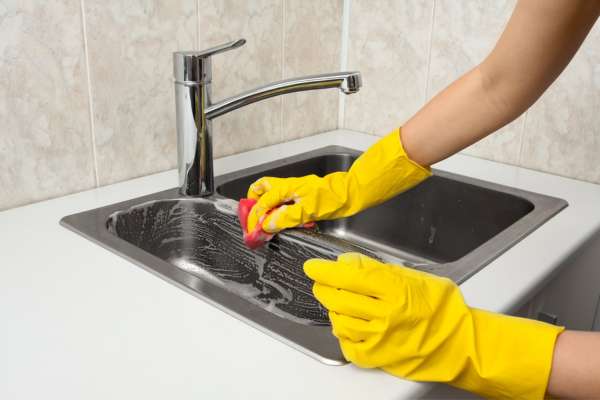
1. Using A Mild Dish Soap And Warm Water
This is the most straightforward method for everyday cleaning. Apply a few drops of mild dish soap to a sponge or cloth, add warm water, and scrub the sink thoroughly. This should remove light stains and residue. After scrubbing, rinse the sinks thoroughly to remove all soap.
2. Creating A Baking Soda Paste
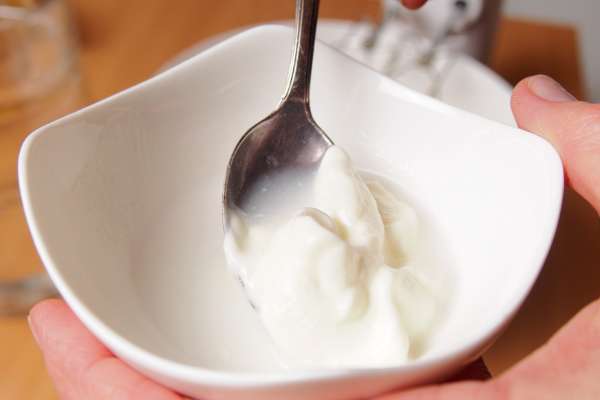
Baking soda is a mild abrasive that can tackle tougher stains without scratching your sinks. To create a paste, mix equal parts of baking soda and water. Apply this mixture to any stains Or spots in your sinks, Let it sit for 15-20 minutes, Then scrub gently with A sponge or soft brush. Rinse the sink thoroughly once you’re finished.
3. Scrubbing With A Soft Brush Or Sponge
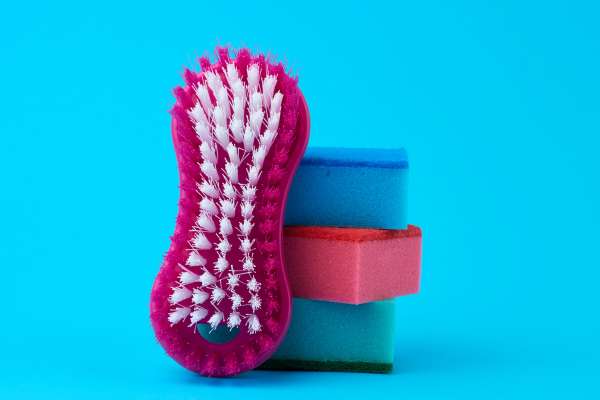
A soft brush or non-abrasive sponge can be used to scrub away more stubborn stains. This works especially well when used in conjunction with dish soap or the baking soda paste. Always scrub gently to avoid scratching the surface of your sinks. Once you’re done scrubbing, Rinse the sink well to remove any remaining cleaning solution.
4. Making A Vinegar Solution
Vinegar is a highly versatile natural cleaning agent. It’s particularly effective against hard water stains and mineral deposits, thanks to its acetic acid content which helps dissolve these substances. To create your vinegar solution, combine equal parts of white vinegar and warm water in a bowl or a spray bottle for easy application.
5. . Applying The Solution To The Stain And Letting It Sit
Once your vinegar solution is ready, you have two options for application. For overall cleaning or widespread stains, consider pouring the vinegar solution directly onto the surface of the sinks or use a spray bottle for a more targeted approach. For stubborn or concentrated stains, soak a clean cloth or sponge in the vinegar solution. Then place it over the stain, ensuring it’s completely covered. Let the vinegar solution sit and work on the stains for about 15-20 minutes. The acid in the vinegar will break down the stains during this time.
6. Using Lemon Juice And Salt
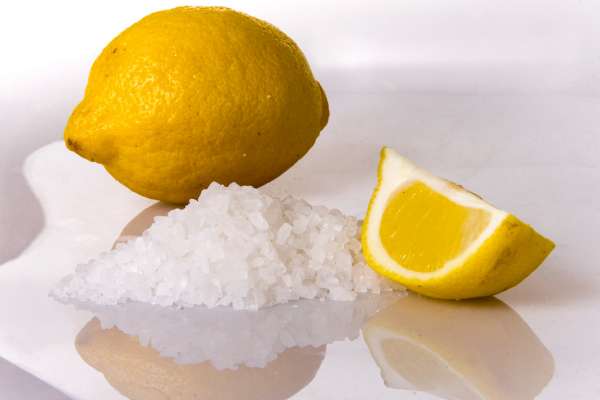
For rust stains, a mixture of lemon juice and salt can be quite effective. The citric acid in lemon juice aids in breaking down the rust, while the salt serves as a gentle abrasive, helping to scrub the stain away. To make this paste, combine the juice of A lemon with enough salt to create A thick mixture. Apply this directly to the rust stains. Let the paste sit on the stains for about 15-30 minutes. The longer you let it sit, The more time it has to break down the rust.
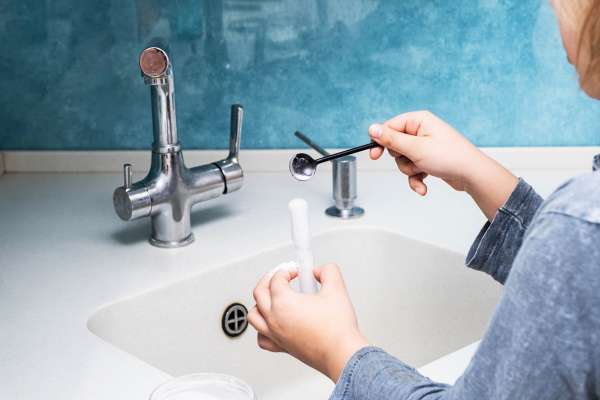
7. Scrubbing Gently With A Soft Brush Or Cloth
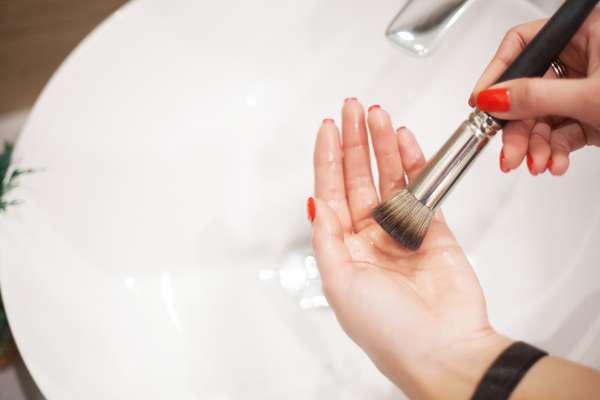
After applying your chosen cleaning solution and letting it sit, it’s time to scrub. Using a soft brush or cloth, gently work on the stains in a circular motion. This helps lift and dislodge the stain from the sink’s surface. Make sure not to scrub too hard or use a stiff brush as it can scratch or damage the sink’s finish.
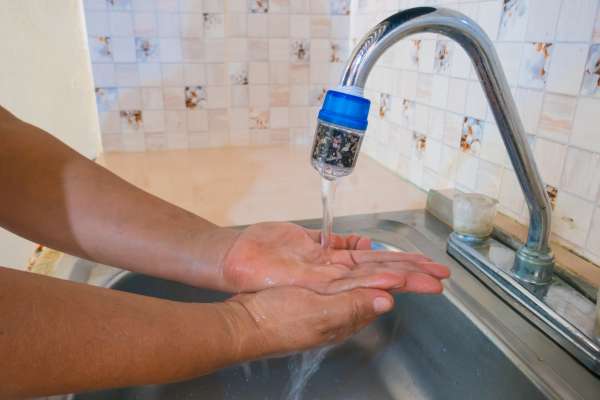
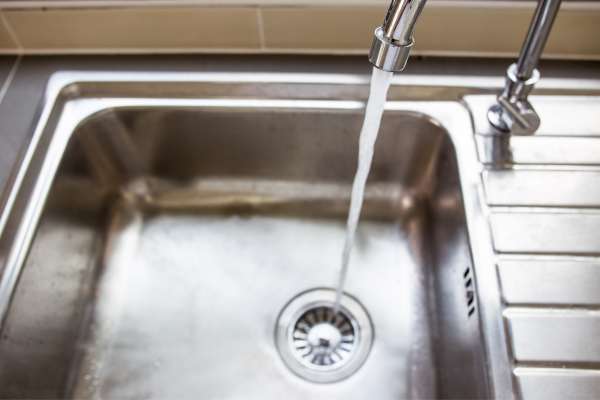
8. Clean With Water
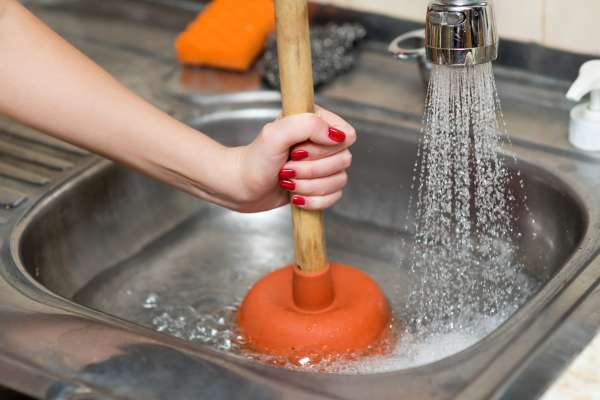
After employing any of the cleaning methods mentioned above, it’s crucial to rinse your sink thoroughly. Use warm water to wash away the remnants of your cleaning solution and any loosened stain particles. Be sure to open the faucet wide And let the water flow over all surfaces Of the sink, Ensuring that no residue remains. For a more targeted rinse, you might consider using a sprayer if your sink is equipped with one.
9. Get A Clean Kitchen Sink
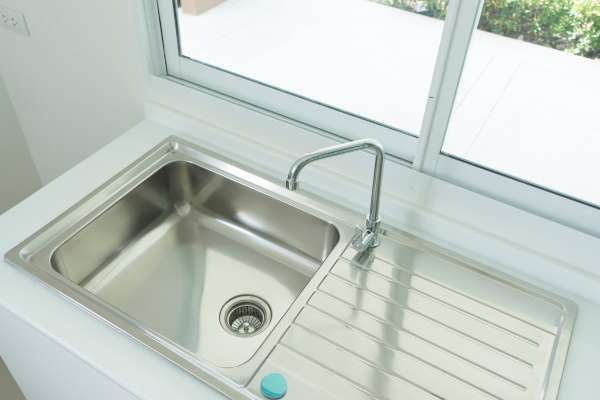
Following your thorough rinse, the final step to a sparkling clean sink is drying it. While this may seem like An unnecessary task, It’s actually An essential part of the cleaning process. Leaving your sink wet could lead to water spots or mineral deposits, especially if you have hard water. To dry your sink, Use a clean, Soft cloth Or towel and wipe down all surfaces Of the sink, including the faucet and handles.
Additional Tips For Maintaining A Clean Kitchen Sink
Maintaining a clean kitchen sink goes beyond the occasional deep clean. Here are some additional tips to keep your sink spotless and in good condition:
1. Regularly Wiping Down The Sink After Use
After each use, Take A few seconds to rinse out your sink and wipe it down with A clean, Dry cloth. This simple habit can prevent food particles and mineral deposits from building up and staining the sink.
2. Avoiding Abrasive Cleaners Or Scrubbers
While it might be tempting to use A harsh cleaner or scrubber to remove tough stains. These can scratch And damage the surface Of your sink, especially if it’s made of stainless steel or porcelain. Instead, opt for gentle cleaners and non-abrasive scrubbers, such as soft cloths or sponges.
3. Using Sink Mats Or Grids To Protect The Sink Surface
These accessories can help protect your sink from scratches and dents, especially when washing heavy pots and pans. Just remember to clean these mats or grids regularly to prevent them from becoming a breeding ground for bacteria.
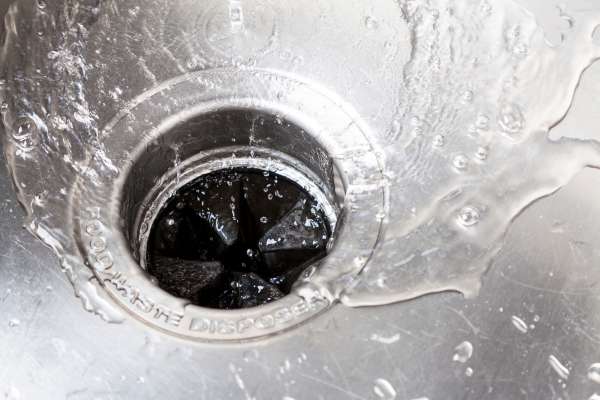
4. Periodically Deep Cleaning The Sink
While regular wipe downs are crucial, it’s equally important to perform a deep clean of your sink every so often. This might involve a more thorough scrub with a baking soda paste or a vinegar soak, as well as cleaning the drain and disposal.
Ensuring Proper Ventilation
Maintaining proper ventilation while cleaning your kitchen sink is crucial for ensuring a safe and healthy environment. When using any cleaning products, Be they commercial Or natural, make sure your kitchen is well-ventilated to minimize the risk Of inhaling potentially harmful fumes.
Open windows and doors for natural ventilation or turn on an exhaust fan or range hood, if available, to promote air circulation and remove fumes. Opt for natural cleaning solutions, like vinegar, baking soda, or lemon, whenever possible as they produce fewer harmful fumes. Nonetheless, these should still be used in a ventilated area.
During extensive cleaning sessions, remember to take breaks and step outside to breathe in some fresh air. Ensuring adequate ventilation not only safeguards your health but also helps eliminate unpleasant odors and enhances the overall air quality in your kitchen.
The Final Thoughts
Clean kitchen sink stains may seem like a daunting task. But with the right tools And techniques, It can done quickly and easily. Whether you are dealing with hard water stains, rust, or food residue, There is a solution that can effectively remove them. Remember to always follow safety precautions when working with chemical cleaners And test any new products in an inconspicuous area before applying them to the entire surface. By regularly cleaning your kitchen sink and keeping it free of stains, You can not only improve its appearance but also prevent damage and prolong its lifespan. So go ahead and tackle those stubborn stains today!