
Cleaning a milk frother Is An essential step For any coffee enthusiast or barista To ensure the best-tasting beverages And maintain the longevity of the equipment. “How To Clean Milk Frother” Is A straightforward process that requires minimal tools but maximum attention to detail. Regular cleaning not only prevents the build-up of juice residues and bacteria but also guarantees that every frothy creation, whether it’s a cappuccino or A latte, Is of The highest quality. This guide will provide You with simple, effective methods to keep your It In pristine condition, ensuring that your coffee-making experience remains delightful and hygienic.
What Is A Milk Frother?
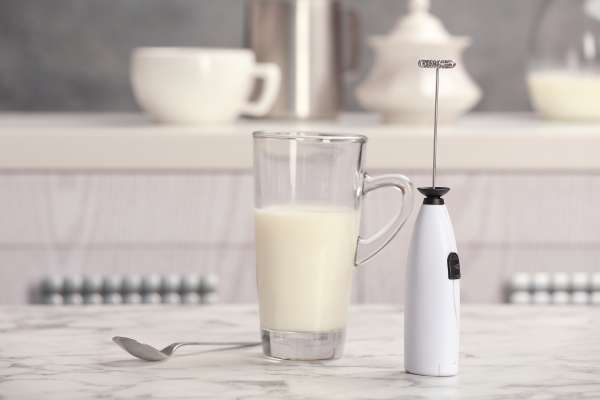
A Milk Frother Is An indispensable tool for coffee aficionados and baristas, used to aerate milk, creating A Rich, creamy froth essential For beverages like cappuccinos and lattes. These devices come In various forms, including manual, handheld electric, And automatic models. By rapidly agitating the juice, It introduces air into It, increasing Its volume and giving It A light, bubbly texture. This process not only enhances the sensory experience of coffee but also allows for artistic latte art creations. Understanding The mechanics and importance of A It is key To Appreciating its maintenance And cleaning.
How Often Should I Clean My Milk Frother?
The frequency of cleaning your It Is Crucial for both hygiene and the machine’s longevity. Ideally, It should be cleaned after every use to prevent milk residue build-up and bacterial growth, which Can affect the taste and safety of your beverages. For those using their frother multiple times a day, A quick rinse after each use, followed by A more thorough cleaning at the End of the day, is recommended. Keeping your It clean not only extends Its life but also ensures consistently high-quality froth with every use.
Can I Use Vinegar To Clean My Milk Frother?
Vinegar is A versatile and effective cleaning agent that can be used to clean It. Its natural acidity Is excellent for breaking down milk residues And mineral build-ups without harming the frother’s components. To clean your maker with vinegar, prepare A solution of equal parts water And white vinegar. Run this solution through the maker as You would with juice, then rinse thoroughly with water To remove any vinegar taste. This method is particularly useful For deep cleaning and descaling, And it’s an eco-friendly And economical option for maintaining your brother’s cleanliness and functionality.
Step-By-Step Cleaning Guide
Step 1: Turn Off Your Milk Frother
Safety first! Before beginning The cleaning process, ensure that your It Is turned off and unplugged from the power source. This not only prevents any potential electrical hazards but also makes It safer for you to handle The device during cleaning.
Step 2: Let Your Milk Frothers Cool Down

After turning off the frother, give It some time to cool down. Handling A Hot It can lead to burns or discomfort. Wait until it reaches a temperature that Is safe to touch. This usually takes A few minutes, depending on the type and model of your brother.
Step 3: Fill Your Frother With A Soapy Mix

Once it’s cool, fill The milk maker with A mix of warm water and mild dish soap. Avoid using harsh chemicals or abrasive cleaners As they Can damage the frother’s surface. Turn on the maker For a few seconds To let the soapy water create suds and reach All internal parts. This helps In loosening any juice residue stuck inside.
Step 4: Wipe Down Your Lid
While the inside Is soaking, take A soft cloth or sponge And gently wipe The exterior and the lid of the frother. Pay special attention to areas where milk splashes And residues are common. If your maker has A detachable lid, remove It And clean it separately, ensuring All parts are soap And residue-free.
Step 5: Pour Out Your Suds And Rinse
After allowing the soapy water To sit for a bit, pour It out. Rinse the interior of The frother several times with clean water To ensure all soap suds are removed. It’s crucial To rinse thoroughly, As leftover soap can affect the taste and quality of The milk froth in future uses. After rinsing, gently dry The maker with A soft towel or let It air dry before the next use.
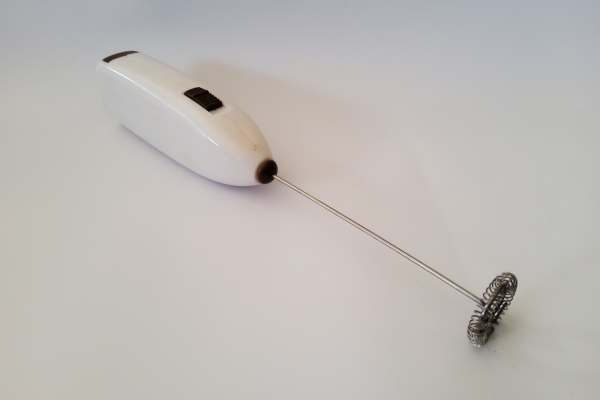
Step 6: Inspect Your Whisk

The whisk Is A crucial component of your It. Carefully remove It, If detachable, and inspect it For any juice residue or buildup. Gently clean The whisk with A soft brush or cloth under warm water. Ensure that It’s completely clean, As any leftover residue can affect the frother’s efficiency and the quality of The froth In your next use.
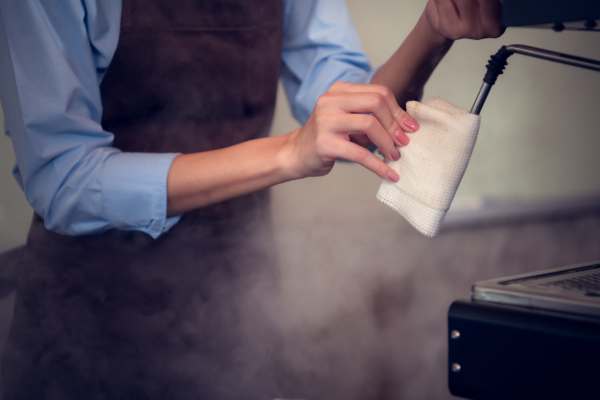
Step 7: Wipe Down The Milk Frothers Exterior

Using A damp cloth, gently wipe down The exterior of The juice maker. This step helps remove any fingerprints, spills, or stains on the surface, keeping your frother not only functionally clean but also aesthetically pleasing. Be careful not to let water seep into The electrical components.
Step 8: Rinse And Dry
After cleaning all parts of The It, It’s important To rinse them thoroughly with clean water To remove any soap residues. Once rinsed, dry all components with A soft, lint-free towel. Make sure that all parts, especially The interior, are completely dry before reassembling To Prevent Any Water From Damaging The Electrical Parts.
Step 9: Turn On Your Milk Frother

Reassemble your It, ensuring all parts are correctly and securely In place. Turn It on briefly without any milk To ensure everything Is working properly. This step also helps To remove Any excess water that might have been missed during drying.
Conclusion
Regularly cleaning your milk frother following these steps Is key To maintaining Its performance And longevity. Not only does It Ensure that your frother continues To produce high-quality froth, but It also helps prevent any hygiene issues associated with leftover milk residues. A clean It Is essential For Any coffee lover’s kitchen, guaranteeing delicious, frothy beverages every time.