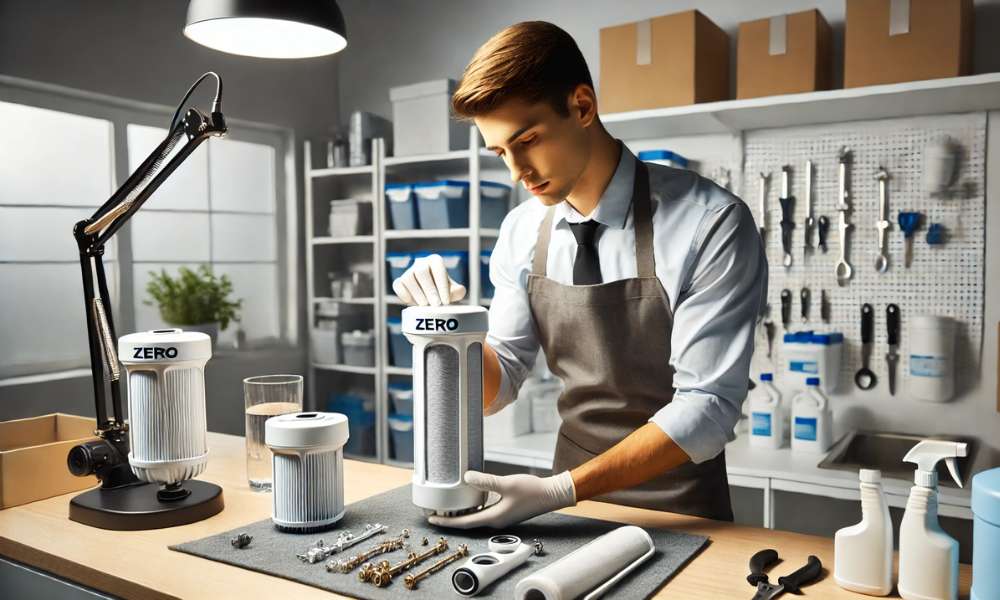
Cleaning your Zero Water Filter is essential to maintaining its efficiency and ensuring you get the purest water possible. Regularly cleaning your filter not only extends its lifespan but also guarantees that it continues to remove contaminants effectively. Following a few simple steps, you can easily clean your Zero Water Filter and enjoy the benefits of crystal-clear water without frequent replacements. This quick and straightforward process helps maintain the quality of your drinking water, making it an important routine for any household that relies on this advanced filtration system.
What Is A Zero Water Filter?
A Zero filtration system is an advanced aqua filtration system that removes virtually all dissolved solids from tap aqua, providing you with the purest drinking aqua possible. Unlike traditional filters, Zero Aqua uses a five-stage filtration process, including activated carbon and ion exchange, to eliminate contaminants like lead, chlorine, and heavy metals. This makes it an ideal choice for anyone looking to significantly improve the quality of their drinking water, ensuring it is free from impurities and safe for consumption.
How Zero Water Filters Work?
The zero filtration system works by utilizing a unique five-stage filtration process that effectively removes almost all dissolved solids from your tap aqua. The process begins with a coarse filtration system to remove large particles, followed by a multi-layer system of activated carbon and oxidation reduction alloys that target and eliminate chlorine, heavy metals, and other contaminants. The aqua then passes through an ion exchange stage, which further purifies it by exchanging harmful ions with beneficial ones. Finally, a fine filtration system captures any remaining particles, resulting in exceptionally pure aqua that tastes clean and fresh. This comprehensive filtration method ensures that the water you drink is as close to pure H2O as possible.
Here Are Step By Step Guide How To Clean Zero Water Filter
Step 1: Gather Necessary Supplies
- Clean, Lint-Free Cloths Or Paper Towels
- Mild Dish Soap
- Soft Brush Or Sponge
- Warm Water
- White Vinegar (Optional)
- A Clean Container To Hold The Filter
Step 2: Disassemble The Zero Water Pitcher
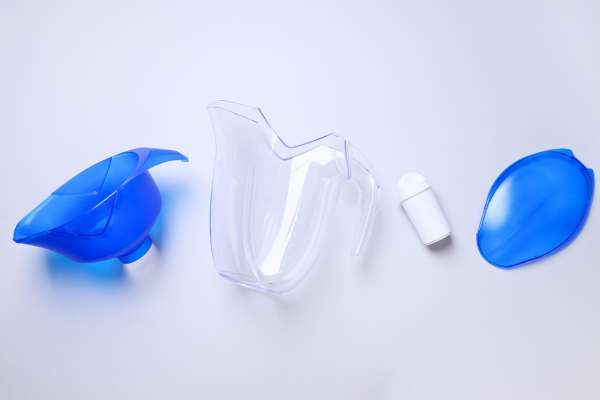
To clean your Zero Water Filter effectively, start by disassembling the pitcher. First, remove the lid and gently lift out the filtration system. Be careful not to spill any aqua left inside. Separate the filtration system from the reservoir to ensure all parts are accessible for cleaning. Disassembling allows you to clean each component thoroughly, which is crucial for maintaining the filter’s performance. This step is simple but important—proper disassembly ensures that every part gets the attention it needs during the cleaning process, preventing any buildup of contaminants that could affect aqua quality.
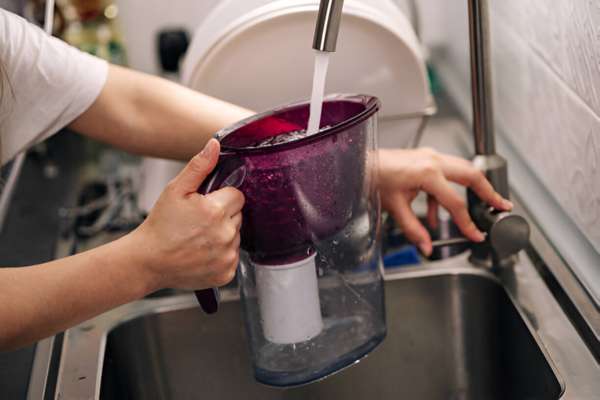
Step 3: Rinse The Filter
Once you’ve disassembled the pitcher, the next step is to rinse the filter. Hold the filtration system under a gentle stream of warm water. This helps to remove any loose debris or particles that may have accumulated. Avoid using soap or other cleaning agents, as they can leave residues that might affect the filter’s performance. Rinsing is essential to ensure that the filtration system remains unclogged and continues to work efficiently. A good rinse keeps your Zero aqua purifier functioning at its best, ensuring that you continue to get clean, pure aqua every time.
Step 4: Clean The Filter Housing
After rinsing the filter, it’s time to clean the filter housing. This part of the pitcher often collects dirt and grime over time, which can impact the overall filtration process. Use a soft brush or sponge and mild dish soap to gently scrub the inside of the housing. Focus on areas where sediment might build up. Cleaning the housing ensures that the filtration system fits snugly and functions properly, without any obstructions. A clean filtration system housing contributes to the overall effectiveness of your Zero aqua purifier, ensuring that every drop of water is thoroughly filtered.
Step 5: Rinse The Filter Housing
In this sequence, rinse the filter housing. After scrubbing it clean, rinse it thoroughly under warm water to remove any soap residue. It’s crucial to ensure no soap remains, as it could interfere with the filtration process or leave an unwanted taste in the aqua. A well-rinsed housing means that the filtration system can operate without any hindrances, maintaining the purity of your water.
Step 6: Optional: Soak In Vinegar
If it shows signs of stubborn buildup, you may opt to soak it in vinegar for a deeper clean. Fill a clean container with a mixture of one part white vinegar and two parts warm water. Submerge the filtration system in this solution and let it soak for about 30 minutes. Vinegar’s natural acidity helps break down any mineral deposits or tough residue that may have accumulated over time. After soaking, rinse the filtration system thoroughly under warm aqua to remove any remaining vinegar. This optional step ensures your filter stays in top condition, extending its lifespan and maintaining water purity.
Step 7: Dry The Filter
After cleaning and rinsing, it’s crucial to dry the filter properly before reassembling it. Place the filter on a clean, lint-free cloth or paper towel and let it air dry completely. Avoid using any heat sources like a hairdryer, as this could damage the filtration system. Proper drying prevents moisture from being trapped inside, which could lead to mold or bacterial growth. Allowing the filtration system to dry naturally also ensures that it’s ready to perform at its best once reinstalled. This simple yet important step helps maintain the integrity and effectiveness of your Zero Aqua Filter.
Step 8: Clean The Pitcher
While the filter is drying, take the opportunity to clean the pitcher itself. Use mild dish soap and a soft sponge or cloth to scrub the interior and exterior of the pitcher. Pay special attention to any corners or crevices where residue might accumulate. Rinse the pitcher thoroughly with warm aqua to remove all soap traces, ensuring nothing remains that could alter the taste or quality of your aqua. Keeping the pitcher clean is just as important as maintaining the filtration system, as it ensures the entire system works together to provide the purest H2O possible.
Step 9: Reassemble The Pitcher
Once all components are clean and dry, it’s time to reassemble your Zero Aqua Pitcher. Start by placing the filter back into its housing, ensuring it’s securely fitted. Next, attach the reservoir and replace the lid. Make sure everything is properly aligned and snug to prevent any leaks or filtration issues. Reassembling the pitcher correctly is vital for maintaining the filter’s performance and ensuring that the aqua flows through the system as designed. A properly reassembled pitcher guarantees that your Zero filtration system continues to provide clean, pure aqua with every use.
Step 10: Run A Water Test (Optional)
After reassembling your Zero Water Pitcher, you might consider running a water test to ensure everything is working correctly. Fill the pitcher with tap aqua and let it filtration system through. Once filtered, use a TDS (Total Dissolved Solids) meter to measure the aqua quality. A low reading indicates that your filtration system is functioning properly and delivering pure aqua. While this step is optional, it provides peace of mind that your efforts have paid off and that your Zero Aqua Filter is in optimal condition. Regular aqua testing can help monitor the filter’s effectiveness and signal when it’s time for maintenance.
Final Thoughts
Maintaining your Zero Water Filter through regular cleaning is essential for ensuring it continues to deliver the purest aqua possible. By following these simple steps and being mindful of when to replace the filtration system, you can extend the lifespan of your system and enjoy consistently fresh, contaminant-free aqua. Regular maintenance not only keeps your filtration system in top condition but also ensures that your entire Zero Aqua system operates efficiently. Taking these small yet important steps will help you get the most out of your filtration system, providing peace of mind and high-quality H20 for you and your family.
How Often Should I Change My Zero Water Filter?
You should change your Zero Water purifier when the Total Dissolved Solids (TDS) meter reads 006 or higher, typically after filtering 20 to 40 gallons of aqua, depending on your water’s quality. The filter’s lifespan can vary based on the level of contaminants in your tap aqua. Regularly monitoring the TDS level ensures you’re replacing the filtration system at the right time to maintain optimal aqua purity. Waiting too long to change the filtration system can result in diminished filtration effectiveness, leading to less pure H20. Therefore, it’s essential to check the TDS meter regularly and replace the filter as needed.
What Are The Signs That My Filter Needs To Be Replaced?
Signs that your Zero aqua purifier needs to be replaced include a noticeable decline in water taste or quality, a TDS meter reading of 006 or higher, slower water flow through the filter, or visible debris in the filtered aqua. Additionally, if the aqua starts to taste metallic or has an off odor, it indicates that the filtration system is no longer effectively removing contaminants. Regularly checking the TDS meter and observing these signs will help ensure that you replace the filter promptly, maintaining the purity and safety of your drinking aqua.
Can I Clean The Filter Cartridge Instead Of Replacing It?
While you can clean the exterior of the Zero Aqua Filter cartridge to remove surface debris, the internal components are not designed to be cleaned or reused. Over time, the filter’s effectiveness decreases as it becomes saturated with contaminants. Cleaning the cartridge may temporarily improve the flow, but it won’t restore its full filtration capabilities. Therefore, it’s recommended to replace the filtration system cartridge rather than attempting to clean it. Replacing the cartridge ensures that your aqua remains pure and free of harmful contaminants, maintaining the high-quality filtration that Zero Aqua is known for.
Is It Necessary To Clean The Water Dispenser As Often As The Filter?
It is not necessary to clean the water dispenser as often as the filter, but regular cleaning is still important to maintain overall hygiene and quality. While the filtration system does most of the work in purifying the aqua, the dispenser can accumulate bacteria, mold, or mineral deposits over time. Cleaning the dispenser every few weeks, or whenever you notice buildup, helps prevent these issues and ensures that the aqua remains fresh and clean. By maintaining both the filtration system and the dispenser, you can enjoy consistently pure aqua from your Zero H20 system.
What Should I Do If My Zero Water Filter Starts Leaking?
If your Zero Water purifier starts leaking, the first step is to check that all components are properly assembled and securely tightened. Ensure the filter is correctly seated in the reservoir and that the pitcher lid is firmly in place. If the leaking persists, inspect the filtration system for cracks or damage, as this could be the cause. Additionally, make sure that the rubber O-ring or gasket is intact and correctly positioned, as a damaged or misplaced seal can lead to leaks. If you find any defects, it’s best to replace the filtration system to restore proper function. Regular maintenance and careful assembly can help prevent leaks and ensure your Zero Aqua system operates smoothly.
Are There Any Products I Should Avoid Using When Cleaning My Zero Water System?
When cleaning your Zero Aqua system, avoid using harsh chemicals, abrasive cleaners, or any products containing bleach or ammonia, as these can damage the filter and pitcher components. Additionally, refrain from using scouring pads or brushes with hard bristles, as they can scratch the surfaces and compromise the system’s integrity. Stick to mild dish soap, soft cloths, or sponges, and warm water for cleaning. If deeper cleaning is needed, white vinegar is a safe and effective option. Using gentle, non-toxic products helps maintain the longevity of your Zero aqua system and ensures it continues to provide clean, pure H20.