The foundation of any great sushi dish begins with perfectly prepared sushi rice. Unlike ordinary rice, sushi rice requires meticulous attention to detail, ensuring that it achieves the right texture, flavor, and stickiness. Many assume that a grain cooker is essential for this process, but with the right technique, cook sushi rice on a stove can yield equally remarkable results. This guide will walk through each step, from selecting the correct type of grain to the final seasoning, ensuring that each grain absorbs the delicate balance of sweet, salty, and tangy flavors essential for authentic sushi.
1. Choosing the Right Rice for Sushi
Selecting the proper rice is crucial for sushi preparation. Short-grain or medium-cereal varieties, such as Japanese sushi rice, are preferred due to their high starch content, which provides the characteristic stickiness needed for sushi rolls and nigiri. Avoid long-grain varieties like basmati or jasmine, as they lack the necessary texture and cohesiveness. Popular brands like Nishiki, Kokuho Rose, or Tamanishiki are recommended for achieving the best results.
2. Ingredients and Tools Needed
For perfect stovetop this grain, the following ingredients and tools are essential:
- Ingredients: 2 cups of sushi rice, 2 ½ cups of water, ¼ cup of rice vinegar, 2 tablespoons of sugar, and 1 teaspoon of salt.
- Tools: A heavy-bottomed pot with a tight-fitting lid, a wooden spoon or spatula, and a wide, shallow bowl (preferably a wooden hangiri) for mixing and cooling the grain.
- Using filtered water instead of tap water enhances the final texture, removing impurities that might affect the rice’s natural flavor.
3. Preparing the Sushi Rice Before Cooking
Rinsing this rice is essential to remove excess starch, preventing the grains from becoming overly sticky or gummy. Place the grain in a bowl and rinse it under cold water, gently rubbing the grains between your fingers. Drain and repeat this process at least three times until the water runs clear. After rinsing, soaking the rice for at least 30 minutes ensures even water absorption, leading to uniform cooking and a softer texture.
4. Cooking
To cook this grain properly, follow these steps:
- In a heavy-bottomed pot, combine the rinsed rice and measured water. Let it sit for 10 minutes before turning on the heat.
- Bring the water to a boil over medium-high heat, then reduce to low and cover with a lid.
- Allow the rice to simmer for 12-15 minutes without lifting the lid.
- Turn off the heat and let the grain steam for an additional 10 minutes to complete the cooking process.
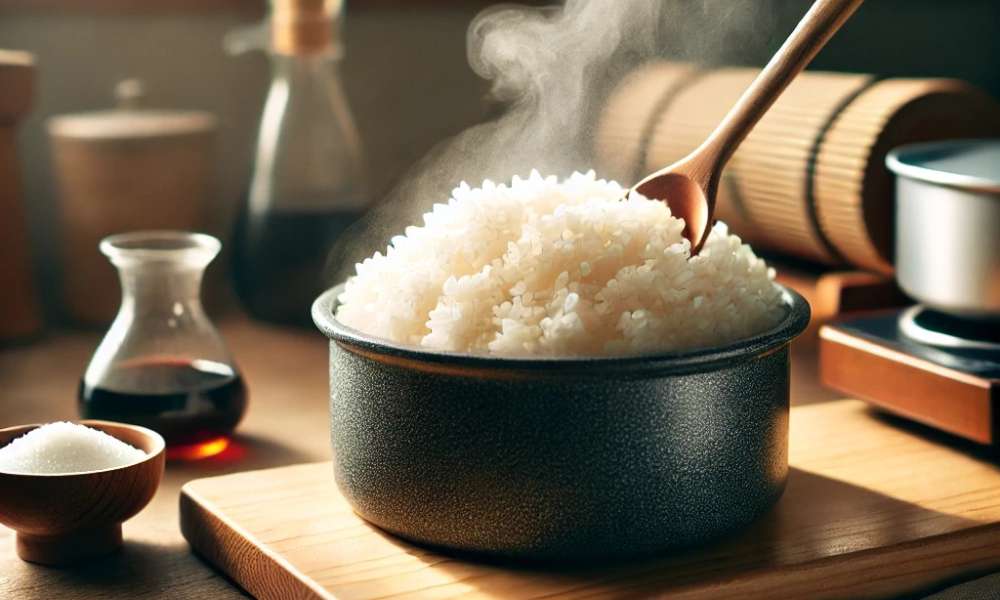
5. Letting the Rice Steam for Perfect Texture
Once the heat is off, resist the urge to remove the lid immediately. Allowing the cereal to steam in the pot ensures that the moisture distributes evenly, resulting in soft yet firm grains. This resting period also prevents the grain from becoming overly wet or undercooked in certain spots.
6. Making Sushi Vinegar Seasoning
The signature flavor of this grain comes from the vinegar mixture. In a small saucepan, gently heat the cereal vinegar, sugar, and salt until fully dissolved. Avoid boiling the mixture, as it may alter the delicate flavor profile. Once ready, let it cool slightly before adding it to the grain.
7. Mixing Sushi Vinegar with Cooked Rice
Transfer the hot rice to a wide, shallow wooden or glass bowl. Using a wooden spoon, gently fold the vinegar mixture into the cereal, ensuring each grain is coated without mashing or breaking them. To speed up the cooling process, use a hand fan or a piece of cardboard to aerate the grain while mixing. This method enhances the glossy sheen characteristic of well-prepared cereal.
8. Common Mistakes
- Overwashing or underwashing rice affects the final texture.
- Using incorrect water ratios can lead to dry or mushy rice.
- Lifting the lid too soon during cooking disrupts the steaming process.
- Over-stirring rice after adding vinegar can make it too sticky or mushy.
9. How to Store Sushi Rice Properly
This rice is best enjoyed fresh, but if necessary, it can be stored at room temperature for up to six hours covered with a damp cloth to retain moisture. Avoid refrigerating this grain, as it can become hard and lose its signature texture. If reheating is needed, a light steaming method works best to restore its softness. Read. how long does rice cooker take
10. Using Stovetop Sushi Rice for Different Dishes
Once mastered, homemade rice can be used for a variety of dishes beyond traditional sushi rolls. From poke bowls and onigiri to fusion sushi burritos and chirashi bowls, the versatility of well-prepared grain allows for endless culinary creativity.
Conclusion
Mastering the art of cooking this cereal on a stove requires patience and attention to detail. By selecting the right grain, following proper rinsing and soaking techniques, and using precise cooking and seasoning methods, achieving restaurant-quality grain at home is entirely possible. With practice, the perfect balance of texture and flavor can be attained, elevating homemade sushi creations to new heights of authenticity and excellence.