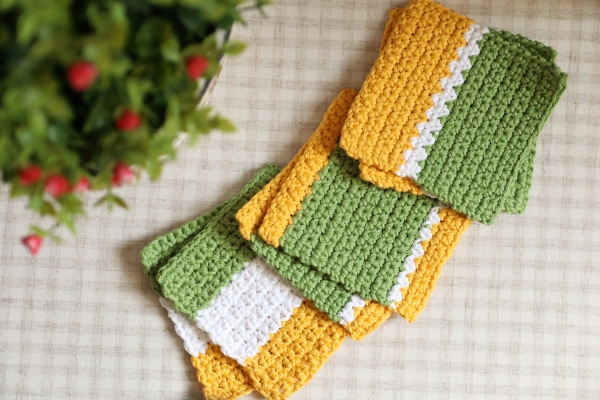
Crochet kitchen towels is a delightful and practical craft that adds a personal touch to your home. If you’ve ever wondered how to crochet towels, you’re in the right place. This guide will walk you through the essential steps, from selecting the right yarn and hook to mastering the basic stitches needed for this project. Not only do handmade towels make a charming addition to your kitchen decor, but they also serve as thoughtful and functional gifts. Whether you’re a beginner or an experienced crocheter, creating your own kitchen towels can be a rewarding and enjoyable experience.
What Is Crochet?
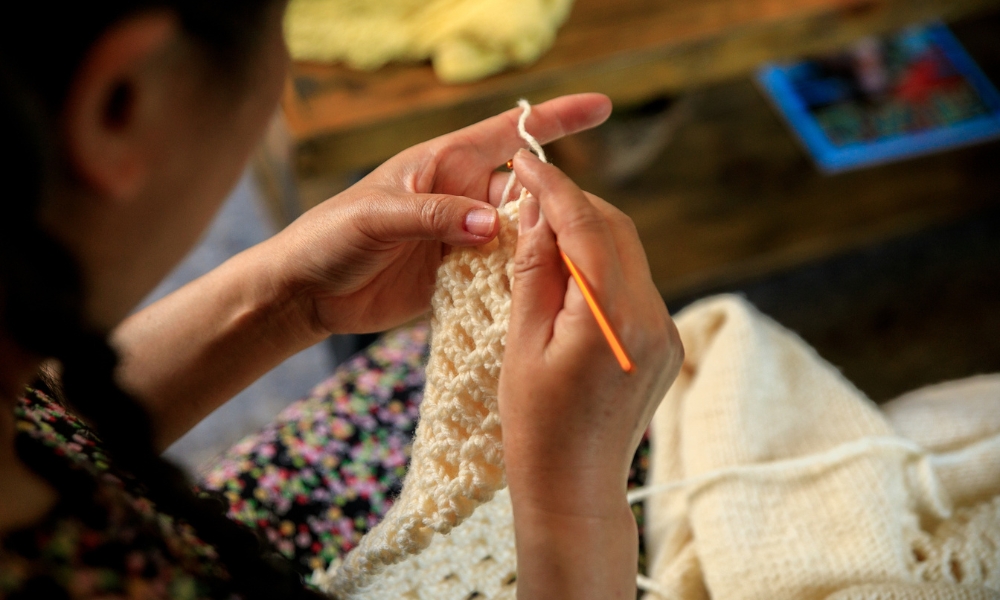
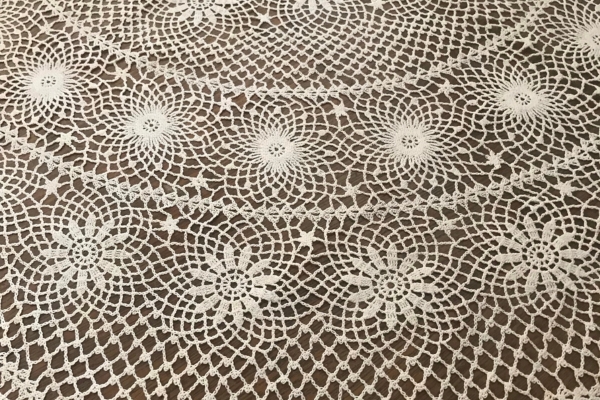
Crochet is a versatile needlecraft that involves creating fabric by interlocking loops of yarn using a crochet hook. Unlike knitting, which uses two needles, crochet relies on a single hook to form stitches. This craft has been cherished for centuries, evolving from simple thread work to complex patterns and designs. Crocheting is not only a relaxing and therapeutic hobby but also a practical skill that allows you to create a variety of handmade items, including clothing, accessories, and home decor. If you’re new to this craft, learning how to crochet kitchen towels is a perfect starting point, offering both functionality and a sense of accomplishment.
What Type Of Yarn Is Best For Crocheting Kitchen Towels?
Choosing the right yarn is crucial for creating durable and absorbent kitchen towels. For this project, cotton yarn is highly recommended due to its excellent absorbency and durability. Cotton yarns are also easy to care for, as they can withstand frequent washing and usage without losing their shape or color. When selecting yarn, consider the weight and thickness that suits your desired towel texture. Worsted weight cotton yarn is a popular choice, providing the right balance of thickness and flexibility, making your crocheted kitchen towels both functional and visually appealing.
What Size Crochet Hook Should I Use For Kitchen Towels?
The size of your crochet hook can significantly impact the texture and appearance of your towels. For most cotton yarns, a hook size ranging from 4.5mm to 5.5mm (G to I) works well. The exact size may vary depending on your tension and the specific yarn you’re using. A slightly larger hook can create a looser, more flexible fabric, while a smaller hook will produce a tighter, denser towel. Experimenting with different hook sizes can help you achieve the perfect balance between ease of crocheting and the desired towel texture. Using the appropriate hook size ensures your kitchen towels are both functional and aesthetically pleasing, making them a delightful addition to your kitchen.
Materials Needed
- Cotton Yarn
- Crochet Hook
- Scissors
- Yarn Needle
Step-By-Step Instructions
1. Choose Your Pattern
The first step in learning how to crochet kitchen towels is selecting a pattern that suits your skill level and aesthetic preferences. There are many patterns available, ranging from simple single crochet stitches to more intricate designs like shell or lattice patterns. Beginners may want to start with a basic pattern that uses straightforward stitches to build confidence. Look for patterns that provide clear instructions and visual aids, which can be particularly helpful if you’re new to crocheting. Once you’ve chosen your pattern, gather your materials, including the recommended yarn and hook size.
2. Create A Foundation Chain
With your pattern in hand, the next step is to create a foundation chain. This chain forms the base of your towel and sets the width of your project. Begin by making a slip knot on your hook, then yarn over and pull through the loop to create your first chain stitch. Continue chaining until you have the number of stitches required by your pattern. It’s important to keep your tension consistent to ensure that your foundation chain is even. An even foundation chain will make the subsequent rows easier to work and result in a more uniform finished product.
3. First Row
After completing the foundation chain, it’s time to work the first row of your kitchen towel. This step typically involves working a single crochet (sc) or another basic stitch into each chain stitch of the foundation. Insert your hook into the second chain from the hook, yarn over, and pull up a loop. You should now have two loops on your hook. Yarn over again and pull through both loops to complete the stitch. Repeat this process across the entire row, making sure to count your stitches to match the pattern requirements. This initial row can be a bit challenging as you get used to working into the foundation chain, but it sets the stage for the rest of your project. As you continue, you’ll find your rhythm, and the fabric will begin to take shape.
4. Subsequent Rows
Once you’ve completed the first row, you can move on to the subsequent rows. Turn your work, chain one (or more, depending on your pattern), and start crocheting into each stitch from the previous row. For basic patterns, you might continue with single crochet (sc), double crochet (dc), or half double crochet (hdc) stitches. Follow your chosen pattern closely, ensuring you maintain the correct stitch count for each row. Consistency in tension and stitch placement is key to achieving a uniform appearance. As you progress, you’ll see your towel take shape, growing row by row until it reaches the desired length.
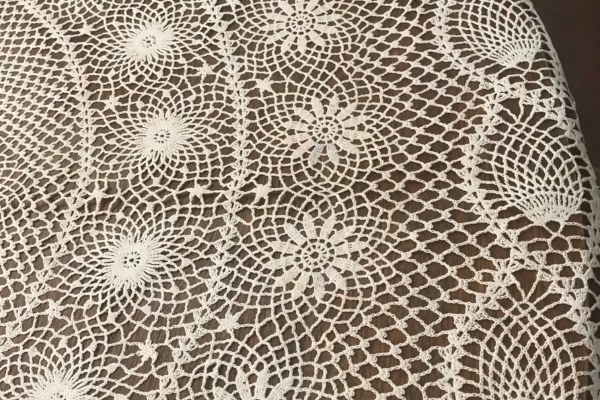
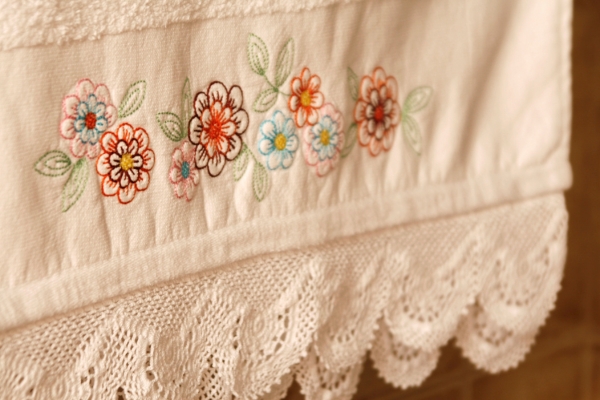
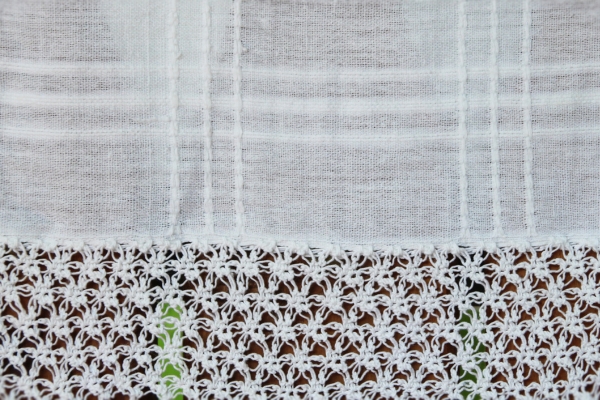
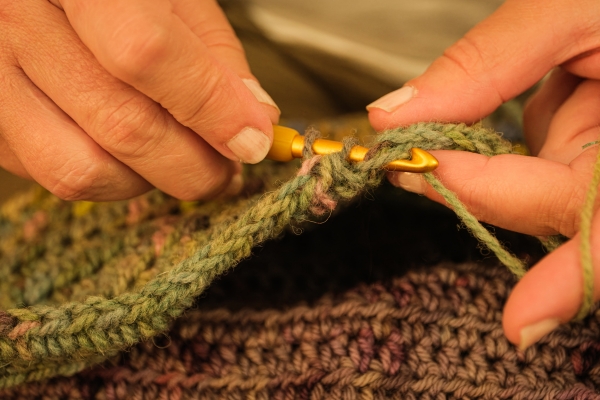
5. Add A Border
Adding a border to your kitchen towel can give it a polished and professional look. Once you’ve reached the final row of your main pattern, don’t finish off yet. Instead, continue by working around the edges of your towel. Depending on your preference, you can use single crochet, reverse single crochet (also known as crab stitch), or any decorative stitch for the border. Start by working evenly along one edge, placing stitches as evenly spaced as possible to avoid puckering or stretching. Turn the corners by working multiple stitches into the same space to ensure smooth, rounded edges. Continue this process around all four sides of the towel.
6. Finish Off
After completing the border, it’s time to finish off your project. Cut the yarn, leaving a tail of about six inches. Yarn over and pull the tail through the last loop on your hook to secure the end. Use a yarn needle to weave in the loose ends, hiding them within the stitches to prevent unraveling. Be thorough in weaving the ends to ensure durability, especially since Hang Kitchen Towels are frequently used and washed. Finally, give your towel a gentle wash and block it if necessary to smooth out any unevenness and enhance its shape. Now, your beautifully crocheted kitchen towel is ready to use or gift.
7. Blocking
Blocking is an essential final step that helps even out your stitches and gives your kitchen towel a polished look. To block your towel, begin by soaking it in lukewarm water for about 15 minutes. Gently squeeze out the excess water without wringing or twisting. Lay the towel flat on a clean, dry towel or blocking mat, stretching it to the desired dimensions. Use pins to secure the edges if necessary, ensuring the towel retains its shape as it dries. Leave it to dry completely, which might take a few hours to overnight, depending on the yarn and environmental conditions. Blocking ensures your towel looks neat and professional, with crisp edges and uniform stitches.
Tips And Tricks
- Gauge Swatch: Before starting your project, make a small gauge swatch to ensure your tension matches the pattern requirements. This step helps avoid ending up with a towel that is too large or too small.
- Consistent Tension: Maintain consistent tension throughout your project to ensure uniform stitches and an even texture.
- Stitch Markers: Use stitch markers to mark the beginning of rows or significant pattern changes, especially when working on complex designs.
- Counting Stitches: Regularly count your stitches to ensure you are maintaining the correct number for each row, which helps prevent unintentional increases or decreases.
- Yarn Choice: Choose yarns that are easy to wash and durable, as kitchen towels will be frequently used and laundered.
- Experiment: Don’t be afraid to experiment with different patterns, stitches, and colors to create unique and personalized kitchen towels.
Conclusion
Learning how to crochet kitchen towels is a rewarding and practical skill that combines creativity with functionality. By following these step-by-step instructions, you can create beautiful, handmade towels that enhance your kitchen decor and serve as thoughtful, personalized gifts. From choosing the right pattern and yarn to mastering the foundation chain, rows, and finishing touches like borders and blocking, each step contributes to the success of your project. With practice and attention to detail, your crocheting skills will improve, allowing you to tackle more complex patterns and designs. Enjoy the process and the satisfaction of crafting something both beautiful and useful with your own hands.