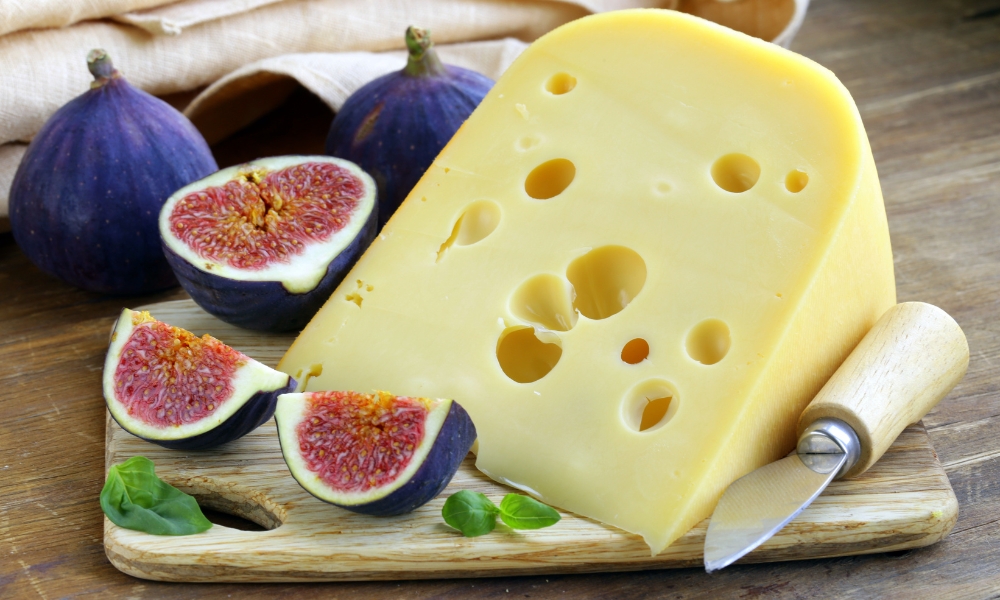
Creating an elegant and inviting cheese board involves more than just selecting the right cheeses; the accompaniments, especially fruits like figs, play a crucial role in enhancing the flavors. Learning how to cut figs for cheese board is essential for both visual appeal and ease of eating. Properly sliced fig not only adds a touch of sweetness but also brings a unique texture that complements various cheeses. This guide will walk you through the steps to perfectly cut figs, ensuring your cheese boards are as beautiful as it is delicious. Whether you are preparing for a casual gathering or a sophisticated soirée, mastering this simple skill will elevate your presentation and delight your guests.
How Far In Advance Can I Prepare Figs?
When preparing figs for a cheese board, timing is crucial to ensure they maintain their freshness and visual appeal. Ideally, fig should be prepared on the day of your event to keep them juicy and vibrant. However, if you’re pressed for time, you can wash and cut the It up to 24 hours in advance. Store them in an airtight container in the refrigerator to preserve their freshness. Just before serving, let It come to room temperature for the best flavor and texture. Preparing fig too far in advance can cause them to become overly soft and less appetizing, so handling them close to serving time is recommended.
Cutting Process
1. Wash The Figs
Before you start cutting figs for your cheese board, it’s essential to wash them thoroughly. Figs are delicate and can collect dirt and bacteria easily. Rinse them gently under cool running water, and then pat them dry with a paper towel. This step ensures that any surface contaminants are removed, making the fig safe and pleasant to eat.
2. Remove The Stem
Once the figs are clean, the next step is to remove the stem. Using a sharp paring knife, slice off the small, tough stem at the top of each fig. This improves the texture and enhances the presentation, making the fig look cleaner and more appetizing on your Royal Craft Wood Cheese Board.
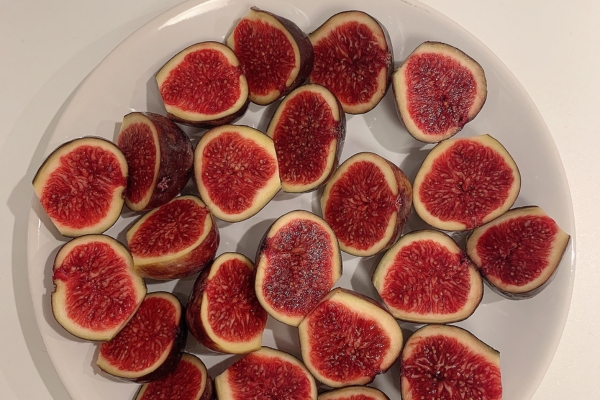
3. Halve The Figs
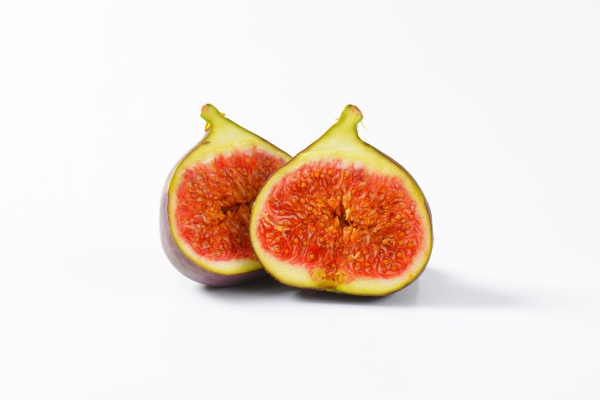
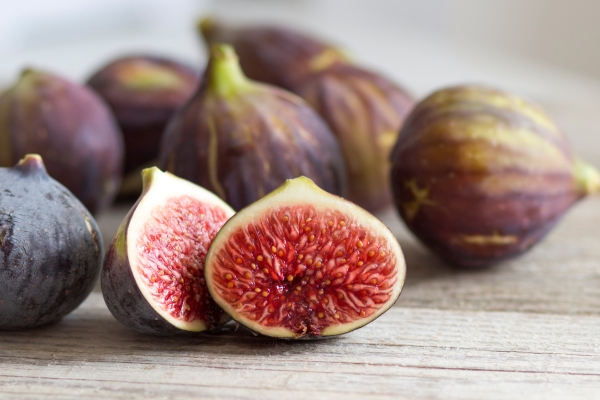
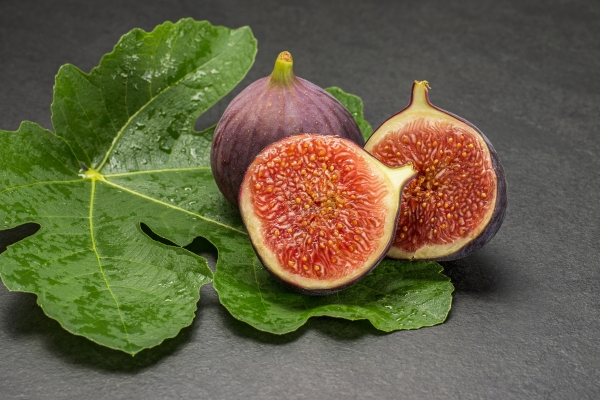
After removing the stems, the simplest way to cut It is to halve them. Place the fig on a cutting board and slice it lengthwise from top to bottom. Halved fig showcase their beautiful interior and are easy for guests to pick up and eat.
4. Quarter The Figs
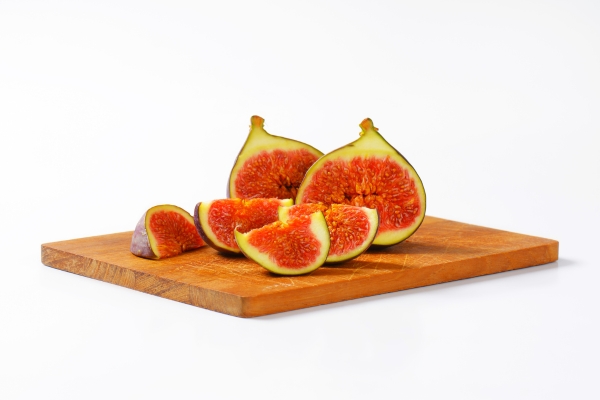
For larger figs, consider quartering them. After halving the It, cut each half in half again, resulting in four equal pieces. Quartered fig are perfect bite-sized portions that are easy to handle and pair well with various cheeses.
5. Slice The Figs
If you prefer, you can also slice the fig. Lay the It on its side and make even slices from top to bottom. Sliced It add a delicate, elegant touch to your cheese boards, and their thinness allows them to be draped over cheese or crackers.
6. Figs The Slices
To add a decorative element, fan the fig slices. After slicing, gently spread the pieces out in a fan shape. This not only looks beautiful but also makes it easy for guests to grab a piece. Fanning the slices can add a touch of sophistication to your presentation.
7. Leave Some Whole
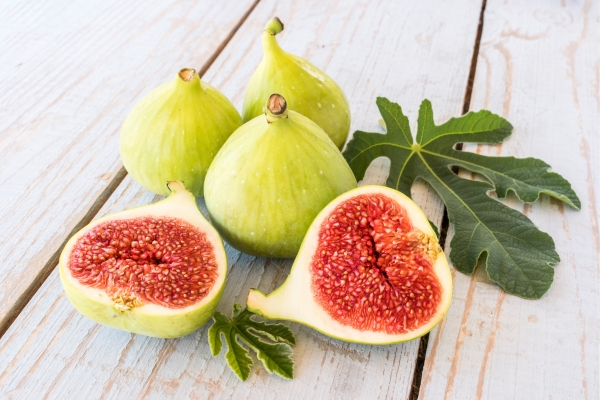
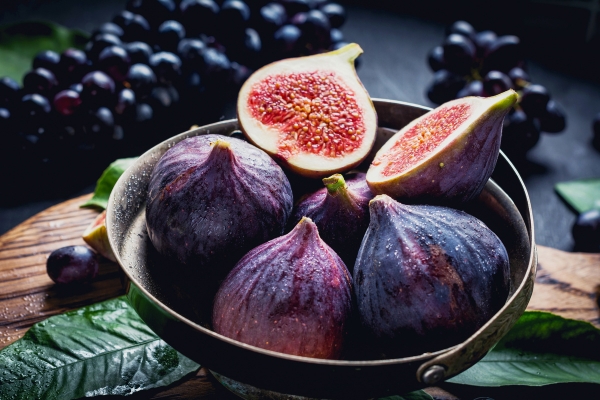
For variety and visual appeal, leave some It whole. Whole figs add height and interest to your cheese board, providing a rustic, natural look. Guests can choose to eat them whole or cut them themselves.
8. Arrangement
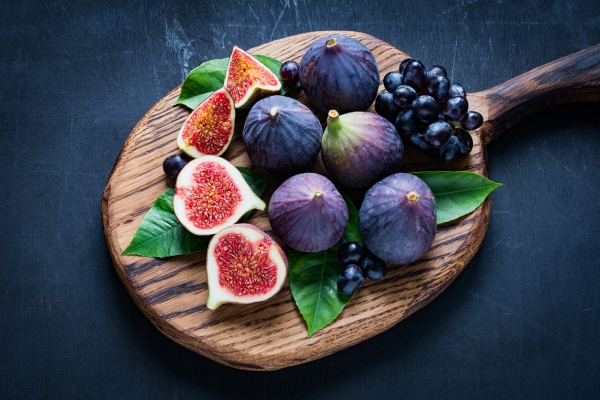
The final step is arranging the fig on your cheese board. Place the different cuts strategically around the cheeses, balancing the colors and shapes for an attractive display. Mix whole It, halved, quartered, and fanned slices to create a dynamic and inviting presentation. By thoughtfully arranging the fig, you enhance the overall aesthetic and make your cheese boards a feast for both the eyes and the palate.
9. Garnish
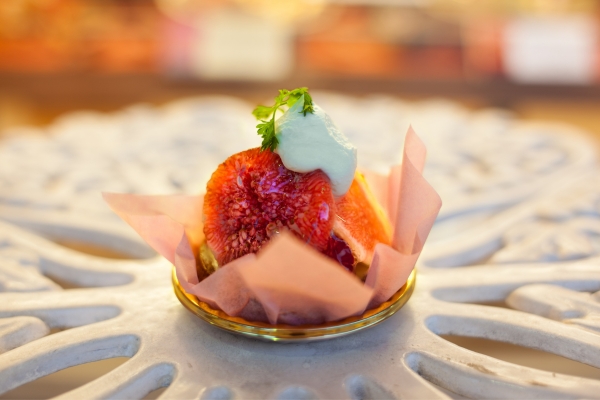
To elevate your cheese boards further, consider garnishing the figs. Fresh herbs like mint or basil, edible flowers, or a light drizzle of honey can add an extra layer of flavor and visual appeal. These small touches can enhance the overall experience and make your cheese boards stand out.
How Do I Keep Figs From Browning?
Figs can start to brown once they are cut and exposed to air. To prevent this, you can lightly brush the cut sides with lemon juice. The citric acid in the lemon juice helps to slow down the browning process and keeps the fig looking fresh longer. Alternatively, you can briefly soak the fig in a mixture of water and lemon juice before arranging them on the cheese board.
Can I Use Dried Figs On A Cheese Boards?
Yes, dried figs can be a great addition to a cheese boards, especially when fresh fig are not in season. Dried fig offers a concentrated sweetness and chewy texture that pairs well with various cheeses. They can be used whole, sliced, or even rehydrated in a bit of warm water or wine for a plumper texture. Including both fresh and dried It can add variety and depth to your cheese boards.
Conclusion
Creating stunning cheese boards involves attention to detail, and knowing how to cut figs properly can make a significant difference. By washing, stemming, and cutting It in various ways, you can enhance both the aesthetic and taste of your presentation. Remember to consider timing and techniques to prevent browning and don’t hesitate to use dried It for added variety. With these tips, your cheese boards will not only look beautiful but also offer a delightful eating experience for your guests.