Engrave a cutting board can transform a simple kitchen tool into a personalized and functional piece of art. Whether you’re looking to create a unique gift, add a touch of elegance to your own kitchen, or start a small business, learning how to engrave cutting boards is a valuable skill. This guide will walk you through the entire process, from selecting the right materials to choosing the perfect design and mastering the engraving techniques. With a bit of creativity and attention to detail, you can create beautiful, custom-engraved cutting boards that are both practical and visually appealing.
How Long Does It Take To Engrave a Cutting Board?
The time it takes to engrave a It can vary depending on several factors, including the complexity of the design, the type of wood, and the method of engraving used. For simple designs, hand engraving with basic tools might take a couple of hours, while more intricate patterns could require several hours to complete. Using a laser engraver can significantly reduce the time, with many designs taking only 15 to 30 minutes to finish. However, preparation, setup, and post-engraving tasks like sanding and finishing can add to the total time. Overall, the entire process from start to finish might range from one to several hours.
Why Cutting Boards Are Engraved
Engraving cutting boards has become increasingly popular for several reasons. Firstly, it adds a personalized touch, making the cutting boards clem a perfect gift for weddings, anniversaries, or housewarmings. Customized engravings can include names, dates, or special messages, turning a practical kitchen item into a cherished keepsake. Secondly, engraved cutting boards can serve as unique decor pieces, adding a rustic or elegant charm to any kitchen. Businesses also find value in engraving cutting boards with logos or branding for promotional purposes. Additionally, an engraved It can enhance the aesthetic appeal while still serving its functional purpose, blending beauty with utility.
Materials Needed
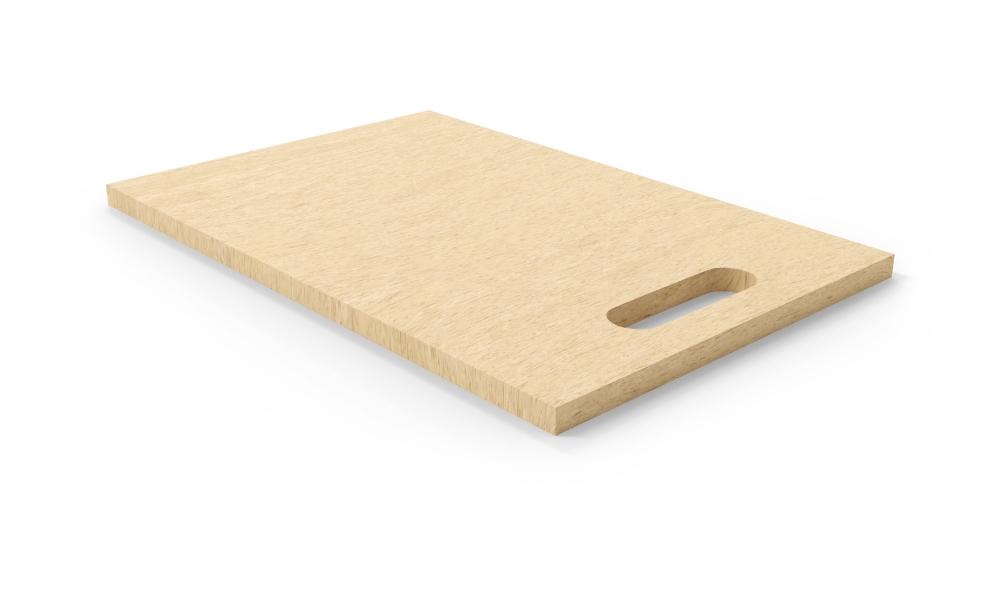
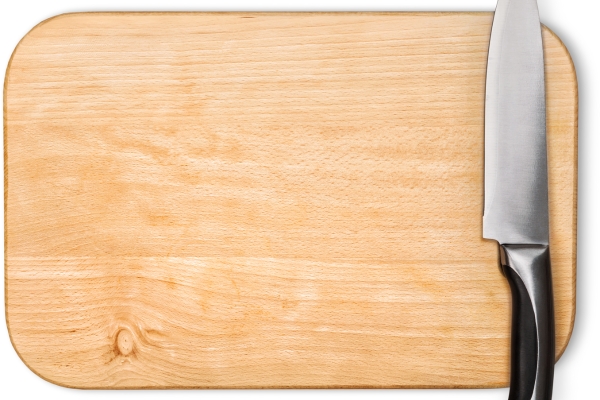
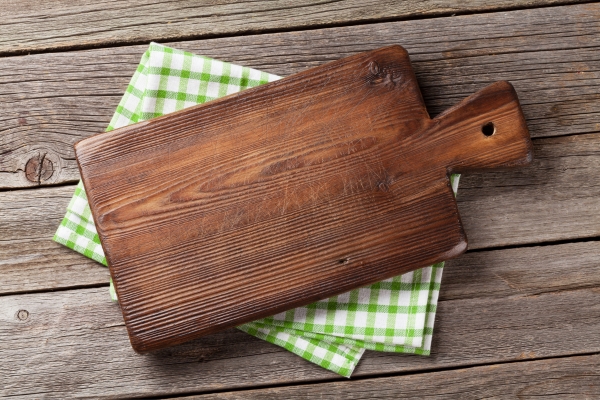
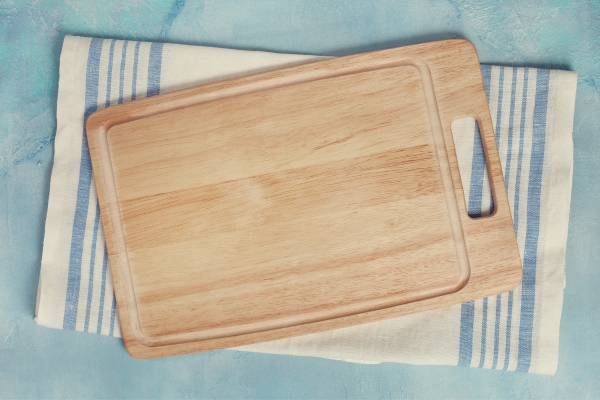
- Cutting Board
- Design
- Engraving Tool
- Safety Gear
- Clamps
- Sandpaper
Step-By-Step Instructions
1. Choose And Prepare Your Cutting Boards
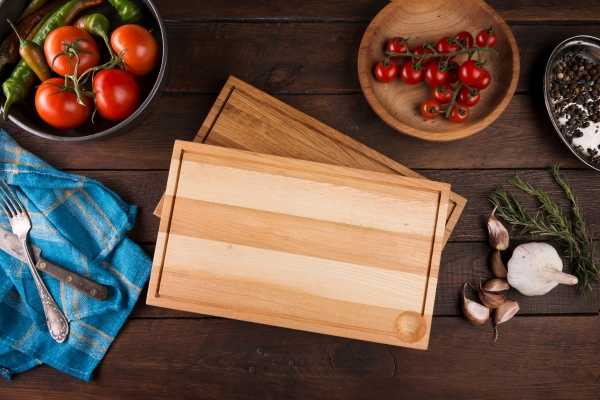
Select a high-quality It made of hardwood like maple, walnut, or cherry, as these woods provide a durable and smooth surface for engraving. Before starting, ensure the cutting boards is clean and dry. Sand the surface lightly to remove any imperfections and create an event area for engraving. Wipe off any dust with a damp cloth and let it dry completely.
2. Create Your Design
Decide on the design you want to engrave. This could be a simple monogram, a detailed illustration, or a meaningful quote. Use design software like Adobe Illustrator or free tools like Inkscape to create your pattern. Ensure your design is sized correctly to fit the dimensions of your cutting board cleane . For intricate designs, keep in mind that finer details may require more precision.
3. Transfer The Design
Print your design on paper if you’re using a hand engraving tool or transfer it digitally if you’re using a laser engraver. For manual transfers, place the printed design on the cutting boards clene and secure it with tape. Use carbon paper underneath to trace the design onto the wood. If you’re using a laser engraver, upload the design file to the machine’s software and adjust the settings according to the manufacturer’s guidelines.
4. Set Up Your Work Area
Prepare a well-lit, ventilated workspace to ensure safety and precision. Gather all necessary tools, including your engraving device, safety glasses, and a dust mask. Secure the It to your work surface with clamps to prevent it from moving during the engraving process. Double-check that all equipment is functioning properly before you begin engraving to ensure a smooth workflow.
5. Engrave The Design

With your work area prepared and the design transferred, begin the engraving process. For hand tools, carefully follow the traced lines, applying steady pressure to create consistent depth. If using a laser engraver, ensure the settings match your design’s requirements, then start the machine and monitor the process closely to avoid errors. Take your time to ensure precision and accuracy.
6. Clean Up
Once the engraving is complete, gently remove any remaining debris from the It using a soft brush or cloth. If necessary, lightly sand the engraved area to smooth out any rough edges. Clean the board with a damp cloth to remove dust and sanding residue, and let it dry thoroughly.
7. Finishing Touches
To protect and enhance the engraved cutting board, apply a food-safe mineral oil or a wood conditioner. This will help to seal the wood and bring out its natural color. Apply the oil with a clean cloth, following the wood grain, and allow it to soak in for a few hours. Wipe off any excess oil and buff the surface to a gentle shine.
Conclusion
Engraving a cutting boards is a rewarding process that allows you to create a personalized, functional piece of art. By carefully choosing and preparing your board, designing and transferring your pattern, and following meticulous engraving techniques, you can achieve beautiful results. With proper clean-up and finishing touches, your engraved It will be both a practical kitchen tool and a unique decorative item. Whether for personal use, as a gift, or for sale, a custom-engraved It showcases craftsmanship and creativity.