Installing a kitchen ventilation system is A crucial step in ensuring a comfortable And safe cooking environment. This comprehensive guide will walk you through The process of how to install A kitchen ventilation system, ensuring your kitchen remains free from excess steam, smoke, And odors. Whether you’re a DIY enthusiast or planning To hire professionals, understanding the basics of installation can significantly improve The functionality and aesthetic of your kitchen. Our focus Is to provide clear, easy-To-follow instructions tailored To help You achieve A well-ventilated cooking space, enhancing your culinary experiences.”
How Often Should I Clean The Filters?
Regular maintenance of your kitchen ventilation system Is key to Install its efficiency. Cleaning The filters is A critical task that should not be overlooked. For most homes, It’s advisable To clean the filters every two to three months, depending on The usage frequency and the type of cooking You do. If You often cook greasy or smoky dishes, consider cleaning The filters monthly. This ensures that your ventilation system works effectively, capturing smoke And grease, thus maintaining A clean and healthy kitchen environment.
Can I Install A System Without External Venting?
Installing A kitchen ventilation system without external venting Is indeed possible and Can be ideal For apartments or homes where external venting Isn’t an option. These systems, often called ductless or recirculating vent hoods, filter the air through charcoal filters and recirculate It back into the kitchen. While they are easier to install And maintain, it’s important To note that they might not be as effective As vented systems In removing all types of kitchen pollutants And odors.
Importance Of Kitchen Ventilation
The importance of kitchen ventilation cannot be system Install overstated. A good ventilation system not only removes smoke, grease, And odors from your cooking space but also contributes to A healthier indoor air quality. It prevents the buildup of moisture, which can lead To mold And mildew, And helps In regulating the temperature of The kitchen, making cooking A more comfortable experience. Adequate ventilation also reduces The risk of carbon monoxide accumulation, especially In kitchens using gas stoves, ensuring A safer environment for You and your family.
Tools And Materials Needed
Before starting the install of your kitchen ventilation system, It’s crucial to gather all The necessary tools And materials. The basic requirements include a vent hood, ducting, screws, wall caps, A drill, a screwdriver, A tape measure, and A level. Depending on your specific model And installation type, additional materials like A stud finder, jigsaw, sealant, And wire nuts may be required. Ensure You have the user manual at hand For specific instructions related To your model, And always prioritize safety by turning off The relevant power circuits before beginning The installation process.
Step-By-Step Installation Guide
Step 1: Measuring and Marking
Begin by determining The location For your kitchen ventilation system. Measure The area where The vent hood will be installed, ensuring it aligns perfectly with your stove or cooktop. Use a tape measure to find The center point above the stove and mark It. Then, refer to the manufacturer’s instructions To mark the spots For drilling, keeping in mind the necessary clearance from the stove. It’s crucial To ensure that these measurements are accurate To avoid any misalignment during The installation process.
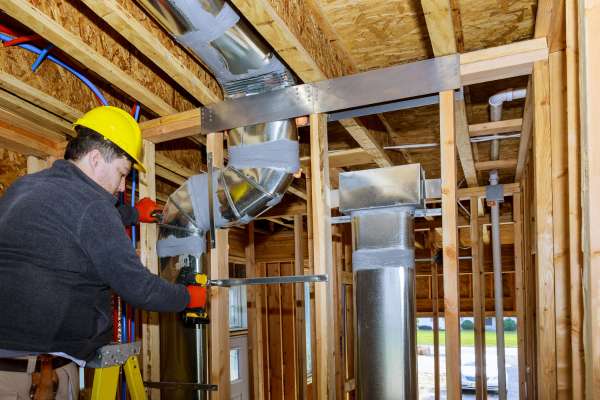
Step 2: Cutting and Drilling

Once your measurements And markings are In place, the next step involves cutting and drilling. If you’re installing A ducted system, you’ll need to cut a hole In the wall or ceiling for The vent. Use a jigsaw or a suitable cutting tool For this purpose, following The measurements precisely. After cutting the hole for the ductwork, drill The marked spots for mounting The hood. Ensure that The holes are drilled securely And are aligned correctly with the vent hood’s mounting brackets.
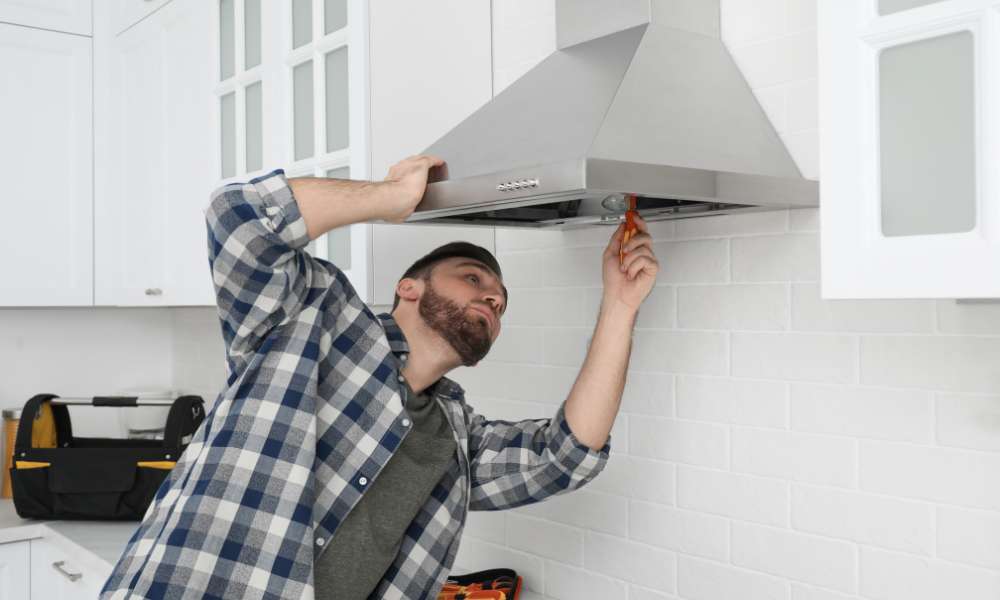
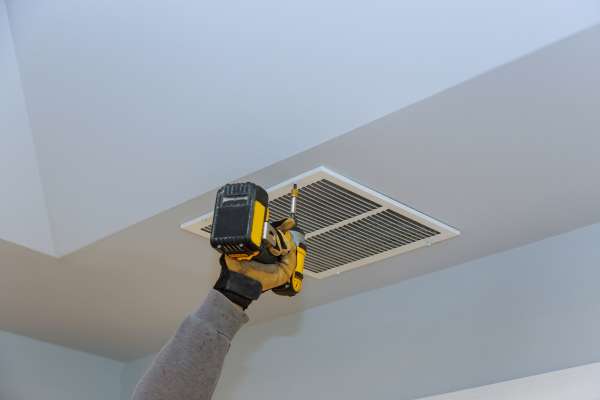
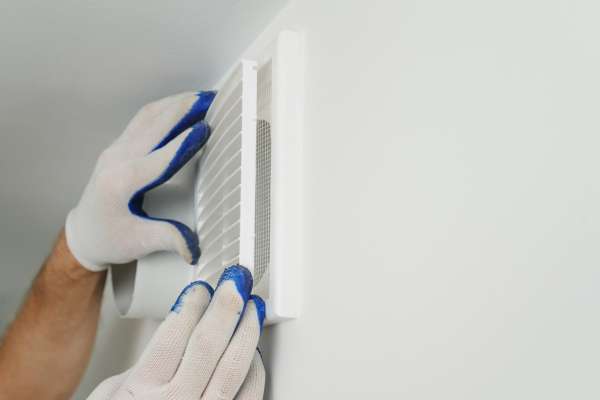
Step 3: Installing The Vent Hood
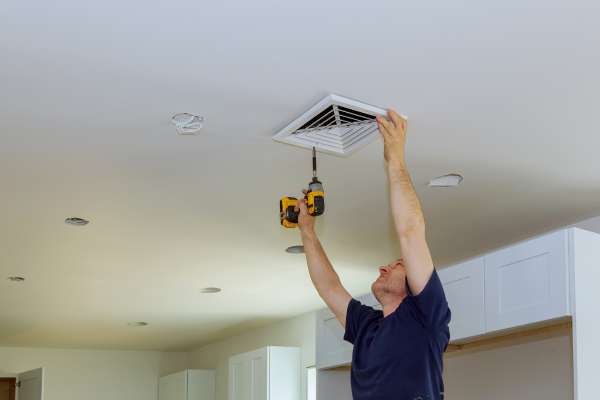
It’s time to install the vent hood. If working with A ducted system, attach the ductwork To the vent hood first. Carefully lift The hood into place, aligning it with the drilled holes. Secure The hood to The wall or cabinet using screws. For ductless systems, ensure The charcoal filters are In place before mounting the hood. Once mounted, connect any electrical wires as per The manufacturer’s instructions, taking care To follow all safety protocols. Finally, turn on the power And test the vent hood to ensure It operates correctly, making any necessary adjustments For optimal performance.
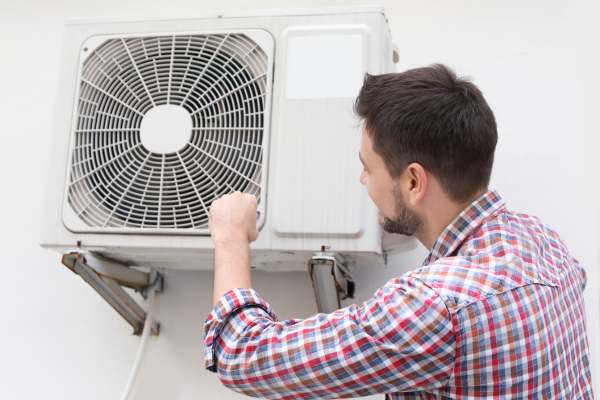
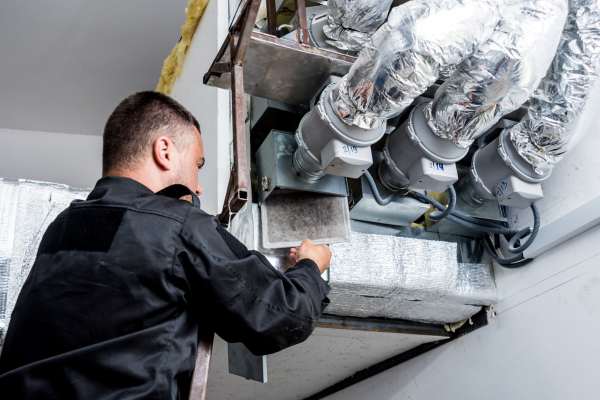
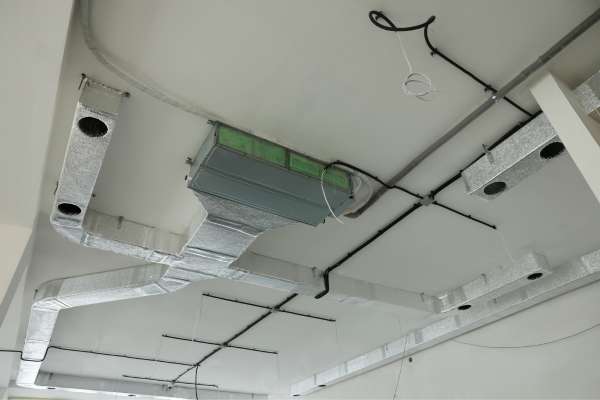
Step 4: Ductwork Installation

Begin By Attaching The Ducting To the vent hood, ensuring It’s securely fastened. If you’re using flexible ductwork, avoid unnecessary bends, As these can reduce The efficiency of the system. Route The ductwork towards The exterior vent, making sure it’s as straight as possible. Seal all joints with duct tape or a suitable sealant to prevent any air leaks. Finally, attach the ductwork To the exterior vent, ensuring a tight And secure fit.
Step 5: Electrical Connections
Focus on The electrical connections. This step should be handled with utmost caution And preferably by someone experienced with electrical work. Disconnect the power supply To the area before starting. Connect The vent hood’s wiring to your home’s electrical system following The manufacturer’s instructions. This typically involves connecting wires of The same color And using wire nuts to secure them. Once The connections are made, carefully tuck The wires inside The hood and close any electrical covers.
Step 6: Final Assembly and Testing
The final step involves assembling any remaining parts And testing the system. If your vent hood has filters, install them according To the instructions. Attach any covers or panels that were removed during installation. Once everything is In place, restore power To the vent hood and test It. Check for any unusual noises, ensure The fan is operating smoothly, And confirm that the vent hood Is effectively removing smoke And odors. Make any necessary adjustments to The fit or alignment. With successful testing, your kitchen ventilation system Is now fully installed And operational, ready To enhance your cooking experience.
Benefits Of A Properly Installed Ventilation System
A properly installed kitchen ventilation system offers numerous benefits. It efficiently removes smoke, grease, And odors, ensuring a clean And pleasant cooking environment. This ventilation helps In maintaining good indoor air quality, which is crucial For the health and comfort of your household. It also prevents the buildup of moisture And grease, which can lead To mold growth and damage To kitchen surfaces. Additionally, A well-installed system operates more efficiently, potentially saving on energy costs And increasing the longevity of the appliance.
What If My System Makes A Lot Of Noise?
If your kitchen ventilation system is excessively noisy, It could be due to several factors. First, check If the noise Is coming from The fan. A loose fan can create rattling sounds, which can be resolved by tightening its fittings. If the ductwork is not properly installed or Is too narrow, It can also cause noise due to increased air resistance. Reviewing the installation For any constrictions or bends In the ductwork can help. Sometimes, using sound dampening materials around the ductwork Can significantly reduce noise. If these steps don’t work, It might be worth consulting with A professional to determine if the unit itself is faulty.
Conclusion
Installing a kitchen ventilation system Is a valuable addition To any home. It plays a pivotal role In maintaining a healthy, clean, And enjoyable cooking environment. Proper installation is key To ensuring that The system functions efficiently and quietly. By following The correct installation steps And addressing any issues like excessive noise, homeowners can reap The full benefits of their kitchen ventilation system, making their culinary space more inviting And comfortable.