
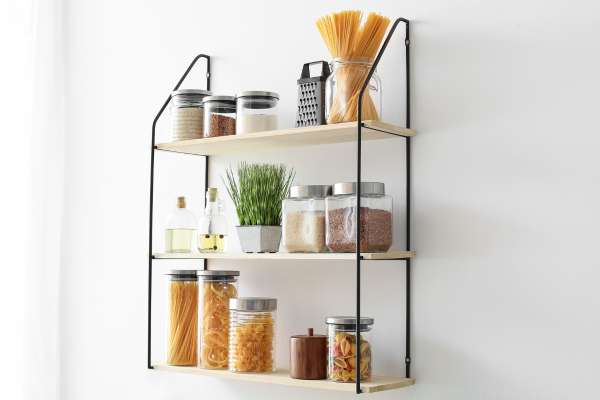
The Rev-A-Shelf Spice Rack is a wonderful addition to any kitchen that aims to combine efficiency with organization. This functional accessory is designed to maximize storage space, making your cooking spices and seasonings easily accessible, hence transforming your kitchen experience entirely. The installation process is pretty straightforward and can Be completed with some basic tools. In the following instructions, we will guide you through a detailed step-by-step procedure on how to install the Rev-A-Shelf Spice Rack in your kitchen, turning your once cluttered space into an orderly and more practical area.
What Is A Rev-A-Shelf?
Rev-A-Shelf is a renowned brand known for its innovative storage and organization solutions, primarily for kitchens, bathrooms, and other areas of the home. Their product range is wide and varied, including items such as pull-out waste containers, drawer organizers, lazy susans, pantry pullouts, and the popular spice rack. Rev-A-Shelf products are designed to maximize space usage, enhance functionality, and provide convenience to users. They are typically easy to install and are highly durable, thus making them A preferred choice for homeowners And interior designers aiming to create A well-organized and efficient living environment.
Importance Of Proper Installation
Proper installation of any home accessory or appliance, like the Rev-A-Shelf Spice Rack, is vital for several reasons. Firstly, it ensures the product functions as intended, thereby maximizing its efficiency and convenience. Incorrect installation could result in poor fit, unstable structure, or even failure of the unit to work as designed.
Secondly, proper installation guarantees longevity and durability of the product. A poorly installed product may suffer from unnecessary wear and tear, reducing its lifespan. It could also void the warranty, As some manufacturers do not cover damages due to improper installation.
Thirdly, safety is a paramount concern. Improperly installed units can pose various risks, such as falling and causing injury, or even causing damage to your property. Especially in a busy environment like a kitchen, a securely installed spice rack reduces the chance of accidents caused by the unit toppling over or its contents falling out.
Lastly, a well-installed unit just looks better. It fits snugly in its designated place, blends in with the surroundings, and adds to the overall aesthetic appeal of the room. So, investing the time and effort in proper installation ultimately results in better functionality, safety, longevity, and aesthetics.
Installing The Rev-A-Shelf Spice Rack
Before you begin, You’ll need some basic tools: a power drill, screws (usually provided with the unit), a level, and a tape measure. Please make sure To read the instruction manual that comes with the unit for any specific instructions Or requirements.
Here’s A Step-By-Step Guide On How To Install The Rev-A-Shelf Spice Rack:
- Measure the Cabinet: Ensure that your cabinet dimensions match the size of the spice rack. The height, width, and depth of your cabinet need to be larger than those of the spice rack to allow it to fit comfortably.
- Mark the Position: Identify the ideal spot for the spice shelf inside your cabinet. This can be on the inner side of the door or on the cabinet walls. Using a pencil, mark the points where the screws will go. Use a level to ensure these marks are aligned correctly.
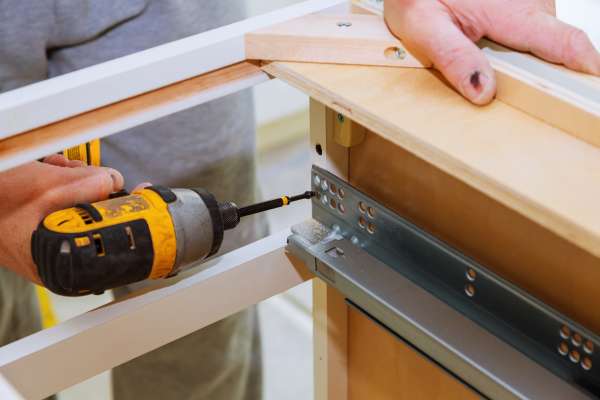
- Drill Pilot Holes: At the marked spots, drill small pilot holes. These holes will guide your screws, helping you avoid any accidental splintering or cracking of the cabinet.
- Attach the Spice Rack: Align the spice shelf with the drilled holes, and start fastening it with screws using your power drill. Ensure the screws are tight, But be careful not to over-tighten, Which could damage the rack or cabinet.
- Check the Level: Use the level again to ensure the rack is properly aligned. Make any necessary adjustments.
- Test the Fit: Now that the rack is installed, place a few spice jars on it to test the fit and accessibility. The spices should be easy to see and reach.
- Final Touches: Once you’re satisfied, add all of your spices to the rack. For better organization, you might want to arrange them alphabetically or based on frequency of use.
Congratulations! You’ve successfully installed your Rev-A-Shelf spice shelf. Now you can enjoy a more organized and efficient kitchen space.
Mounting The Cabinet Door
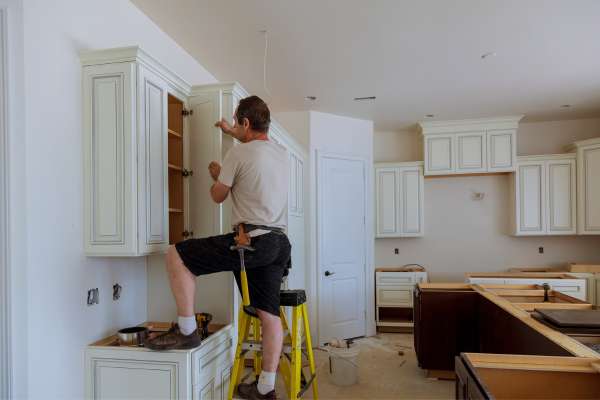
1. Determine The Desired Height And Location
The first step in mounting your cabinet door involves determining the ideal height and location for it. This will depend on factors such as the height of the users, the items to be stored in the cabinet, and overall kitchen design. You’ll want to ensure it’s at a convenient height for easy access while also aligning well with other cabinets or appliances. The location should also consider any potential obstructions, like nearby doors or appliances.
2. Mark The Position For The Mounting Brackets
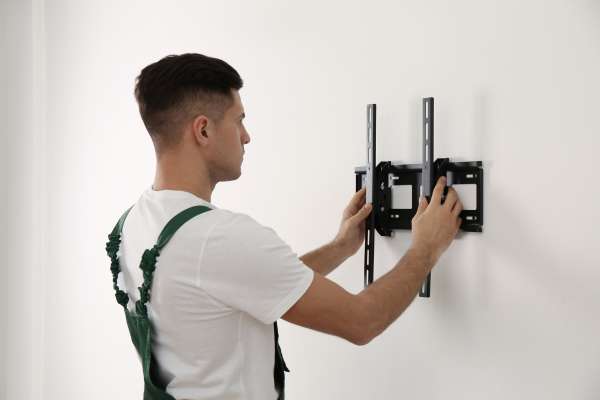
After you’ve determined the ideal position, you’ll need to mark the spots where the mounting brackets will go. Using a pencil and a level, trace out the exact places on the cabinet frame where you will attach the brackets. The level ensures these marks are straight and even, which is essential for the proper alignment of the door.
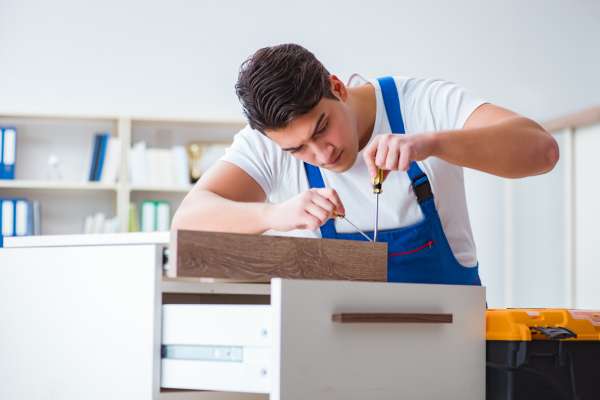
3. Attach The Mounting Brackets To The Cabinet Door
Now you’re ready to affix the mounting brackets to the door. Align the brackets with the marks you made, then use a power drill to fasten them securely to the door. Remember, the brackets should be straight and level to ensure that the door will hang correctly.
4. Verify The Door Alignment And Adjust If Necessary
Once the brackets are installed, hang the door on the cabinet frame. Check the alignment by opening and closing the door a few times. It should move smoothly without any friction or obstruction. If necessary, make any adjustments to the positioning of the brackets. The door should be level, with even gaps on all sides. Ensuring proper alignment is crucial for the functionality of your cabinet and the overall aesthetics of your kitchen.
Mounting The Spice Rack Unit
1. Determine The Desired Height And Location Inside The Cabinet
First, identify the ideal height and location for the spice rack within the cabinet. Keep in mind the size of your spice containers, how frequently you use them, and who will be accessing them. You’ll want the rack to be in a convenient spot that’s easy to reach, and ensure it won’t interfere with the closing and opening of the cabinet door.
2. Mark The Position For The Mounting Brackets
Once you’ve decided on the position, use a pencil to mark where the mounting brackets will be attached. These marks should be level to ensure the spice shelf sits straight. You may want to use a tape measure and a level to help ensure accuracy.
3. Attach The Mounting Brackets To The Cabinet Interior
With your marks in place, align the mounting brackets for the spice shelf unit at these positions. Using a drill, screw the brackets securely into the cabinet interior. Take care to avoid splitting the wood and make sure the brackets are firmly fixed.
4. Verify The Alignment And Stability Of The Spice Rack Unit
After attaching the mounting brackets, mount the spice shelf unit onto them. Check its alignment by ensuring it is level and straight. Verify its stability by gently applying pressure. If it seems unstable, adjust the brackets or tighten the screws. Remember, a secure installation will keep the rack from wobbling when it’s filled with spices, ensuring it’s not only functional but also safe to use.
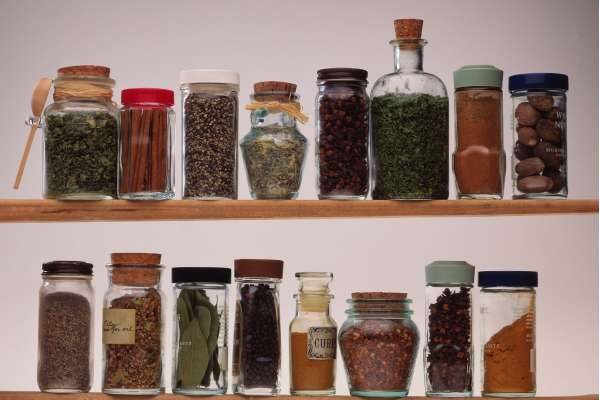
Installing The Shelves And Spice Containers
Once you have securely mounted the spice shelf unit inside the cabinet, the next step is to install the shelves and the spice containers. This usually involves sliding the shelves into the rack if they are not pre-installed. Ensure that each shelf is securely positioned and level. Afterward, start placing your spice containers on the shelves. You may want to sort your spices according to how frequently you use them or alphabetically for easy access. Make sure each container fits comfortably on the shelf, and the height between the shelves is appropriate for the size of your containers. Finally, check that the door closes properly with the spices in place. Proper installation of the shelves and containers enhances the usability and efficiency of your spice shelf, making your cooking experiences more organized and enjoyable.
Adjustments And Final Checks
After installing the shelves and spice containers, it’s crucial to make necessary adjustments and final checks to ensure your Spice shelf is set up correctly. Check the stability of the rack again, especially now that it’s loaded with spices. Ensure all screws are secure and there’s no wobbling or shaking. Open and close the cabinet door a few times to ensure the door swings freely and doesn’t hit the spice shelf or the containers. Check the alignment of the shelves and the rack once again to verify everything is level. You may also want to confirm that all spice containers are easily visible and accessible for convenient use. Making these final adjustments and checks helps guarantee that your Shelf spice shelf is not only properly installed but also optimally functional, safe, and convenient to use.
Additional Tips And Troubleshooting
While the installation process of the Rev-A-Shelf spice shelf is straightforward, here are some additional tips and potential troubleshooting advice that can make the process even smoother:
Tips:
- Read the Manual: Before starting the installation, make sure to thoroughly read the manufacturer’s instructions. This can give you specific guidelines that are unique to your particular model.
- Have the Right Tools: Ensure you have all the necessary tools before you start the installation. Typically, a drill, screws, a level, and a tape measure should be enough.
- Take Your Time: Don’t rush the installation. Take your time to measure, mark, and install carefully. This ensures a more secure and level installation.
Troubleshooting:
- Rack is Wobbly: If the rack is unstable after installation, check to see if all the screws are tight. If the wobbling persists, the issue could be due to the cabinet wall not being sturdy enough. You may need to reinforce it.
- Door Doesn’t Close Properly: If the door doesn’t close properly after installing the rack, your spices may be too large for the rack or the rack itself may be too large for your cabinet. Double-check the measurements and adjust as necessary.
- Spices Not Visible or Accessible: If you can’t easily see or reach your spices, you may need to reorganize them. Try arranging them based on frequency of use or size.
Remember, the goal is to have a spice shelf that is secure, accessible, and convenient to use. With these tips and troubleshooting advice, you can ensure your Spice shelf is installed correctly and works perfectly for your needs.
The Final Thoughts
Installing a Rev-A-Shelf Spice Rack in your kitchen is a fairly straightforward process that brings significant benefits. By determining the appropriate location for the rack, marking and drilling precise points for the mounting brackets, securing the rack and shelves, and loading your spice containers, you’ll have a well-organized, accessible spice storage solution. Remember to perform the necessary adjustments and checks for alignment and stability to ensure optimum functionality and safety. Don’t forget the extra tips for a smoother installation process and troubleshooting advice for any minor issues. With the right tools and a bit of patience, you’ll add efficiency and organization to your kitchen, making your cooking experiences more enjoyable. Now that you know how to install a Rev-A-Shelf Spice Rack, it’s time to enhance your kitchen space with this practical addition. Happy cooking!