
Milkshakes are timeless treats enjoyed by people of all ages around the world. Originally developed in the late 19th century, milkshakes have evolved into a beloved dessert and snack option. One of the key tools in creating the perfect milkshake is a reliable blender. Whether you prefer classic flavors like chocolate and vanilla or more adventurous combinations, mastering the art of making a milkshake in a blender opens up a world of creamy indulgence.
How can I make a dairy-free milkshake?
Making a dairy-free milkshake is a delicious and satisfying alternative for those with dietary restrictions or preferences. To create a dairy-free milkshake, start by choosing your preferred non-dairy milk, such as almond milk, coconut milk, soy milk, or oat milk. Then, select a dairy-free ice cream in your favorite flavor. Combine the non-dairy milk and dairy-free ice cream in a blender, along with any optional sweeteners or flavorings like maple syrup, cocoa powder, or vanilla extract. Blend until smooth and creamy, adjusting the sweetness and flavorings to your liking. Pour the dairy-free milkshake into glasses and garnish with toppings like whipped coconut cream, chocolate shavings, or fresh fruit for an extra touch of indulgence. Enjoy the creamy goodness of a dairy-free milkshake without compromising on taste or texture!
Can I make a milkshake without a blender?
Yes, you can absolutely make a milkshake without a blender! While a blender is the traditional tool for creating milkshakes, there are alternative methods that can yield delicious results. One simple option is to use a sturdy whisk or a hand mixer to vigorously whisk together softened ice cream and milk in a large bowl until smooth and creamy. This method may require a bit more effort, but it’s effective in achieving a creamy texture. Additionally, you can opt for pre-made milkshake mixes or use a food processor to blend the ingredients together. While a blender offers convenience and efficiency, these alternative methods allow you to enjoy a homemade milkshake even without specialized equipment.
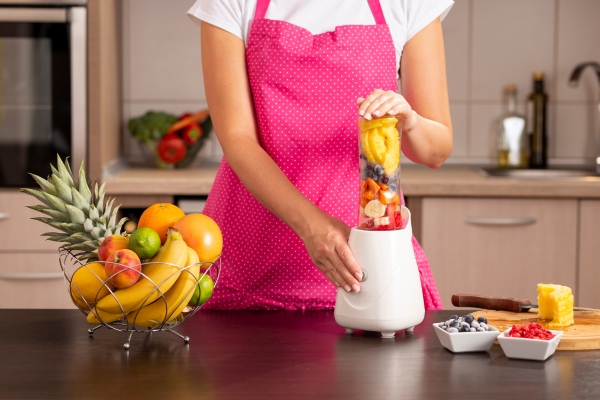
Choosing Ingredients
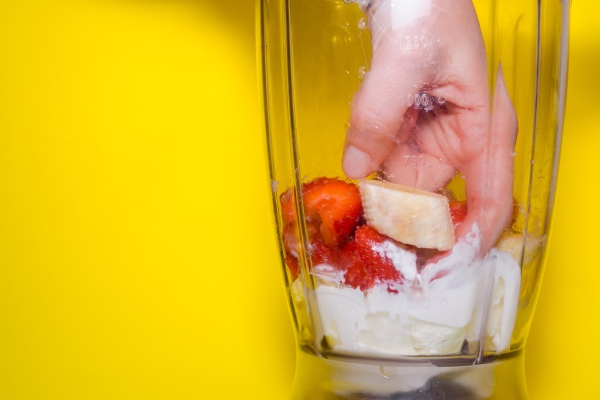
Before diving into the blending process, it’s essential to gather high-quality ingredients. The base of a milkshake typically includes milk or a milk alternative such as almond milk, soy milk, or coconut milk. For those who are lactose intolerant or following a vegan diet, non-dairy options provide a delicious alternative. Additionally, selecting flavorings like cocoa powder, fresh fruit, or extracts such as vanilla or almond adds depth to the milkshake. Sweeteners like sugar, honey, or maple syrup can be adjusted according to personal preference.
Preparation Steps
To ensure a smooth blending process, it’s important to prepare Use the blender properly. Begin by assembling all ingredients and placing them within reach. Next, ensure that the blender pitcher is clean and dry. Adding the ingredients in the correct order helps achieve the desired consistency. Start with the liquids, followed by the flavorings and sweeteners, and finally, the ice cream or frozen fruit.
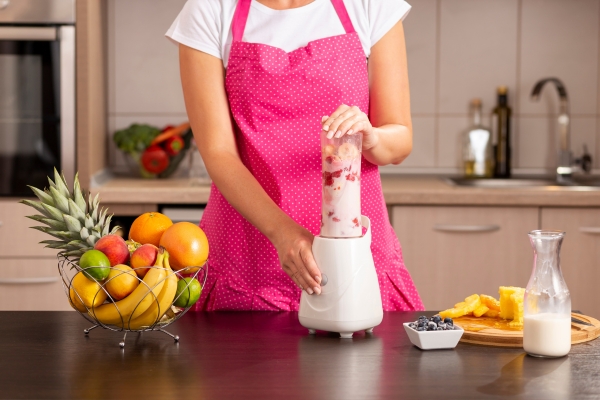
Blending Techniques
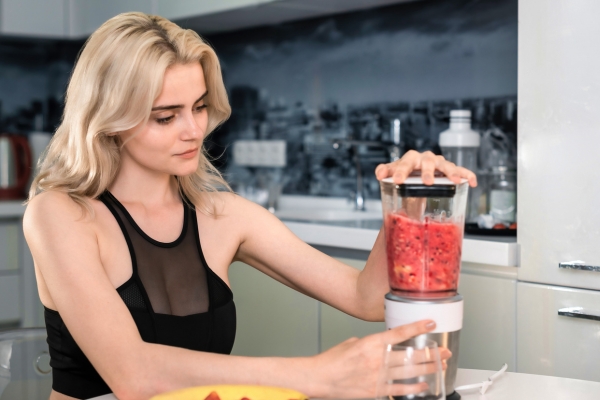
Achieving the perfect consistency is the hallmark of a well-made milkshake. When blending, start at a low speed to incorporate the ingredients gradually. As the mixture begins to combine, gradually increase the speed to achieve a smooth texture. Be mindful not to overblend, as this can lead to a thin or watery consistency. Adjusting the blending time allows for customization, whether you prefer a thicker shake or a lighter, frothier texture.
Serving and Presentation
Presentation adds to the overall enjoyment of a milkshake experience. Selecting the right glassware enhances the aesthetic appeal. Classic milkshake glasses or mason jars provide a nostalgic touch, while tall glasses offer a modern twist. Garnishes such as whipped cream, chocolate shavings, or fresh fruit add visual appeal and complement the flavors. Don’t forget to add a straw for easy sipping!
Variations and Customization
Part of the fun of making milkshakes is experimenting with different flavors and ingredients. For a refreshing twist, incorporate seasonal fruits like strawberries, peaches, or bananas. For an added protein boost, consider adding protein powder, nut butter, or Greek yogurt. Those with dietary restrictions can explore options such as dairy-free ice cream, sugar-free sweeteners, or gluten-free mixins.
Tips for a Perfect Milkshake
Temperature plays a crucial role in achieving the ideal milkshake consistency. Ingredients should be cold, and ice cream or frozen fruit should be well-chilled. For a creamier texture, allow the ice cream to soften slightly before blending. Don’t be afraid to get creative with flavor combinations—mix and match ingredients to discover your signature milkshake masterpiece.
Health and Nutrition
While milkshakes are undeniably indulgent, there are ways to make them slightly healthier without sacrificing flavor. Opt for low-fat or non-fat milk options to reduce the calorie content. Substitute sugar with natural sweeteners like stevia or agave nectar for a lower glycemic index. Incorporating fruits and vegetables adds nutrients and fiber, making your milkshake a more balanced treat.
Cleaning and Maintenance of Blender
Proper care and maintenance of your blender ensure its longevity and optimal performance. After each use, disassemble the blender and wash the pitcher, lid, and blades with warm, soapy water. For tough residue, use a brush or sponge to scrub gently. Allow the parts to air dry thoroughly before reassembling. Periodically check the blender for signs of wear and tear, and follow the manufacturer’s instructions for any maintenance tasks.
Conclusion
Mastering the art of making a milkshake in a blender opens up a world of possibilities for indulgence and creativity. By selecting quality ingredients, mastering blending techniques, and exploring various flavor combinations, you can create personalized milkshakes to satisfy any craving. Whether enjoyed as a refreshing snack, dessert, or special treat, a homemade milkshake is sure to delight your taste buds and bring joy to any occasion.