
Are you craving a delightful treat but don’t have an ice cream maker? No worries! Discover the joy of making homemade ice cream right in your own kitchen with just a blender and a few simple ingredients. In this guide, we’ll walk you through the step-by-step process of creating a creamy, delicious scoop using your trusty blender. Say goodbye to store-bought varieties laden with additives and preservatives, and say hello to the pure satisfaction of crafting your own frozen delight. Let’s dive in and unlock the secrets to whipping up irresistibly smooth and flavorful It that will impress your taste buds and leave you wanting more.
How Long Does It Take To Make Ice Cream In A Blender?
The beauty of making ice cream in a blender lies in its simplicity and speed. Unlike traditional It makers that require pre-freezing and lengthy churning times, the blender method offers a quicker alternative. Depending on the recipe and the power of your blender, you can whip up a batch of homemade It in as little as 5 to 10 minutes. This rapid process makes it ideal for satisfying sudden cravings or impressing guests with a last-minute dessert.
Can I Make Healthy Ice Cream In A Blender?
Absolutely! Making healthy ice cream in a blender is not only possible but also incredibly easy. By using wholesome ingredients and smart substitutions, you can create guilt-free treats that still satisfy your sweet tooth. Opt for natural sweeteners like honey, maple syrup, or dates instead of refined sugar. Incorporate nutritious add-ins such as fruits, nuts, or even vegetables to boost the health benefits of your It. Additionally, consider using alternative milk options like almond, coconut, or oat milk for a dairy-free and lower-calorie alternative.
Choosing The Right Ingredients
When it comes to making a scoop in a blender, selecting the right ingredients is key to achieving the perfect texture and flavor. Start with a creamy base such as heavy cream, Greek yogurt, or coconut cream to ensure a rich and indulgent consistency. For sweetness, choose your preferred sweetener, keeping in mind the flavor profile you want to achieve. Fresh or frozen fruits can add natural sweetness and vibrant color to your ice cream while providing essential vitamins and antioxidants. Don’t forget to add a pinch of salt to enhance the flavors and balance the sweetness. Experiment with different flavor combinations and textures to customize your It to suit your taste preferences.
Preparing Your Blender
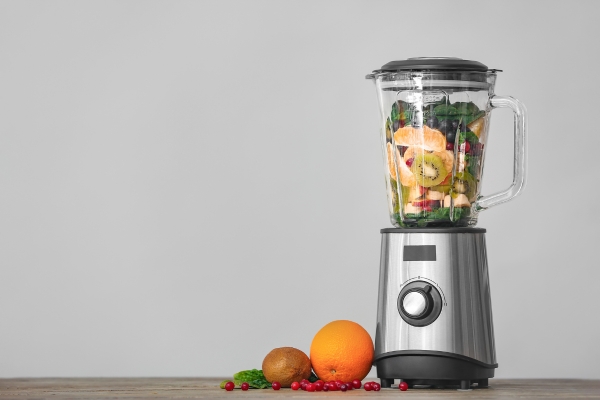
Before diving into the process of making scoop, it’s essential to prepare your blender for optimal results. Start by ensuring that your blender is clean and dry, free from any lingering odors or residues that could affect the taste of your ice cream. Additionally, if your blender has a removable blade assembly, make sure it’s securely attached before starting.
Basic Steps For Making Ice Cream
Step 1: Pre-Chill Ingredients

To kickstart the ice cream-making process, it’s crucial to pre-chill your ingredients. This helps to maintain a cold temperature throughout the blending process, resulting in a smoother and creamier texture. Refrigerate your dairy base, whether it’s heavy cream, milk, or yogurt, for at least an hour before use. If you’re using fruits or other add-ins, ensure they’re chilled as well to prevent the mixture from becoming too warm during blending.
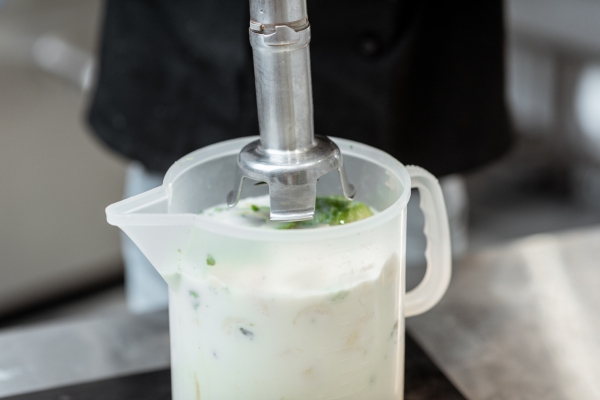
Step 2: Blend Ingredients
Once your ingredients are adequately chilled, it’s time to blend! Add the pre-chilled ingredients to your blender jug, along with any flavorings or sweeteners you desire. Secure the lid tightly to avoid any leaks or spills, then start the blender on a low speed to begin mixing the ingredients together. Gradually increase the speed to high, blending until the mixture is smooth and creamy, with no visible chunks or lumps remaining. Be mindful not to over-blend, as this can cause the mixture to become too warm and melt prematurely.
Step 3: Freeze The Mixture
After blending, transfer the ice cream mixture into a shallow, freezer-safe container. Smooth out the surface with a spatula to ensure even freezing. Cover the container tightly with plastic wrap or a lid to prevent ice crystals from forming on the surface. Place the container in the coldest part of your freezer and allow the mixture to freeze for at least 4-6 hours, or until firm. Once fully frozen, your homemade It is ready to be scooped and enjoyed!
Variations And Flavoring Options
One of the joys of making ice cream in a blender is the endless array of flavoring options and variations you can explore. Get creative by incorporating your favorite ingredients such as chocolate chips, nuts, or cookie crumbles for added texture and flavor. Experiment with different fruits, extracts, and spices to create unique flavor combinations like mint chocolate chip, strawberry basil, or cinnamon swirl. For a decadent twist, try mixing in swirls of caramel, fudge, or fruit preserves. The possibilities are limited only by your imagination!
Troubleshooting Common Issues
While making scoop in a blender is relatively straightforward, you may encounter a few common issues along the way. If your mixture is too thick and struggling to blend, try adding a splash of milk or cream to loosen it up. On the other hand, if the mixture is too thin, you can thicken it by incorporating additional frozen fruit or by freezing it for a bit longer after blending. If you notice icy crystals forming in your It, it may have been stored in the freezer for too long or at too high a temperature. To remedy this, let the scoop soften slightly at room temperature before serving, or blend it again in the blender to restore its creamy texture.
Tips For Serving And Presentation
Elevate your homemade ice cream experience with a few simple tips for serving and presentation. For a touch of elegance, scoop your It into chilled dessert bowls or glass dishes. Garnish each serving with fresh fruit, a drizzle of chocolate sauce, or a sprinkle of chopped nuts for added visual appeal and flavor. To impress guests, consider serving your It alongside complementary accompaniments such as warm brownies, freshly baked cookies, or crisp waffle cones. Don’t forget the finishing touches – a dollop of whipped cream, a dusting of cocoa powder, or a sprig of mint can take your It presentation to the next level. Enjoy the fruits of your labor and savor every spoonful of your delicious homemade creation!
Benefits Of Making Ice Cream In A Blender
Making ice cream in a blender offers numerous benefits that make it an attractive option for homemade dessert enthusiasts. Firstly, it’s incredibly convenient and requires minimal equipment – all you need is a standard blender, ingredients, and a freezer. This simplicity makes it accessible to anyone, regardless of whether they own a specialized scoop maker. Additionally, the blender method allows for quick and easy customization, enabling you to experiment with various flavors and ingredients to suit your preferences. Furthermore, blending the ingredients creates a smooth and creamy texture without the need for constant stirring or churning, resulting in a consistently delicious end product every time.
Can I Use A Regular Blender To Make Ice Cream?
Yes, you can absolutely use a regular blender to make It! While high-powered blenders like Vitamix or Blendtec may produce smoother results due to their strong motors, most standard blenders are capable of blending It ingredients adequately. To ensure optimal performance, it’s essential to follow the recommended steps for pre-chilling ingredients, blending thoroughly, and freezing the mixture properly. With a bit of patience and creativity, you can achieve a delicious homemade scoop using just a basic blender.
Conclusion
Making ice cream in a blender is a fun, easy, and rewarding way to indulge in homemade frozen treats. Whether you’re craving classic flavors like vanilla and chocolate or experimenting with unique combinations like avocado or matcha, the blender method allows you to unleash your culinary creativity without the need for specialized equipment. By pre-chilling ingredients, blending thoroughly, and freezing the mixture properly, you can enjoy a smooth, creamy scoop right from your own kitchen. So why wait? Grab your blender and start whipping up your favorite frozen delights today!