Making a milkshake without a blender is a simple and effective way to enjoy this classic treat even if you don’t have access to kitchen appliances. Whether you’re in a dorm room, on a camping trip, or just looking for a quieter method, learning how to make a milkshake without a blender can be both fun and rewarding. This guide will walk you through the process, providing tips and techniques to ensure your milkshake is smooth, creamy, and delicious. With just a few basic tools and ingredients, you can create a homemade milkshake that rivals any you’d get from a diner or ice cream shop.
Why Make Tomato Juice in a Blender?
Making tomato juice in a blender is a convenient and efficient method to enjoy fresh, homemade juice. Unlike commercial varieties, homemade tomato juice is free from preservatives and additives, ensuring a pure and natural flavor. The process is straightforward and quick, making it easy to incorporate into your daily routine. Additionally, using a blender allows you to control the texture and consistency of your juice, whether you prefer it smooth or with a bit of pulp. This method also maximizes the nutritional benefits of fresh tomatoes, which are rich in vitamins A and C, potassium, and antioxidants. By making tomato juice in a Update blender, you can enjoy a healthy and delicious beverage tailored to your taste preferences.
Can I Use Non-Dairy Milk in Tomato Juice?
While traditional tomato juice recipes typically do not include milk, some variations and smoothies might call for a creamy texture. In such cases, non-dairy milk can be a great alternative. Options like almond milk, soy milk, or oat milk can be used to add a creamy consistency to your tomato juice blend without the use of dairy. Non-dairy milk not only caters to those with lactose intolerance or dairy allergies but also offers various nutritional benefits, such as added vitamins and minerals. When using non-dairy milk, start with a small amount to achieve your desired texture, ensuring it complements the natural acidity and flavor of the tomatoes. This versatility allows you to experiment and create a unique, nutritious beverage that suits your dietary needs and taste preferences.
Step-By-Step Guide To Making A Milkshake Without A Blender
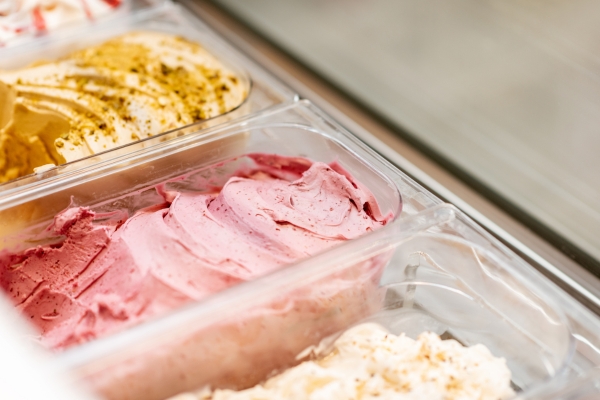
Step 1: Softening The Ice Cream

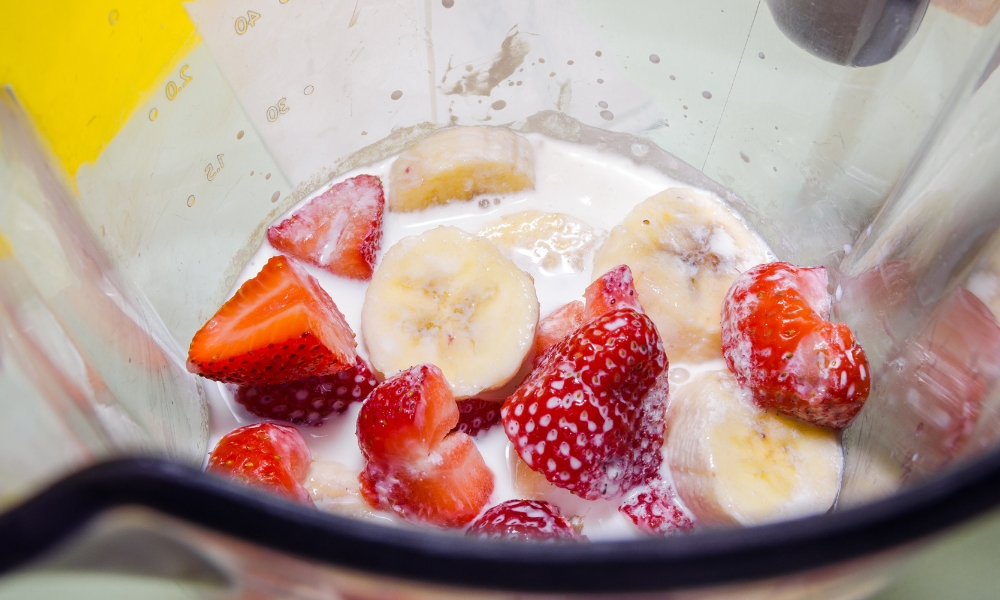
Before you start mixing your milkshake, allow your ice cream to soften slightly. Leaving the ice cream at room temperature for a few minutes will make it easier to blend with the other ingredients later on. Softening the ice cream ensures a smoother consistency and prevents any chunks from forming in your milkshake.
Step 2: Mixing The Ingredients
Once the ice cream has softened, it’s time to mix the ingredients together. There are two main methods you can use:
Using A Whisk:
- Transfer the softened ice cream into a mixing bowl.
- Pour in the desired amount of milk or any other liquid base you prefer, such as almond milk or soy milk.
- Use a whisk to vigorously stir the mixture until the ice cream and milk are well combined and the desired consistency is achieved. Continue whisking until no lumps remain and the milkshake is smooth and creamy.
Using A Jar Or Container:
- If you prefer a more hands-on approach, you can use a jar or container with a tight-fitting lid.
- Add the softened ice cream and milk to the jar, making sure there’s enough space for mixing.
- Secure the lid tightly and shake the jar vigorously for a few minutes until the ingredients are fully incorporated and the milkshake is smooth and creamy.
- Check the consistency and adjust the amount of milk or ice cream as needed to achieve your desired thickness.
By following these simple steps, you can enjoy a delicious milkshake without the need for a blender. Experiment with different flavors and ingredients to create your perfect concoction, whether it’s a classic chocolate milkshake or a refreshing fruit smoothie-inspired treat.
Step 3: Adding Milk
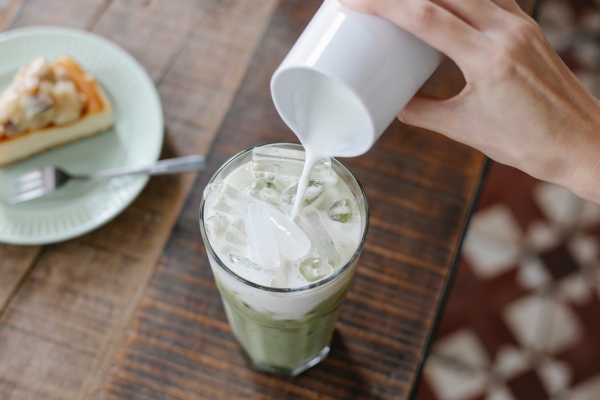
After softening the ice cream and mixing it with the other ingredients, the next step is to add milk. Milk helps to thin out the mixture and create a smoother consistency for your milkshake. Pour the desired amount of milk into the bowl or jar containing the ice cream mixture. The amount of milk you add will depend on your preference for thickness and creaminess. Start with a small amount and gradually add more until you reach your desired consistency.
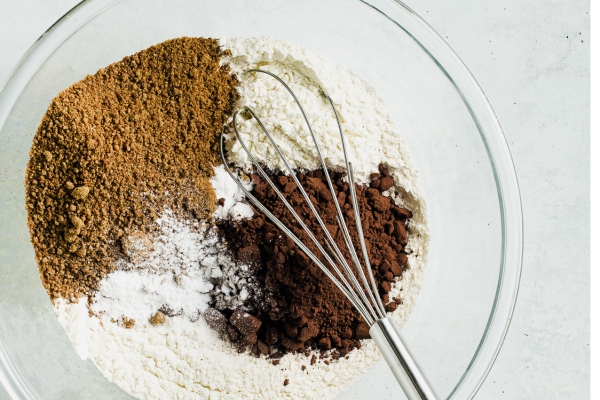
Step 4: Incorporating Flavorings And Add-Ins
Now it’s time to enhance the flavor of your milkshake by incorporating additional ingredients and flavorings. Get creative with your choices, whether you prefer classic flavors like chocolate syrup, vanilla extract, or fresh fruit, or more unconventional options like peanut butter, caramel sauce, or crushed cookies. Add the flavorings and add-ins to the bowl or jar containing the ice cream and milk mixture. Stir or shake vigorously to ensure that all the ingredients are well combined and evenly distributed throughout the milkshake.
Step 5: Achieving The Perfect Consistency

The final step in making a milkshake without a blender is to achieve the perfect consistency. This step involves adjusting the amount of milk or ice cream to reach the desired thickness and texture. If the milkshake is too thick, add more milk and continue mixing until it reaches the desired consistency. Conversely, if the milkshake is too thin, add more ice cream or other thickening agents, such as yogurt or frozen fruit, to thicken it up. Keep in mind that the consistency of the milkshake is entirely customizable, so don’t be afraid to experiment until you find the perfect balance of creaminess and thickness that suits your taste preferences. Once you’ve achieved the desired consistency, your milkshake is ready to be enjoyed!
Tips For A Smooth And Creamy Milkshake
Creating a smooth and creamy milkshake is all about technique and attention to detail. Here are some tips to help you achieve the perfect texture every time:
- Use Softened Ice Cream: Allowing your ice cream to soften slightly before mixing will make it easier to blend and create a smoother consistency in your milkshake.
- Add Milk Gradually: Pour the milk into the mixture slowly, adding small amounts at a time until you reach your desired consistency. This helps prevent the milkshake from becoming too thin and ensures a creamy texture.
- Choose High-Quality Ingredients: Opt for high-quality ice cream and fresh ingredients to enhance the flavor and creaminess of your milkshake. Fresh fruits, premium chocolate, and real vanilla extract can take your milkshake to the next level.
- Experiment With Flavorings: Get creative with your flavorings and add-ins to customize your milkshake. From classic chocolate and vanilla to unique combinations like mint chocolate chip or salted caramel, the possibilities are endless.
- Blend Well: Whether you’re using a blender, whisk, or jar, make sure to mix the ingredients thoroughly to achieve a smooth and homogeneous mixture. Take your time and blend until no lumps or chunks remain.
- Chill Ingredients: For an extra refreshing milkshake, chill your ingredients before mixing. Cold ingredients will help keep your milkshake cold and prevent it from melting too quickly.
- Consider Thickeners: If you prefer a thicker milkshake, consider adding thickeners like Greek yogurt, frozen fruit, or even a scoop of ice cream powder. These ingredients can help enhance the creaminess and texture of your milkshake.
Conclusion
With these tips in mind, you’re well-equipped to create smooth, creamy, and delicious milkshakes right in your own kitchen. Whether you’re indulging in a classic flavor or experimenting with new combinations, the key is to have fun and enjoy the process of making and savoring your homemade treat. So grab your ingredients, get creative, and shake up something delightful today!