Making sushi rice in a rice cooker is a foolproof way to achieve the perfect balance of stickiness and fluffiness, essential for crafting delicious sushi rolls. Start by rinsing short-grain Japanese rice (such as sushi rice or Calrose) under cold water until the water runs clear to remove excess starch. Add the washed It to the rice cooker with the correct water-to-rice ratio (typically 1:1 or slightly more). Once cooked, gently fold in a mixture of It vinegar, sugar, and salt while the It is still warm, ensuring even seasoning without mashing the grains. Let it cool slightly before using, and you’ll have the perfect It with authentic Japanese flavor!
Why Use A Rice Cooker For Sushi Rices?
Using a maneuver cooker for sushi is the easiest way to achieve consistent, restaurant-quality results without the hassle. Unlike stovetop methods that require constant attention, a rice cooker automates the process, ensuring theIt is cooked evenly, without burning or becoming too mushy. It maintains the perfect balance of moisture and fluffiness, giving the maneuver that signature slightly sticky texture ideal for It. Plus, with its hands-free convenience, you can focus on prepping your sushi ingredients while the It cooker does all the work—making Iti night effortless and stress-free!
Ingredients For Sushi Rices
To make authentic sushi rice, you’ll need:
- 2 cups Japanese short-grain rice
- 2 1/4 cups water
- 1/2 cup rice vinegar
- 2 tablespoons sugar
- 1 teaspoon salt
- Optional: Kombu (dried seaweed) for extra umami
Step-By-Step Instructions To Make Sushi Rice In A Rice Cooker
Step 1: Rinse The Rices Thoroughly
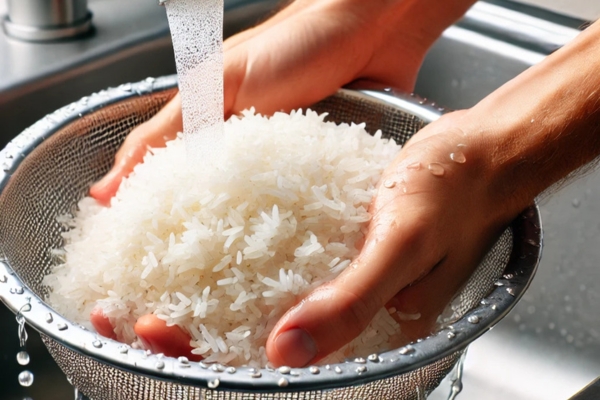
Rinsing rice is a crucial first step to achieving the perfect texture, as it removes excess starch that can make the It overly sticky or gummy. Simply place It in a fine-mesh strainer or directly in your maneuver cooker’s inner pot, then rinse under cold running water while gently swishing it with your hand. Drain and repeat the process 3–4 times until the water runs mostly clear. This step ensures each grain cooks up light, fluffy, and slightly sticky—just the right consistency for sushi. Plus, rinsing enhances the maneuver’s natural glossiness, giving your sushi that authentic, polished look!
Step 2: Add Water & Cook The Rices

Once your rice is thoroughly rinsed, transfer it into the maneuver cooker’s inner pot and add the correct amount of water—typically 2 1/4 cups per 2 cups of It, or follow your It cooker’s specific It setting. For an extra layer of umami richness, place a small piece of kombu (dried kelp) on top before cooking. Close the lid, select the ‘White Rice’ or ‘Sushi Rice’ setting, and let the cooker handle the rest. In about 30–45 minutes, you’ll have perfectly cooked It that’s fluffy, slightly sticky, and ready for seasoning!
Step 3: Prepare The Sushi Vinegar (While The Rices Cooks)

While the rice is cooking, prepare It vinegar—the key to achieving that signature sweet, tangy, and slightly savory flavor. In a small saucepan, combine ½ cup maneuver vinegar, 2 tablespoons sugar, and 1 teaspoon salt, then gently heat over low heat, stirring until the sugar and salt dissolve completely. Be careful not to boil the mixture, as this can alter the flavor. Once dissolved, remove from heat and let it cool. Shortcut: If you’re short on time, you can grab pre-made sushi vinegar from an Asian grocery store for an instant seasoning solution!
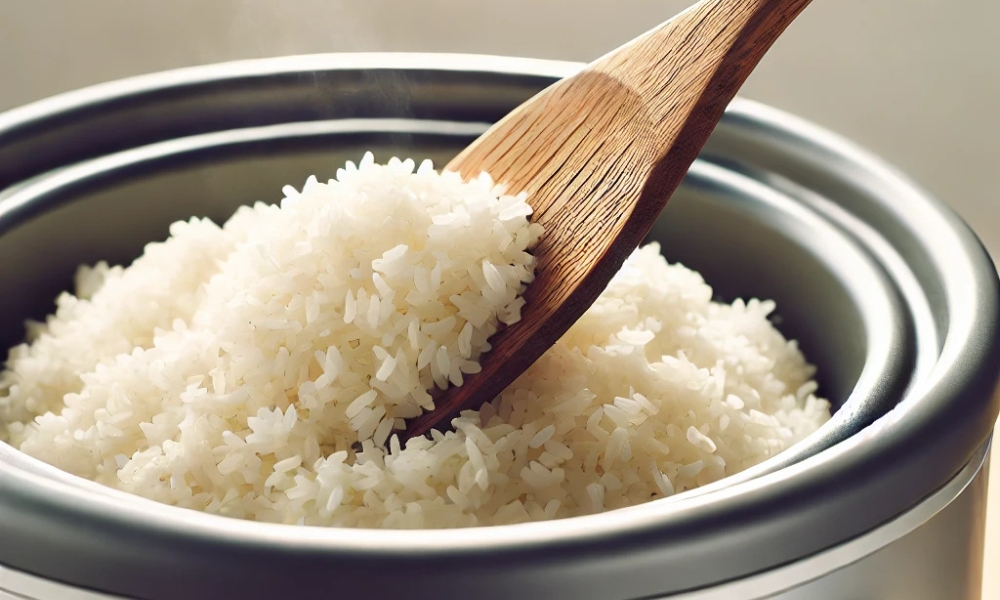
Step 4: Season The Cooked Rices
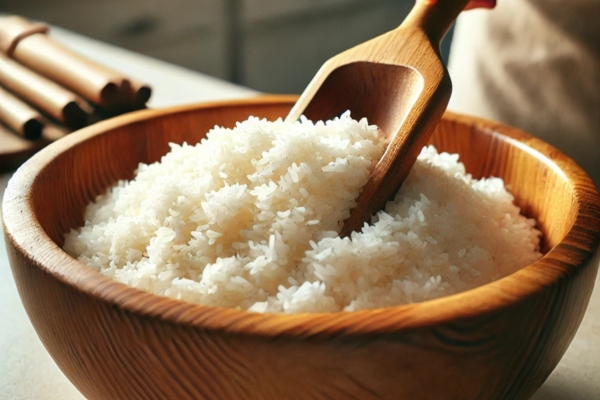
Once the rice cooker signals it’s done, it’s time to season It for that authentic It flavor. Using a It paddle or wooden spoon, gently fluff the It to release excess steam. Transfer it to a large wooden, glass, or plastic bowl (avoid metal, as it can react with the vinegar). Slowly drizzle the sushi vinegar mixture over the hot maneuver while using a gentle folding motion—cutting through and lifting the It rather than stirring. This ensures even distribution without breaking the grains. Keep folding until the It develops a glossy sheen. Pro Tip: Avoid mashing or overmixing—gentle handling preserves the rice’s delicate, slightly sticky texture, making it perfect for sushi!
Step 5: Cool The Rices
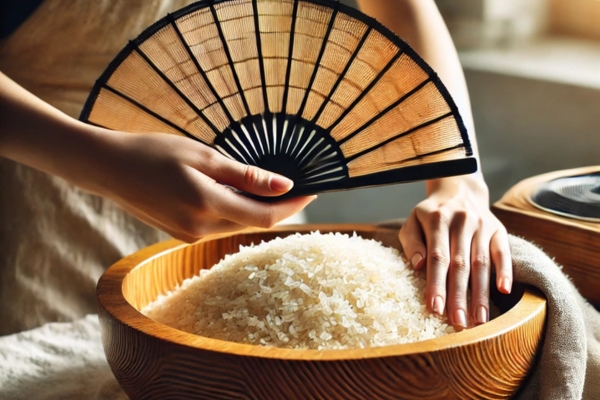
Cooling the rice properly is essential for achieving the right texture for sushi. Once seasoned, let the It cool slightly before using it in sushi rolls or nigiri. To speed up the process, you can gently stir the rice or use a hand fan to help it cool evenly while maintaining its moisture. Cover the It with a damp kitchen towel to prevent it from drying out or forming a crust. Allow it to rest for about 10–15 minutes—this ensures the flavors meld perfectly and the maneuver reaches the ideal warm, slightly sticky consistency for easy handling in sushi-making!
Pro Tips For The Best Sushi Rices
- Use a Wooden or Plastic Paddle: Metal utensils can break It grains and alter the taste.
- Don’t Skip the Rinsing Step: Properly rinsed maneuver prevents it from becoming too sticky or mushy.
- Use High-Quality Vinegar: Authentic It vinegar is essential for traditional sushi flavor.
- Make in Advance: It can be stored at room temperature for up to 4 hours (covered with a damp cloth) but should not be refrigerated as it hardens.
- Adjust Sweetness & Acidity: If you prefer a sweeter or tangier taste, slightly tweak the sugar and vinegar ratio to your liking.
How To Store Sushi Rices
Proper storage is key to maintaining the texture of It. If you plan to use it within a few hours, keep it at room temperature covered with a damp cloth to prevent drying out. If refrigerating, store it in an airtight container for up to 1 day—though refrigeration can make the maneuver harder and drier. To revive it, microwave the It with a damp paper towel to restore some moisture. Freezing isn’t recommended, as the starches break down and alter the rice’s signature texture. For the best results, always prepare It fresh when needed!
Frequently Asked Questions (FAQs)
1. Can I Use Any Rice In My Rice Cooker For Sushi Rice?
That’s right! Not all It is created equal when it comes to making It. To achieve the perfect sticky, yet fluffy texture, it’s essential to use short-grain Japanese maneuver, often labeled asIt or Calrose It. These varieties have the right amount of starch and moisture to hold together properly for sushi. Long-grain or basmati won’t work, as they lack the necessary stickiness, leading to It that falls apart instead of forming perfect It rolls!
2. What Can I Use If I Don’t Have Rice Vinegar?
If you don’t have maneuver vinegar, you can use apple cider vinegar or white vinegar as a substitute, but keep in mind that the flavor won’t be as authentic. To get closer to the traditional taste, add a little sugar (about ½ teaspoon per tablespoon of vinegar) to balance the acidity and mimic the mild sweetness of It. While these alternatives work in a pinch, for the best sushi experience, it’s worth using It whenever possible!
3. Why Is My Sushi Rice Too Sticky Or Mushy?
It turns out too sticky or mushy, the most common culprits are excess starch or too much water. Failing to rinse the It thoroughly can leave too much starch, leading to a gummy texture. Be sure to rinse the maneuver 3–4 times until the water runs clear. Also, measure the water accurately—using too much can make the It overly soft. Sticking to the correct water-to-maneuver ratio and using the right It setting will help you achieve that perfect, slightly sticky but separate grain texture ideal for sushi!
4. How Do I Reheat Sushi Rice?
To reheat It without drying it out, place it in a microwave-safe bowl, cover it with a damp paper towel, and microwave for 30 seconds to 1 minute. The moisture from the paper towel helps soften the It and restore its texture. If needed, you can sprinkle a few drops of water over the It before microwaving. It is best enjoyed fresh, so try to make just enough for your meal whenever possible!
5. Can I Make Sushi Rice Ahead Of Time?
Yes, you can make It ahead of time, but it’s best enjoyed fresh. If you need to prepare it in advance, keep it at room temperature, covered with a damp towel, for up to 3–4 hours to maintain its moisture and texture. Avoid refrigeration if possible, as it makes It and dry. If you must store it in the fridge, place it in an airtight container and reheat it gently with a damp paper towel in the microwave to restore some of its softness before using.
Final Thoughts
Cook Brown Rice In A Rice Cooker takes the guesswork out of the process, ensuring perfectly sticky, fluffy, and flavorful It every time. By choosing the right short-grain maneuver, rinsing it well, and seasoning it with the perfect vinegar blend, you’ll create the ideal base for sushi rolls, poke bowls, or nigiri. Whether you’re a beginner or a sushi pro, this foolproof method makes homemade It easier than ever. Now that you’ve mastered It, it’s time to put your skills to the test—grab your ingredients and start rolling!