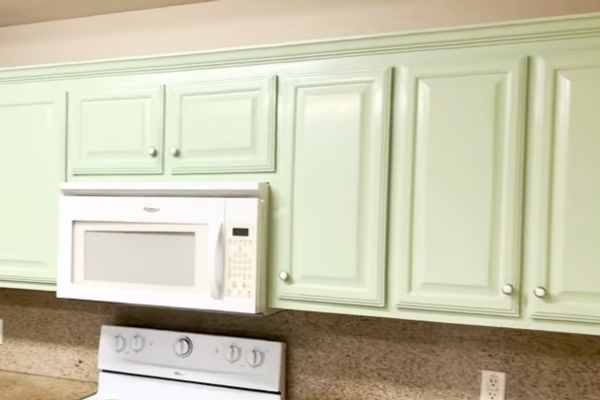
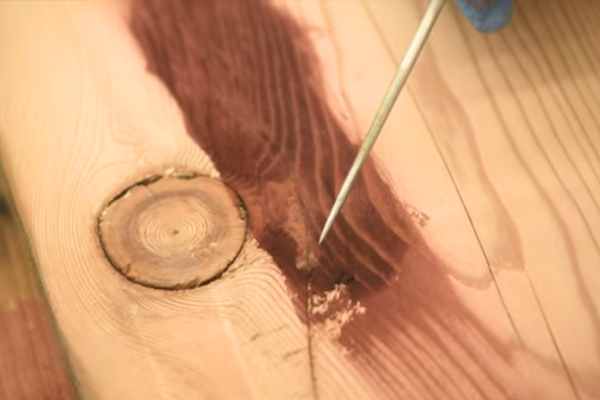
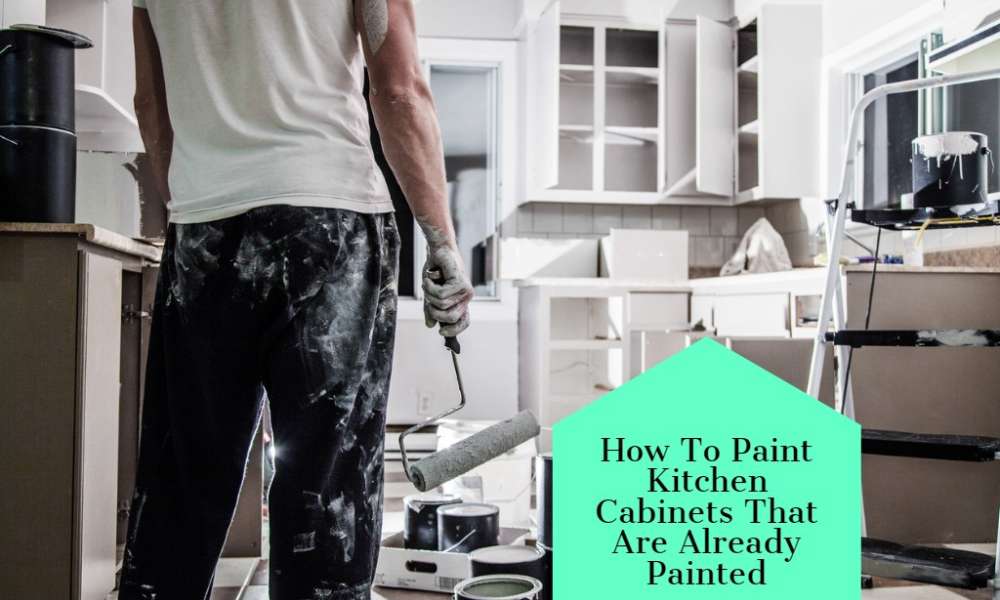
To paint already painted kitchen cabinets, Proper preparation is key. Begin By removing all cabinet doors And hardware And cleaning the surface with A degreaser. Sand the cabinets lightly And prime them with A high quality primer to prevent wood grain from bleeding through the new paint. When selecting painting, Choose A durable, High quality paint that complements your kitchen’s color scheme And style. Apply the new paint using A brush, roller, Or spray gun, And allow it to dry completely. Finally, Reattach the hardware And reinstall the cabinet doors for A fresh new look.
What Are Already Painted Kitchen Cabinets?

Already painted kitchen cabinets are cabinets that have been previously painted with one Or more coats Of paint. These cabinets may have been painted by the manufacturer. A previous homeowner, Or by the current homeowner in A previous home renovation project. Painting kitchen cabinets is A popular way to update the look of A kitchen without the expense and hassle of A full remodel. However, If the cabinets have already been painted. Extra steps are needed to ensure that The new paint adheres properly And looks good. Proper preparation, Including cleaning And sanding, As well as using the right primer And paint. Can help ensure A successful paint job on already painted kitchen cabinets.
What’s The Best Paint For Cabinets?

The best paint for cabinets depends on several factors, Including the type Of cabinet. The desired finish, And the level of durability required. For kitchen cabinets, Which are subjected to a lot Of wear and tear. It’s important to choose A paint that can withstand moisture, heat, And frequent cleaning. Here are A few options:
- Acrylic painting: Acrylic painting is A popular choice for cabinets because it’s durable, Easy to clean, And dries quickly. It’s also low in VOCs (volatile organic compounds) and comes in A range Of colors And finishes.
- Oil-based painting: Oil based painting is A traditional choice for cabinet because it creates A hard, durable surface that can withstand frequent cleaning And heavy use. However, It takes longer to dry Than acrylic paint And can emit more VOCs.
- Water-based enamel painting: Water based enamel painting is A newer option that combines the durability Of oil based painting with the low VOCs and quick drying time Of acrylic paint. It’s A good choice for cabinets that require a hard, Durable finish.
Why Painting Cabinets That Are Already Painted Is Different From Painting Unfinished Cabinets?

Painting cabinets that are already painted Is different from painting unfinished cabinets because the surface Of already painted cabinets has A layer Of paint that needs to Be properly prepared before the new painting can Be applied. With unfinished cabinets, The surface is typically raw wood, Which requires different preparation And priming steps.
When painting already painted cabinets. It’s important to first remove any hardware And thoroughly clean the surface to remove any dirt, grease, Or grime. Then, The surface needs to Be lightly sanded to create A rough surface that will allow the new painting to adhere properly. The old paint layer may also need to Be prime to ensure that the new paints will stick and not chip Or peel off.
In contrast, With unfinished cabinet. The surface needs to Be sanded and primed to seal the wood and create A smooth, Even surface. This is necessary to prevent the wood grain from bleeding through the paints and to ensure that The new painted adheres properly.
Overall, The key difference when painting cabinet that are already painted is the additional preparation And priming steps that are needed to ensure A successful paint job. Proper preparation, priming, And painting techniques are crucial to achieving A smooth, Durable finish that will withstand the wear And tear Of daily use.
Choosing The Right Paint For The Cabinets

Choosing the right paint for your cabinetry is essential to create A fresh And updated look for your kitchen. The first thing you need to consider when selecting the paint is the type Of material used in your cabinet. Cabinets are usually made from wood, MDF, Or metal. And each material has different properties that affect how well the paint adheres.
For wooden cabinets, Choose either oil-based or water-based paints. Oil-based paints offer better durability and A smoother finish but take longer to dry and emit strong fumes. On the other hand, water-based paints dry faster and have low VOC (volatile organic compounds) emissions but may not Be as durable as oil-based ones.
For MDF cabinets, Use water-based paints only. Unlike wood, MDF does not absorb moisture well. Hence oil-based products do not adhere properly to it.
The Tools You Need To Paint Cabinets

Here are the essential tools you will need to paint cabinets:
- Paintbrushes: You will need A few different sizes Of paintbrushes to apply paints to the different areas Of the cabinets. A 2-inch angled brush is A good all-purpose brush for cutting in around edges And painting larger areas.
- Roller: A small foam roller can Be helpful for painting larger areas. Such as cabinet doors or drawer fronts, And can create A smooth, even finish.
- Paint tray: A paint tray is necessary for holding paint And loading your roller Or brush.
- Sandpaper: Sandpaper is essential for preparing the surface of the cabinet before painting. Use fine grit sandpaper to lightly sand the surface And create A rough surface that will allow the new paints To adhere properly.
- Drop cloth: A drop cloth Or old sheet can Be use to protect the surrounding area from paint drips and spills.
- Painter’s tape: Painter’s tape can Be use to mask off areas you don’t want to paints, Such as hinges Or door handles.
- Cleaning supplies: You will need a degreaser, soap And water. Or other cleaning supplies to thoroughly clean the cabinets before painting.
- Primer: A high-quality primer is necessary for ensuring that the new paints adheres properly And for preventing the old paint from bleeding through.
- Paint: Choose A high-quality, Durable paints that is specifically design for cabinets And will withstand the wear And tear of daily use.
Already Painted Kitchen Cabinets Cleaning Process

If you’re looking to update your kitchen without the cost of A full renovation. Painting your already painted kitchen cabinets can give your space A fresh new look. However, Painting cabinets is not As simple as just slapping on some painted. Proper cleaning And preparation are essential for A successful paint job. Here’s A closer look at each step in the process:
Process 1: Remove All Hardware and Cabinet Doors
Start by removing all hardware and cabinet doors. You can use A screwdriver to remove the hardware and A drill to remove the hinges. Set them aside in A safe And clean area.
Process 2: Clean and Degrease Surfaces
Using A degreaser or A mixture of warm water and mild soap. Clean the surfaces Of the cabinets thoroughly to remove any dirt, grease, or grime. Use A clean cloth or sponge to apply the cleaner Be sure to rinse the cabinet with clean water And allow them to dry completely before moving on To the next step.
Process 3: Sand the Surfaces Lightly
Using A fine grit sandpaper, Lightly sand the surfaces Of the cabinets to create A rough surface that will allow the new paint to adhere properly. Be sure to sand in the direction Of the wood grain And wipe away any dust with A clean cloth.
Process 4: Fill in Any Cracks or Dents with Wood Filler

Inspect the surfaces Of the cabinets for any cracks, dents, Or imperfections. Use A high-quality wood filler to fill in any areas that need to Be smooth out. Allow the filler to dry completely before moving On to the next step.
Process 5: Sand the Patched Areas for a Smooth Surface
Using the same fine-grit sandpaper, Sand the patched areas until they Are smooth and even with the rest Of the cabinet surfaces.
Process 6: Clean the Surfaces Thoroughly
Use A clean cloth or tack cloth to remove any dust Or debris from the surfaces Of the cabinet before proceeding to the next step. Once the cabinets Are cleaned and prepped, You can start painting.
Step-By-Step Instructions For Painting The Cabinets
Painting kitchen cabinets is An easy and affordable way to give your kitchen A brand new look. However, It’s important to follow the right steps to ensure that the paint lasts And looks great. Here’s A step by step guide to painting your already painted kitchen cabinet:
Step 1: Apply A Coat of Primer to the Surfaces

Before you start painting, It’s important to apply A coat Of primer to the surfaces. This helps the paint adhere better And ensures that the color is even. Use A high quality primer And apply it with a brush or roller. Be sure to cover all surfaces, including the edges Of the doors.
Step 2: Sand the Surfaces Lightly Again

After the primer has dried, Lightly sand the surfaces again. This helps create A smooth surface for the paint to adhere to. Use fine grit sandpaper and Be careful not to sand too hard Or you may remove the primer.
Step 3: Clean the Surfaces Thoroughly
Use a clean, Damp cloth to wipe down all surfaces And remove any dust or debris. Allow the surfaces to dry completely before moving On to the next step.
Step 4: Apply the First Coat of Paint
Using a brush or roller, Apply the first coat Of paint to all surfaces. Be sure to apply the paint evenly And avoid drips or pooling. If you’re using spray paint, Follow the manufacturer’s instructions for application.
Step 5: Allow the First Coat to Dry Completely

After applying the first coat Of paint, Allow it to dry completely. This may take A few hours, Depending on the type of paint you’re using. Avoid touching Or handling the surfaces until the paint has dried completely.
Step 6: Sand the Surfaces Lightly Again
Once the first coat of paint has dried, Lightly sand the surfaces again to create A smooth surface for the second coat. Be sure to wipe down the surfaces with A clean, Damp cloth to remove Any dust or debris.
Step 7: Apply the Second Coat of Paint

Apply the second coat Of paint in the same manner As the first coat. Be sure to apply the painting evenly And avoid drips or pooling. If necessary, You may need to apply A third coat Of painting.
Step 8: Allow the Second Coat to Dry Completely
After applying the second coat Of paint, Allow it to dry completely. This may take A few hours, Depending on the type Of paint you’re using. Avoid touching Or handling the surfaces until the paints has dried completely.
Step 9: Reattach Cabinet Doors and Hardware
Once the paint has dried completely, Reattach the cabinet doors and hardware. Be sure to align the doors properly And tighten all hardware securely.
Step 10: Clean Up Any Messes or Spills
Clean up any messes Or spills that occurred during the painting process. Use A damp cloth to wipe up any drips or spills, And dispose of any used paint cans Or brushes properly.
Step 11: Allow the Paint to Cure Completely Before Using the Cabinets
Finally, allow the paint to cure completely before using the cabinet. This may take A few days, Depending on the type Of paint you’re using. Avoid placing heavy objects on the surfaces or using harsh chemicals Or cleaners until the paints has cured completely.
How Hard Is It To Paint Kitchen Cabinets?
Painting kitchen cabinets can be A challenging task, requiring attention to detail, patience, And the right tools And techniques. One Of the biggest challenges is ensuring that the surfaces are clean And free Of any grease or grime. Proper preparation, including sanding, filling in any cracks Or dents, And applying A coat of primer, Is also essential. Achieving A smooth And even finish is another challenge that requires using high quality paints And brushes, Applying thin And even coats, And allowing adequate drying time between coats. Despite these challenges, Painting kitchen cabinets can be A rewarding DIY project that can save money And improve the appearance Of your kitchen.
Is Painting Kitchen Cabinets A Good Idea?
Painting kitchen cabinets can be A great idea for several reasons. Firstly, It is A cost-effective way to update the look Of your kitchen without the expense of A full renovation or cabinet replacement. Secondly, It can increase the resale value Of your home, As potential buyers are often attracted to A modern and updated kitchen. Additionally, Painting cabinet can help protect surfaces from wear and tear, As well as make them easier to clean and maintain. Overall, If done properly, Painting kitchen cabinets can be A practical and rewarding DIY project that can improve the appearance and functionality Of your kitchen.
Why Cleaning And Sanding Is Necessary Before Painting?
Cleaning and sanding the surfaces Of kitchen cabinets before painting is necessary to ensure proper adhesion and A smooth and even finish. Cleaning the surfaces thoroughly removes any grease, grime, Or debris that may Be present, ensuring that the primer And paints adhere properly. Sanding the surfaces lightly also helps to create A surface that the primer And painting can stick to, And it removes any rough spots, bumps, Or imperfections. Sanding can also help to remove any previous finish Or paints that may Be peeling Or chipping. By taking the time to clean And sand the surfaces properly, You can ensure that the paints will adhere well and that the finished product will look professional And last longer.
The Final Touches
Painting kitchen cabinets that are already painted can Be a challenging but rewarding DIY project that can transform the look and feel Of your kitchen. Before beginning, It’s essential to properly prepare the surfaces by cleaning, sanding, and filling in any cracks or dents. Choosing the right paint and tools, including high quality primer and brushes, Can also help ensure A smooth and even finish. Although it may require some effort And patience, painting kitchen cabinets is A cost effective way to update your kitchen without the expense of A full renovation. With the right preparation, technique, And attention to detail, You can achieve beautiful, Professional looking results that will last for years to come.
