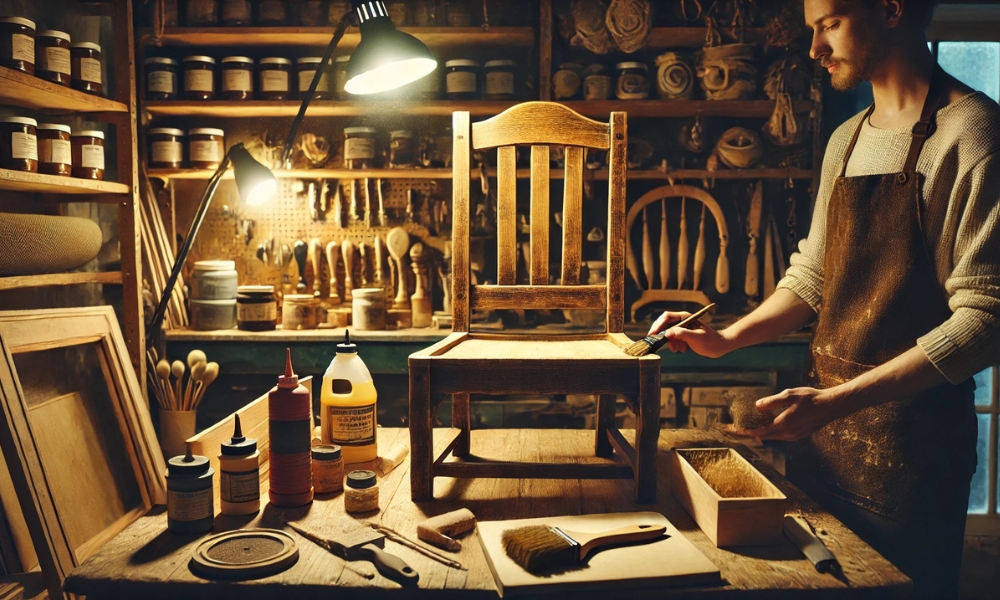
Refinish wood chairs—whether they’re cherished family heirlooms or humble kitchen seating—are prone to the inevitable damage time brings. Scratches, dents, and faded finishes can leave even the most well-loved chairs looking worn and tired. But before you throw in the towel and replace them, consider refinishing instead. This guide will walk you through the exciting process of restoring wood chairs, turning them into functional works of art. By the end, you’ll have not just a revitalized chair, but a tangible sense of accomplishment that makes all the effort worth it.
The Magic Of Refinishing: Why It’s Perfect For Beginners
Refinishing wood chairs isn’t just for seasoned DIYers—it’s also an incredibly rewarding venture for beginners. The beauty lies in its simplicity. Sure, it takes time and patience, but unlike complex woodworking tasks, refinishing is more about careful, thoughtful application than technical mastery. No need to fear complicated tools or heavy lifting. In fact, with just a handful of materials, you’ll breathe new life into your old chairs—and likely discover a newfound love for furniture restoration along the way.
Refinishing Vs. Replacing: The Case For A New Beginning
Sure, replacing old chairs might seem like the quicker fix, but refinishing offers so many benefits that it’s hard to justify tossing them out. First, the cost! A brand-new set of chairs can set you back hundreds, but refinishing requires only a modest investment in supplies—many of which can be used for other projects later. Second, there’s the sentimental value. Whether these chairs have been passed down through generations or have witnessed countless family dinners, refinishing preserves those memories, unlike a quick trip to the furniture store. Finally, let’s talk sustainability: by restoring old furniture, you’re not only saving money but also helping the environment by reducing waste. Every scrap of old finish is one less chair sent to a landfill.
Before You Begin: The Essentials Of Wood Finishing
Wood finishing is more than just slapping on a coat of paint. It’s a carefully considered process of applying protective layers to preserve the wood and enhance its beauty. From varnishes and lacquers to stains and paints, each finish offers unique qualities—some preserve the natural grain, while others bring a pop of color or a shiny gloss. Picking the right finish isn’t just about aesthetics, though; it’s about durability and ease of care. Is your chair going to endure daily use? Then a polyurethane finish might be just the thing. Or perhaps you prefer a more subtle, natural look that highlights the wood’s texture? A light varnish will do wonders.
What Exactly Is Wood Refinishing?
In simple terms, wood refinishing is the art of stripping away an old, damaged finish and replacing it with something fresh. This involves removing layers of paint or varnish, sanding the wood to smooth out imperfections, and then applying new finishes to restore or refresh the chair. The end result? A stunning transformation that not only looks great but also protects the wood from future damage—be it from moisture, sunlight, or the occasional spill.
Preparing Your Wood Chairs: The Crucial First Step
Before diving into the refinishing process, let’s talk prep. This stage is where your project truly begins to take shape. Start by carefully inspecting your chairs. Are there cracks, wobbly joints, or other signs of damage that need fixing? Repair these first—whether that means gluing loose parts or filling cracks with wood filler. Afterward, clean the surface thoroughly with a mild soap and water solution to remove dirt and debris. Make sure it’s bone-dry before proceeding! This clean, solid foundation will ensure that the new finish adheres properly, providing a long-lasting result.
Tools You’ll Need: Your Refinishing Arsenal
To successfully tackle your wood chair project, you’ll need a few key tools and materials. These include:
- Paint stripper or solvent (to remove old finishes)
- Sandpaper (coarse and fine grit)
- Scraper/putty knife (to scrape off old finishes)
- Brushes (natural bristles for smooth application)
- Lint-free cloths (for wiping down surfaces)
- Protective finish (varnish, lacquer, polyurethane)
- Wood filler (for repairing any damage)
- Safety gear (gloves, goggles, mask)
With the right tools at your side, the refinishing process will unfold smoothly, delivering a professional-grade finish.
Step-By-Step Guide
Step 1: Stripping Away The Old Finish
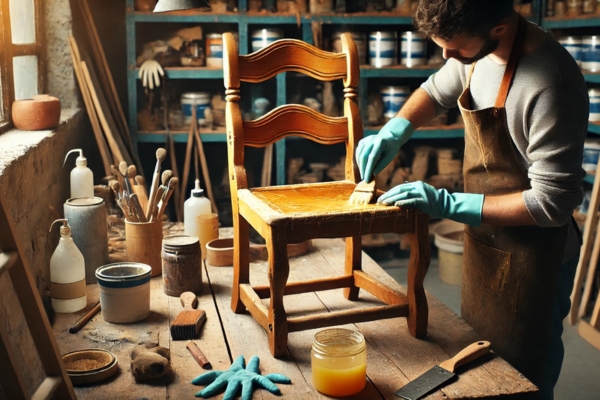
The first and most crucial step in refinishing is removing the old finish. Depending on the previous treatment, you’ll need a paint stripper or solvent to break down layers of varnish or paint. Apply the stripper according to the manufacturer’s directions—being sure to wear protective gear and work in a well-ventilated space. After a little time, the finish should start to peel away. Use a scraper to gently lift the old coating, leaving the bare wood exposed and ready for the next step.
Step 2: Sanding To Perfection
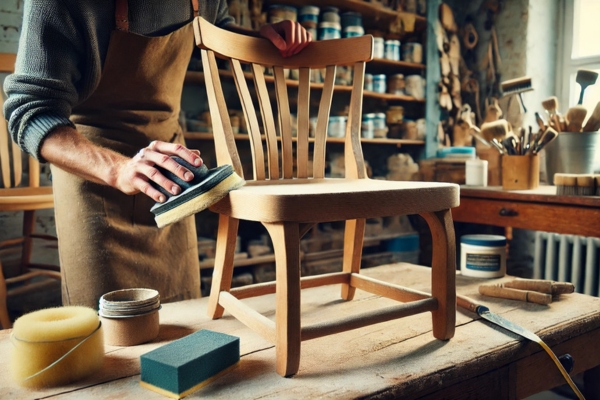
Once the old finish is gone, it’s time to sand. Sanding helps smooth the wood and remove any lingering traces of old finishes, so the new coat can adhere properly. Start with coarse-grit sandpaper (about 80-grit), moving to finer grit (180-grit) to achieve a silky-smooth surface. Be sure to follow the grain to avoid unsightly scratches. For intricate details, reach for a sanding sponge or block. If you plan on applying multiple coats, remember to sand between each layer to maintain an even, flawless finish.
Step 3: Repairing Any Imperfections
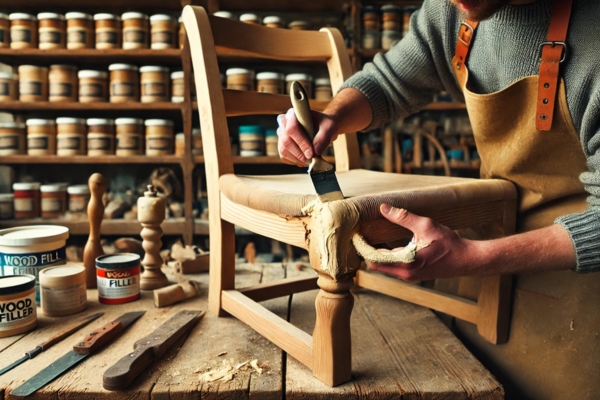
During the sanding process, you might uncover cracks, chips, or dents. Don’t fret—wood filler is here to save the day. Simply apply the filler to the damaged areas, allow it to dry completely, and sand it down until it blends seamlessly with the rest of the surface. If the damage is severe, consider replacing parts of the chair or reinforcing weak joints with wood glue or screws.
Step 4: Choosing The Right Finish
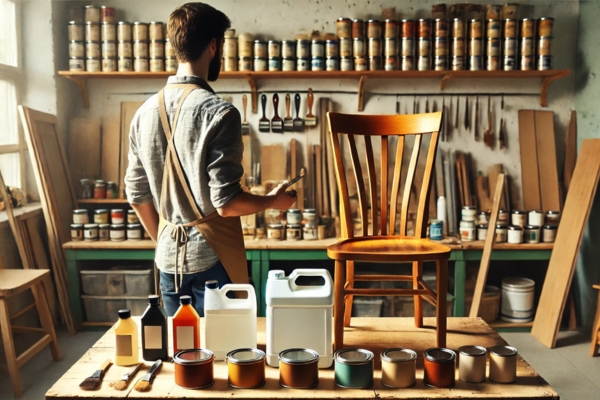
Your choice of finish will set the tone for the entire look of your chair. For a timeless, natural appearance, opt for a clear varnish or lacquer that lets the wood’s natural grain shine. Want something darker, with more richness? A deep wood stain may be the answer. If you’re looking for a practical option with superior durability (and spill protection), go for polyurethane. The finish you choose will not only define the chair’s visual appeal but also its functionality in your space.
Step 5: Applying The First Coat Of Finish
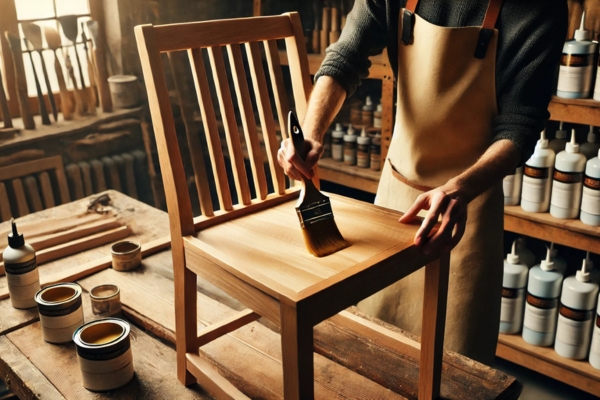
Now, the fun part: applying the finish! Using a high-quality brush, apply a thin, even coat of your chosen finish, being mindful not to leave drips or streaks. You’re looking for smooth, consistent coverage that covers the entire chair without pooling. Let the first coat dry completely before proceeding. Drying times can vary, so be sure to check the manufacturer’s instructions.
Step 6: Sanding Between Coats
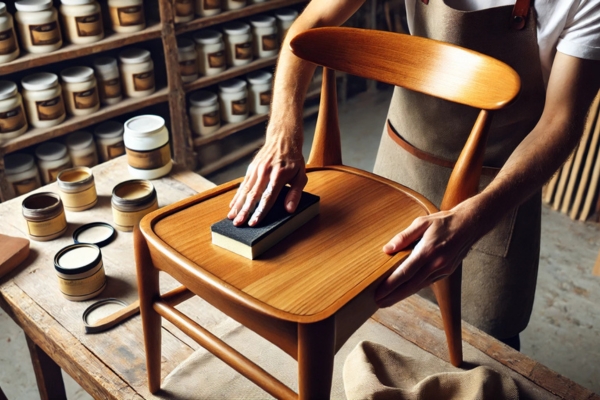
After each coat dries, lightly sand the surface with fine-grit sandpaper to smooth out imperfections or bubbles. This step ensures that the next coat adheres properly and helps maintain a flawless, professional finish. Always wipe away the dust before applying the next layer.
Step 7: Applying Additional Coats For Depth
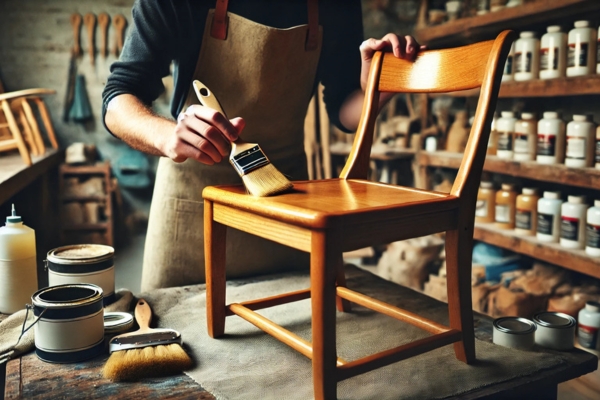
For a polished, durable finish, multiple layers are key. Apply a second (and possibly third) coat, allowing each one to dry fully before sanding lightly and adding the next layer. The result will be a richer, deeper finish that will stand the test of time.
Step 8: Sealing For Protection
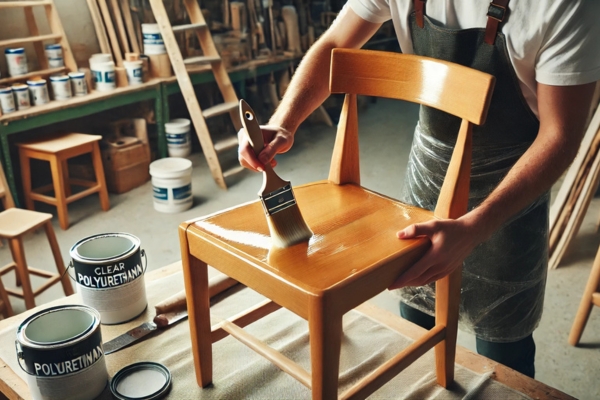
Once your final coat has dried, seal your work with a protective layer of clear polyurethane or lacquer. This added step ensures your refinished chairs are protected against moisture, dirt, and everyday wear and tear. Apply the sealant with care, using thin layers and allowing each one to dry before moving to the next.
Step 9: Polishing For That Perfect Shine
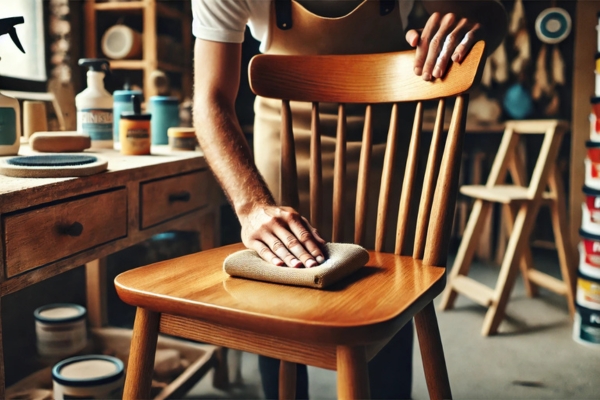
Finally, give your chairs a little love. Once everything is fully dried, buff the surface with a soft cloth to bring out that gorgeous shine. For stubborn rough spots, go over them gently with a fine sanding pad.
Tips & Tricks For Refinishing Success
- Always wear protective gear—safety first!
- Work in a well-ventilated area to avoid inhaling fumes.
- Take your time; this is a meticulous, rewarding process.
- If you have multiple chairs, consider refinishing them all at once for consistent results.
Troubleshooting Common Refinishing Problems
Even seasoned DIYers hit bumps along the way. From streaky finishes to unsightly bubbles, don’t worry! A few tweaks can solve most problems. Streaky finishes? Thin, even coats are the key. Bubbles? Lightly sand between coats to remove air pockets. Discoloration? Test your finish on a hidden area before going all in.
Maintaining Your Newly Refined Chairs
To ensure your refinished chairs stay beautiful for years to come, regular upkeep is essential. Clean them with a soft cloth and avoid harsh chemicals that can damage the finish. Touch up the finish when necessary, and protect your chairs from spills by using coasters. Keeping them out of direct sunlight will also help preserve their appearance.
Final Thoughts
Refinishing wood chairs is not just about restoring old furniture—it’s about bringing new life to a piece that holds stories and memories. Whether you’re updating a family heirloom or refreshing a set of recover A kitchen chairs, refinishing offers a hands-on way to make something old feel new again. So roll up your sleeves, get the right tools, and enjoy the process. You’ll be amazed at what a little creativity and patience can achieve.
