Maintaining a dishwasher isn’t merely about convenience—it’s essential for ensuring optimal efficiency and longevity. Imagine your dishwasher as a mechanical symphony, working in harmony, but one clogged note—your filter—can throw the whole performance into disarray. Daily use leads to inevitable buildup, and neglecting routine care can invite costly repairs or, worse, ineffective cleaning. Among the myriad maintenance tasks lies one critical, often forgotten step: cleaning and remove the dishwasher filter. This seemingly small component holds monumental importance, trapping rogue food particles, preventing clogs, and maintaining the delicate balance of your dishwasher’s ecosystem. Clean it, and your machine hums with precision; ignore it, and chaos ensues.
Understanding Your Dishwasher Filter
Think of the dishwasher filter clean as a sentinel, constantly on guard, capturing bits of debris before they can wreak havoc. In older models, these sentinels were self-sufficient, shredding debris with a built-in food disposer. Modern dishwashers, however, rely on manual intervention. The strainer now demands your attention, sitting at the bottom of the unit, quietly gathering the debris. Left unattended, it will clog, and like any clogged mechanism, it will falter, leading to suboptimal cleaning results or potential damage to your dishwasher’s delicate inner workings.
Signs Your Dishwasher Filter Needs Cleaning
Is your dishwasher betraying you? Perhaps it’s leaving food particles scattered across your dishes, or the faint scent of stagnation hangs in the air? These are the whispering signs that your filter may be in need of attention. Other, more glaring symptoms include pools of water stagnating at the bottom or a general sluggishness in performance. When once-pristine dishes emerge with telltale spots of residue, it’s time to heed the call: your strainer, demands inspection.
Safety First: Preparing to Remove the Dishwashers Filter
Before diving into the mechanical belly of the beast, ensure that safety is paramount. Disconnect the dishwasher—unplug it or flip the circuit breaker if it’s hardwired. Remember, water and electricity are not friends. Allow the machine to cool if it has just completed a cycle, for rushing into this process can lead to unnecessary risks.
Step-by-Step Guide on How To Remove Dishwashers Filter
Step 1: Turn Off and Unplug the Dishwasher
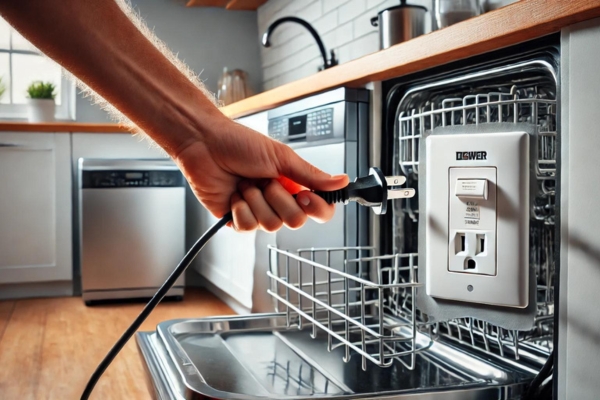
Begin by severing the power supply. This is non-negotiable. Whether through unplugging the unit or switching off the circuit breaker, this critical first step ensures your safety as you proceed.
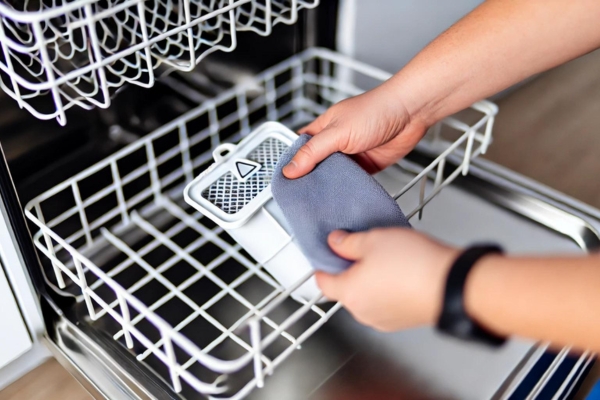
Step 2: Open the Dishwasher Door

With the power off, fully open the door. Remove the lower rack to reveal the dishwasher’s base—your area of operation. This will give you unobstructed access to the strainer.
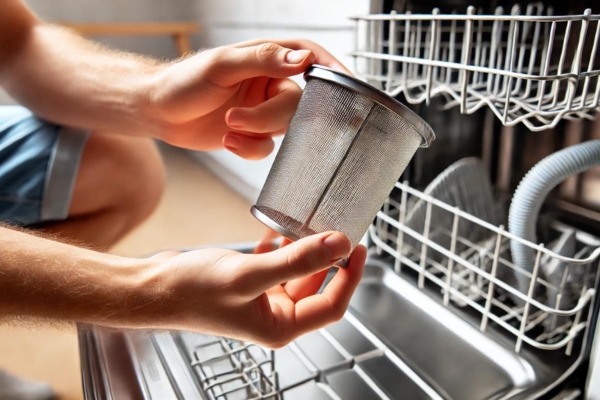
Step 3: Locate the Filters
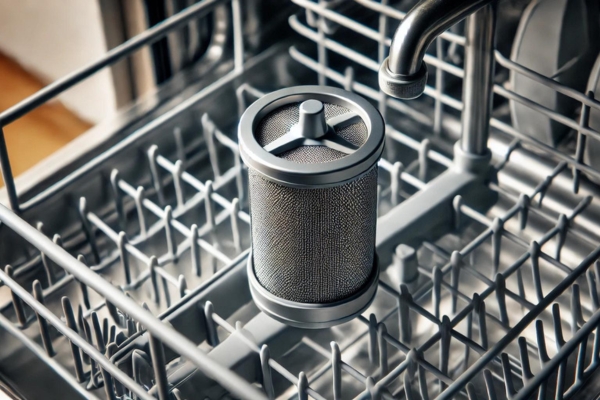
At the heart of the dishwasher’s floor, beneath the spray arm, lies the strainer. It may be a cylindrical piece or a flat, meshed cover, depending on the model. Familiarize yourself with its location before attempting any removal.
Step 4: Check for a Two-Part Filters System
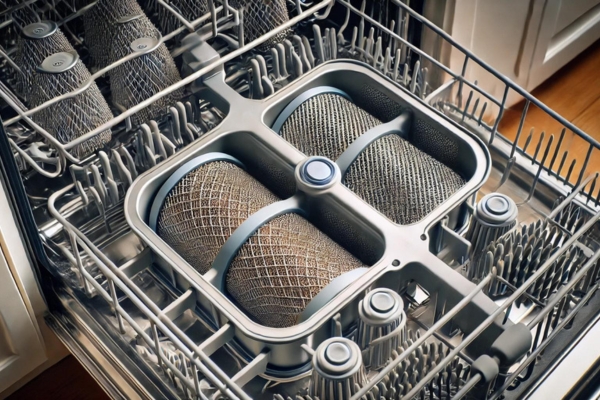
Some models employ a two-part filter system, designed to catch debris in stages. A coarse filter for larger particles, and a finer mesh for the small remnants. Understanding this system is key, as both parts must be cleaned to ensure the dishwasher’s smooth operation.
Step 5: Remove the Upper Filters
If your machine houses an upper strainer, gently lift or unscrew it. Some may require a delicate twist to unlock. Handle with care, ensuring you don’t damage the mesh in the process.
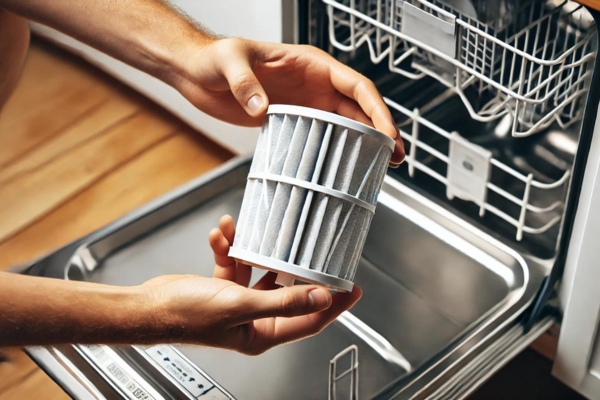
Step 6: Twist and Unlock the Lower Filters
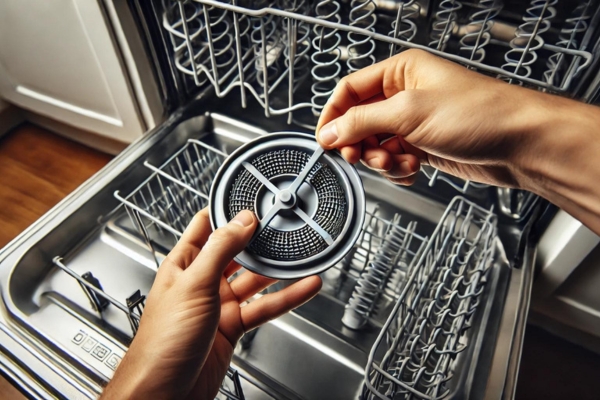
For the lower filter, twist counterclockwise to unlock it. With a careful hand, lift the filter out, ensuring you don’t disturb any of the more fragile components.
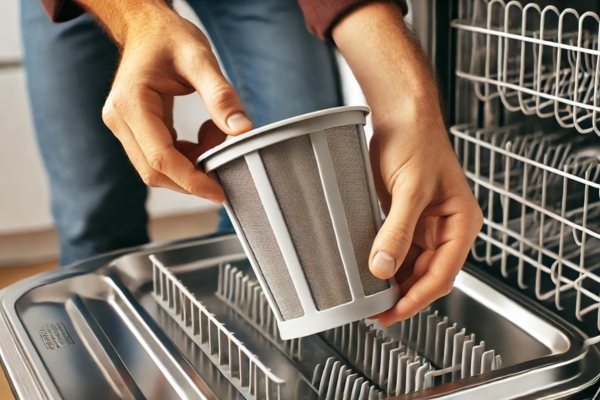
Step 7: Inspect the Filters
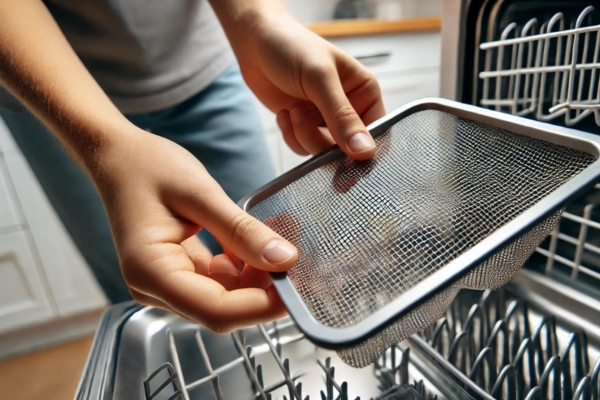
Examine the strainer thoroughly. Look for large debris, signs of wear, or even small blockages. The mesh, in particular, is delicate, and any tears or clogging should prompt immediate action.
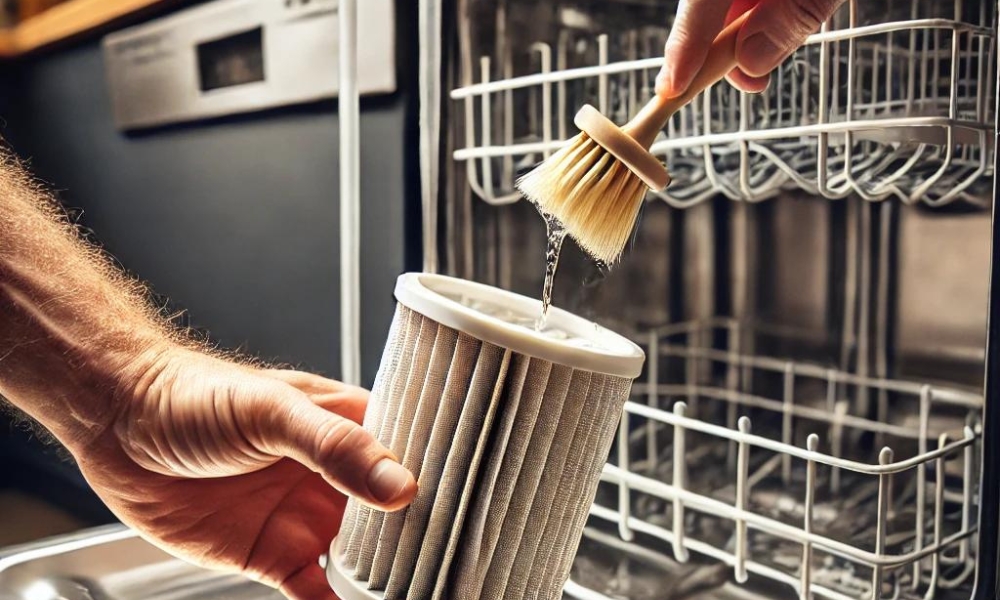
Step 8: Rinse the Filters
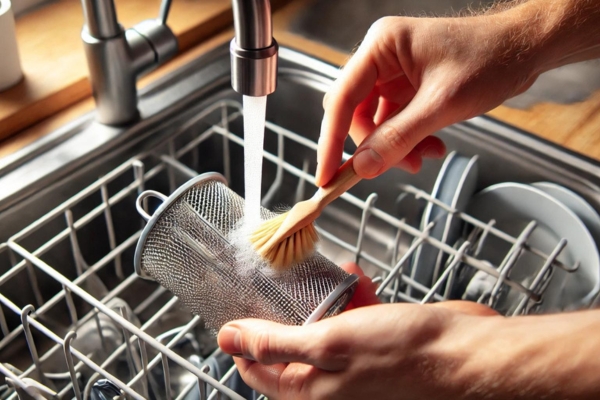
Take the filter to the sink. Rinse it under warm water, using a soft brush—perhaps an old toothbrush—to dislodge any stubborn grime. Avoid harsh chemicals or abrasive materials; the mesh is fragile, and overzealous cleaning could damage it.
Step 9: Clean the Filters Housing
While the strainer dries, take a moment to wipe down the housing in the dishwasher. Use a damp cloth to remove any debris or grime from the surrounding area, ensuring that nothing is left behind that could affect future performance.
Step 10: Reinsert the Filters
Once the filter is clean and fully dry, carefully place it back into the dishwasher. Twist it clockwise to lock it into place. Ensure it’s snug and secure.
Step 11: Replace the Upper Filters
If you removed an upper strainer, now is the time to reinsert it. Double-check that it is sitting flush and tightly in place, ensuring no gaps where debris could bypass the filtration system.
Step 12: Replace the Lower Dish Rack

With the filter firmly in place, return the lower dish rack. Make sure it’s properly aligned to allow free movement of the spray arms.
Step 13: Run a Test Cycle

Now that everything is reassembled, run a short cycle without any dishes. This test will confirm that the filter is correctly installed and that the dishwasher is running as smoothly as ever.
Inspecting the Dishwashers Filters for Debris and Damage
During each cleaning, it’s crucial to assess the strainer for signs of wear or damage. If the mesh is torn or excessively clogged, it may be time to replace it. A compromised filter not only decreases performance but can lead to more significant mechanical issues down the line.
How to Clean a Dishwashers Filters After Removal
Cleaning the filter is a straightforward process. Use warm water and mild soap, scrubbing gently with a soft brush to remove grime. Avoid harsh chemicals—they can degrade the strainer and leave residues that may transfer to your dishes.
Cleaning the Strainer Housing and Surrounding Area
The filter housing often collects grease and food debris, contributing to unpleasant odors. Wipe it down with a damp cloth, ensuring that you get into all the crevices. For a deeper clean, a mixture of vinegar and water will help eliminate lingering bacteria and grime.
Reinstalling the Clean Dishwasher Strainer
Once cleaned, make sure the strainer is entirely dry before reinstalling. A damp filter can encourage mold growth, undoing all your hard work. Secure it properly in its slot, ensuring that it’s locked into place.
When to Replace Your Dishwasher Strainer
Although durable, Clean A Maytag Dishwasher Filter don’t last forever. Depending on usage, most manufacturers recommend replacing the strainer every 1 to 2 years. If cleaning no longer restores its function or if visible damage is present, it’s time for a replacement.
Tips for Maintaining a Clean Dishwasher Strainer
Preventative maintenance is your friend. Scrape off food debris before loading dishes, run hot water before starting the dishwashers, and make strainer cleaning a regular task every few months. These simple habits will prevent clogs and extend your dishwasher’s life.
Additional Maintenance Tasks to Keep Your Dishwasher Running Smoothly
Aside from cleaning the filter, monthly maintenance cycles using vinegar can help eliminate odors and mineral buildup. Don’t forget to wipe down the door seals and inspect the spray arms for clogs. Keeping all components in check ensures peak performance.
Troubleshooting Dishwasher Issues After Cleaning The Strainer
If cleaning the filter hasn’t restored the dishwashers function, check the spray arms for blockages, ensure proper water supply, and inspect the drain. Persistent issues may require professional intervention.
Can I Run the Dishwasher Without a Strainer?
Running the dishwashers without a strainer is ill-advised. Without it, debris would accumulate in the drain, potentially damaging the pump and circulating back onto your dishes. Always ensure the filter is in place before running a cycle.
How Long Does It Take to Clean a Dishwasher’s Strainer?
Cleaning a dishwasher Strainer is a swift task—typically 10 to 15 minutes. The most time-consuming part is disassembling and reassembling the components, but with practice, it becomes a routine task.
What Happens if I Don’t Clean My Dishwashers Filter Regularly?
Failing to clean the strainer regularly results in poor cleaning performance, unpleasant odors, and potential damage to the appliance. Food particles build up, leading to clogs and reducing the efficiency of your machine.
Conclusion
Regular dishwasher filter maintenance is a small task with enormous benefits. By following the steps outlined in this guide, you’ll enhance your dishwasher’s performance, extend its lifespan, and ensure that your dishes remain impeccably clean. A clean strainer equals a happy dishwasher, and in turn, a happy home.