The Whirlpool dishwasher, a hallmark of kitchen efficiency, is a device that significantly eases the burden of daily dishwashing. Yet, for all its convenience, this machine demands consistent attention to ensure it remains in optimal condition. Hidden beneath the gleaming surfaces of clean dishes lies an often-neglected component—the dishwasher filter. A pivotal part of the machine’s function, the filter keeps food particles from swirling back onto your freshly cleaned plates. Failing to maintain it can lead to a litany of problems. Here’s your definitive guide on how to remove and maintain the Whirlpool dishwasher filter, ensuring your appliance performs at its peak.
Understanding the Importance of a Clean Dishwasher Filters
The filter operates as a silent guardian, a sentinel that catches bits of food debris, ensuring they don’t return to mar the cleanliness of your dishes. Without this strainer, food particles would simply cycle through the wash again, clinging to your glassware, cutlery, and plates. Over time, as grease, grime, and particles accumulate, the strainer can clog. When this happens, water circulation diminishes, and soon, your dishwasher’s performance suffers. A clean filter isn’t just a nicety—it’s a necessity.
What Happens When You Don’t Clean the Filters?
The consequences of neglecting your dishwasher filter range from mild inconvenience to catastrophic failure. At first, you might notice a gradual decline in how well your dishes are being cleaned. Food residue might persist, or an unpleasant odor could start to seep from the machine. Left unchecked, this buildup can strain the motor as it works harder to pump water through the debris-filled filter. Eventually, this can result in motor burnout—a costly repair. Furthermore, the damp environment combined with old food particles is a breeding ground for mold and bacteria, exacerbating foul smells that can spread beyond the dishwasher itself.
How Often Should You Clean Your Whirlpool Dishwasher Filter?
The frequency with which you clean your filter depends largely on your household’s usage patterns. Do you run the dishwasher daily, often with plates still covered in food remnants? If so, monthly cleaning is ideal. On the other hand, if your dishes are pre-rinsed and you use the machine less frequently, you can stretch this out to every three months. That said, if you detect any odours or notice your dishes aren’t as sparkling as they once were, it’s wise to inspect the strainer more often. Preventive maintenance is always easier than tackling a full-blown issue later.
Tools and Materials You’ll Need Before Starting
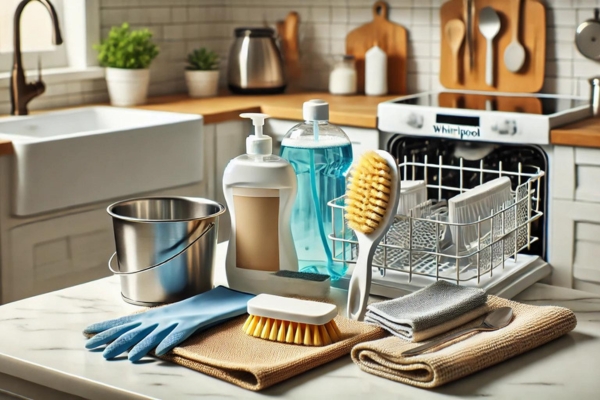
Before you dive into the filter removal process, ensure you’re well-equipped. A soft-bristled brush will come in handy to scrub away stuck-on debris. Mild dish soap paired with a microfiber cloth ensures the strainer gets a gentle but thorough clean. For those dealing with a particularly grimy strainer, a pair of gloves can provide extra protection. Lastly, keep a small towel or bucket nearby to catch any drips that occur when removing the strainer, minimizing mess and making cleanup a breeze.
Safety Precautions to Take Before Removing the Filters

Safety first. Turn off the dishwasher and unplug it or switch off the circuit breaker. Clean A Maytag Dishwasher Filter, while benign in appearance, deal with water and electricity—two elements best not mixed. If your machine was recently in use, give it time to cool off before you begin. Steam burns are an unpleasant risk. While this procedure isn’t inherently hazardous, taking these precautions ensures the process remains incident-free.
Locating the Whirlpool Dishwasher Filters: A Beginner’s Guide
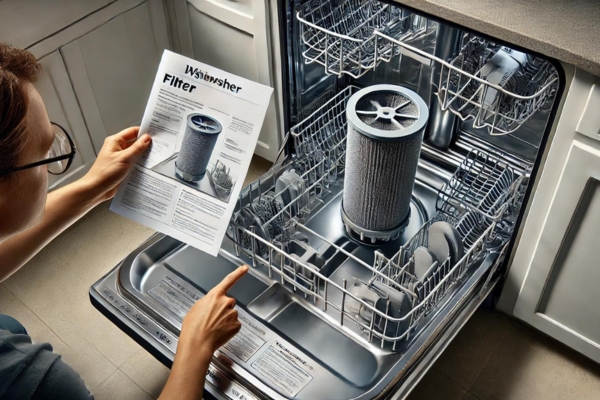
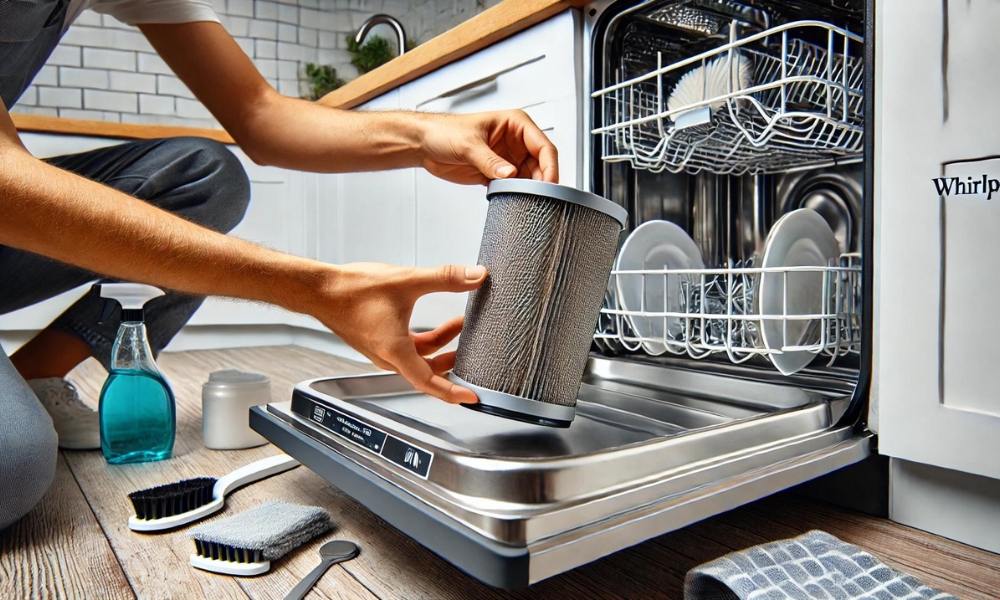
Finding the filter is the first step in removing it. Typically, the strainer resides at the bottom of the dishwasher, beneath the lower spray arm. This strainer is a cylindrical, mesh component—easy to identify once you know where to look. If you’re unsure, consult your Whirlpool manual, which will provide model-specific instructions. It’s crucial to be confident you’ve located the right part before proceeding to avoid causing any accidental damage.
Accessing the Bottom of the Dishwasher
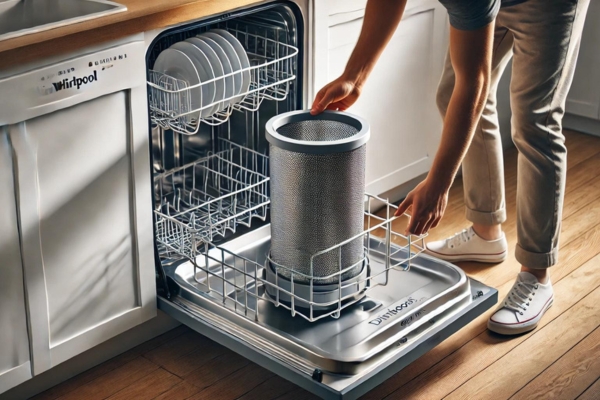
Start by removing the lower dish rack. This will give you full access to the bottom of the machine and allow you to work without obstruction. Once the rack is out, the strainer should be clearly visible, waiting to be removed.
Twisting and Unlocking the Filters Safely

Gently twist the strainer counterclockwise. You should feel a slight resistance as it unlocks from its housing. Take care not to apply too much force. Once unlocked, lift the strainer out carefully. The last thing you want is to damage the surrounding components by being too rough.
What to Do If the Filter is Stuck: Troubleshooting Tips
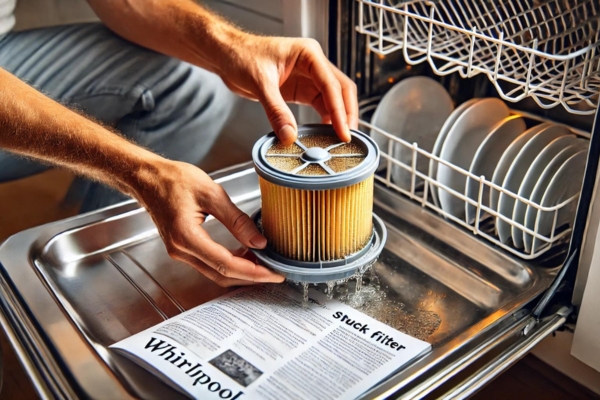
Filters that haven’t been cleaned in a while can become lodged in place, seemingly welded by grease and debris. If the strainer feels stuck, resist the urge to force it. First, check for any visible obstructions. You can try applying warm water around the base to help loosen any hardened residue. If that doesn’t work, refer to your user manual or seek professional assistance to avoid damaging the unit.
Inspecting the Filters for Buildup and Damage
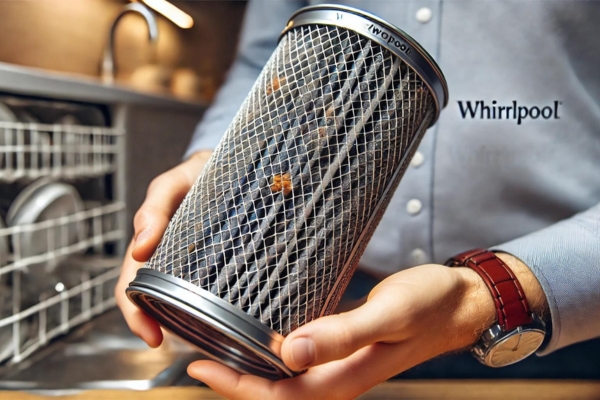
Now that the filter is out, inspect it closely. You’re looking for large food particles, greasy buildup, or any visible signs of wear. A torn or damaged strainer won’t be able to perform its function properly, and it’s best to replace it if it’s no longer intact. Keeping an eye on the condition of your strainer helps prevent bigger issues down the line.
How to Properly Clean the Whirlpool Dishwasher Strainer
Rinse the filter under warm running water. For filters with caked-on grease or stubborn particles, use your soft-bristled brush to gently scrub away debris. Mild dish soap can be used to break down grease, but avoid anything harsh. Be thorough—clean the inside, outside, and every nook and cranny of the strainer.
Rinsing Off Food Particles and Residue
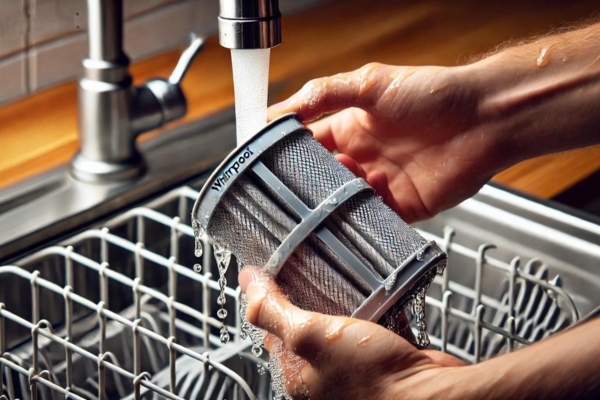
Once scrubbed, rinse the filter thoroughly. Ensure that all soap and residue have been completely washed away. Any leftover particles can impede the filter’s performance, so take your time with this step.
Deep Cleaning the Filters Using Household Ingredients
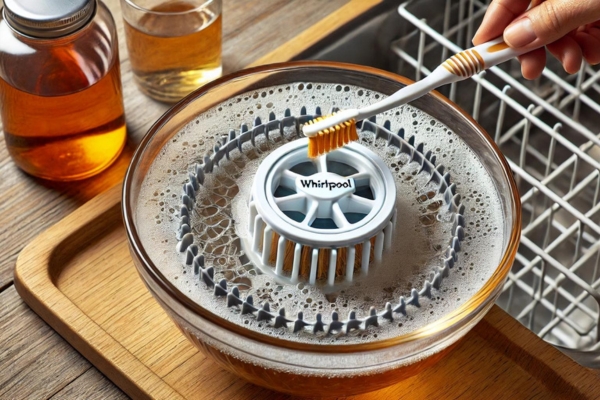
If the filter requires a more intensive cleaning, soaking it in a mixture of warm water and vinegar can help. Vinegar is a natural degreaser and odor neutralizer, making it ideal for this task. After soaking, use a toothbrush to scrub any remaining debris from the strainer.
What Not to Use When Cleaning the Filters
Under no circumstances should you use bleach or harsh chemicals on your dishwasher strainer. These substances can weaken the mesh and plastic components, significantly shortening its lifespan. Stick to gentle, natural cleaning agents like dish soap and vinegar for the best results.
How to Reinstall the Whirlpool Dishwasher Filter
With your filter now spotless, it’s time to reinstall it. Place the strainer back in its housing, ensuring it lines up with the grooves. Twist it clockwise to lock it securely in place. The filter should sit snugly and not move once reinstalled.
Double-Checking Proper Fit After Reinstallation
After reinserting the filter, give it a gentle tug to ensure it’s locked in place. If it moves or feels loose, you may need to twist it further to fully secure it. A properly fitted filter is crucial for optimal dishwasher performance.
Common Mistakes to Avoid When Removing or Cleaning the Filters
One of the most common mistakes is using too much force during removal or reinstallation. Another is waiting too long between cleanings, allowing debris to build up to the point of causing damage. Lastly, using harsh chemicals or abrasive materials can wear down the filter prematurely, so always opt for gentle cleaning techniques.
Signs That It’s Time to Replace Your Whirlpool Dishwasher Filters
If your filter shows signs of tearing, fraying, or excessive wear, it’s time to replace it. Other indicators include persistently dirty dishes, even after cleaning, or a lingering odor that won’t go away. Replacing a worn strainer will restore your dishwasher’s effectiveness.
Where to Find Replacement Filters for Your Whirlpool Dishwasher
Replacement filters are widely available online and at home improvement stores. Be sure to purchase the correct strainer for your specific Whirlpool model. Using the wrong strainer could lead to improper fit or reduced performance.
Why a Clean Filter is Essential for Dishwasher Longevity
A clean filters ensures that water circulates properly throughout your dishwasher, preventing blockages and reducing strain on the motor. Regular strainer maintenance extends the life of your appliance, preventing costly repairs down the road.
Maintenance Tips to Keep Your Dishwasher Filter in Top Shape
Beyond cleaning the filters, you should regularly inspect the spray arms for blockages and clean the dishwasher’s drain area. Running an empty cycle with vinegar can help keep the interior fresh and prevent any buildup from forming.
Additional Care for Your Whirlpool Dishwasher: Beyond the Filter
While the filter is a key component, maintaining other areas of the dishwasher is equally important. Wipe down the interior walls, clean the door seals, and ensure the spray arms are free of debris. These steps will help keep your Whirlpool dishwasher running smoothly for years to come.
Conclusion
Maintaining your Whirlpool dishwasher filter is a small task with significant benefits. Not only will it keep your dishwasher running efficiently, but it will also ensure that your dishes come out sparkling clean every time. By following these simple steps and committing to regular maintenance, you’ll protect your investment and avoid unnecessary headaches.