
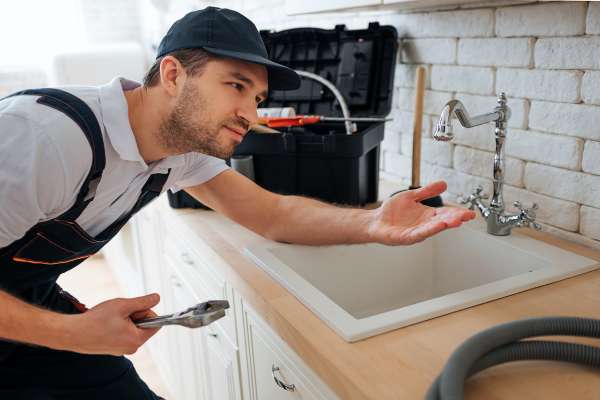
Plumbing work may seem intimidating, But it doesn’t have to Be replacing the pipes under your kitchen sink. For example, can be A straightforward task If you know what you’re doing. Whether it’s a persistent leak, A blockage that just won’t shift, or simply an upgrade to modernize your fixtures, the process can be made much easier by having the right tools, understanding the basic principles of plumbing, and following a step-by-step guide. In this article, we will walk you through how to replace the pipes under your kitchen sink, equipping you with the knowledge to handle this common household repair with confidence and precision.
Why Replace The Pipe Under The Kitchen Sink?
There Are Several Reasons Why You Might Need To Replace The Pipes Under Your Kitchen Sink:
- Leaks: If you notice water pooling under your sink, it’s likely that one of the pipes is leaking. This could be due to a crack or damage in the pipe, loose fittings, or deterioration due to age.
- Blockages: Blockages can occur from a buildup of food particles, grease, or other materials that have been washed down the drain. If a clog is severe and can’t be cleared with a plunger or a plumber’s snake, it might be necessary to replace the pipe.
- Corrosion: Over time, pipes can corrode due to their exposure to water and different substances that go down the drain. If the corrosion is severe, It can lead to leaks And blockages, So replacing the pipes is A good preventative measure.
- Improvement: Sometimes, you might just want to improve the system under the sink. For example, installing a double sink or a garbage disposal unit might require new pipes.
- House Renovation: During a kitchen renovation, it is common to replace the old plumbing to avoid future issues, especially in older homes where the plumbing hasn’t been updated for a long time.
What Tools And Materials Are Needed To Replace Pipes Under A Kitchen Sink?
Replace the pipes under your kitchen sink, you’ll need the following tools and materials:
Tools:
- Adjustable wrench or channel lock pliers: These will help you loosen and tighten nuts and bolts on the piping.
- Pipe wrench: A larger wrench that’s useful for harder-to-move parts.
- Plumber’s tape: Also known as Teflon tape, it’s used to create watertight seals between pipe threads.
- Plumber’s putty or silicone sealant: This helps to create a seal around the base of the sink drain and prevent leaks.
- Hacksaw or tubing cutter: You may need this to cut through metal or plastic pipe.
- Bucket: To catch any water left in the pipes when you remove them.
- Gloves and safety goggles: To protect your hands and eyes during the project.
- Tape measure: To ensure your new pipes will fit.
Materials:
- Replacement pipe And fittings: You’ll need to buy new pipes And fittings that match the size and type Of the ones you’re replacing. Common types include PVC or metal pipes. You’ll likely need different shapes such as straight pipe, elbows, or tees.
- Sink drain kit: If you’re also replacing the drain, a kit can provide all the necessary parts.
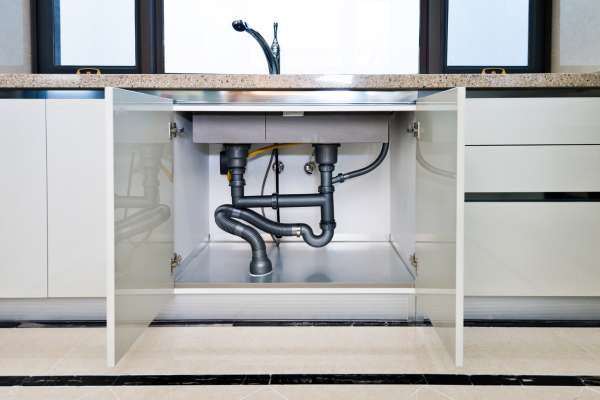
- P-trap: This is a crucial part of the plumbing under your sink. It’s designed to trap debris that has fallen down the drain And prevent it from forming A clog in your plumbing system. It also stops sewer gases from coming up through the sink drain.
Step To Step Replacing Kitchen Sink Pipes
Step 1. Gathering The Necessary Tools And Materials
Before starting any plumbing project, It’s important to ensure you have all the necessary tools And materials on hand. This includes adjustable wrenches or channel lock pliers, a pipe wrench, plumber’s tape, plumber’s putty or silicone sealant, a hacksaw or tubing cutter, and protective gear like gloves and safety goggles. You’ll also need a bucket, A tape measure, And, of course, your replacement pipes and fittings. A sink drain kit may also be needed if you’re replacing the drain, and a P-trap is essential to prevent clogs and block sewer gases.
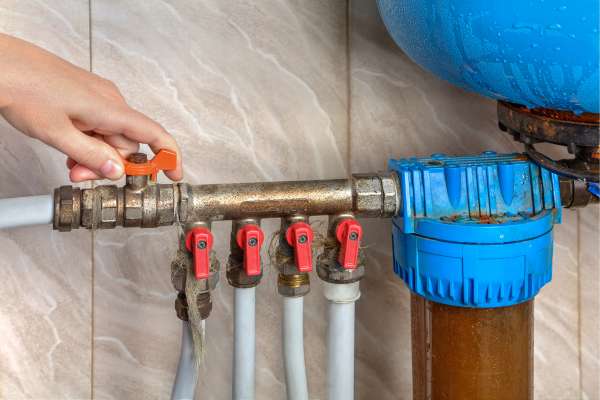
Step 2. Turn Off Water Supply
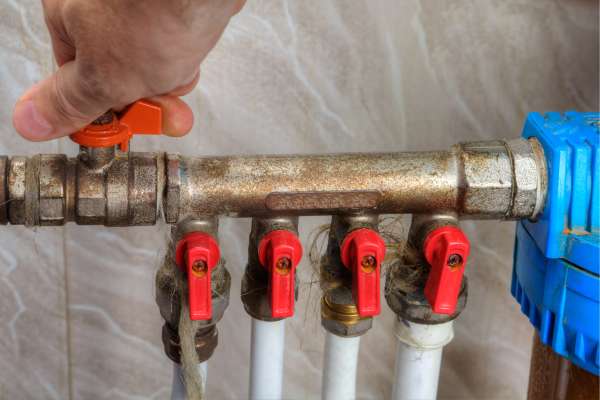
Before you start disassembling anything, It’s crucial to turn off the water supply to prevent flooding. The water supply valves are typically located under the sink and are easy to turn off. Simply rotate the handles clockwise to shut off the water. If your sink doesn’t have its own shut-off valves, You may need to turn off the main water supply for the house. Make sure to run the faucet after turning off the water to relieve any pressure and drain the remaining water from the pipes.
Step 3. Emptying The Sink And Clearing The Area

Before you begin, Make sure the sink is empty, And the area under the sink is cleared out. Removing cleaning supplies or anything else stored under the sink gives you the space needed to work. You should also place A bucket under the pipes to catch any water that may still Be in the pipes. This preparation will not only make the job easier but it can also help prevent A small issue from turning into A larger one. For instance, any leaks that happen as you’re dismantling the old pipe will go into the bucket, rather than all over the inside of your cabinet. This step is all about making the job easier and preventing any unnecessary damage or mess.
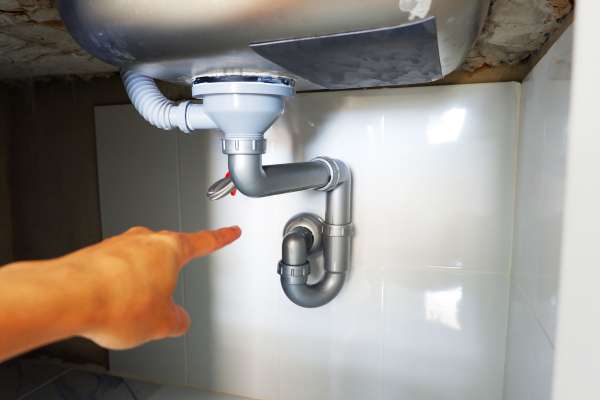
Step 4. Loosening And Removing The Drain Trap
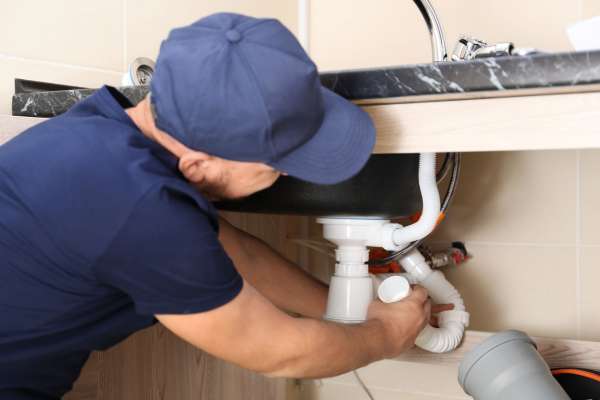
The drain trap (often a P-trap or U-shaped pipe) is the first part you need to remove. Position your bucket underneath the trap to catch any trapped water. Use your adjustable wrench or channel lock pliers to loosen the nuts on both ends of the trap. Once loosened, you can manually twist them until the trap is free. Be gentle to avoid causing any damage to the pipe.
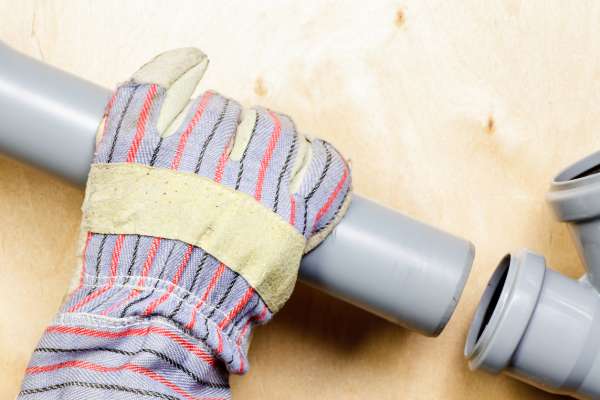
Step 5. Removing The Old Pipes
With the drain trap removed, you now have access to the remaining pipes. Continue using your wrench or pliers to loosen and remove the nuts attaching these pipes to the sink and the wall. Remember to keep your bucket handy as water might still be present in these pipe. If any parts are especially difficult to remove, A pipe wrench or hacksaw may be necessary, But be careful to avoid causing unnecessary damage.
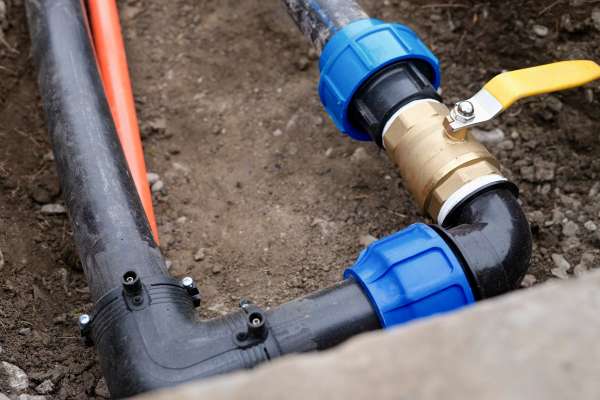
Step 6. Choosing The Right Replacement Pipes
Choosing the right replacement pipes is crucial. Take your old pipes to the hardware store if you’re unsure about the right size or type. Typically, the pipes will be made of PVC or metal and you’ll need various shapes such as straight pipe, elbows, or tees. Ensure that the size and thread match your previous setup unless you plan to change the configuration.
Step 7. Attaching The New Drain Pipes
Before attaching the new pipes, apply plumber’s tape to the threads of your connections for a better seal. Start by installing the new tailpiece (pipe connected to the sink drain) and make sure it is securely connected to the sink drain. Then, install the new P-trap to the tailpiece and the pipe leading into the wall. Make sure all connections are secure but avoid over-tightening as this can cause damage. Reconnect the water supply line if it was removed. Throughout this process, refer to the manufacturer’s instructions for any specific requirements.
Step 8. Connecting The Water Supply Lines
With the new pipes in place, It’s time to connect the water supply lines. Locate the hot and cold water supply valves under the sink. Using adjustable pliers, attach the supply lines to the corresponding valves. Ensure that the connections are tight but be cautious not to over-tighten and damage the fittings.
Step 9. Turning On The Water Supply
Before testing for leaks, turn on the water supply valves slowly. This will allow water to flow into the pipes and the sink. Keep an eye out for any immediate leaks or drips as the water starts to flow. If you notice any leaks, immediately turn off the water supply and address the issue before proceeding.
Step 10. Checking For Leaks Or Drips
With the water supply turned on, carefully inspect all the connections, joints, and pipes for any signs of leaks or drips. Pay close attention to the areas around the newly installed pipe, the P-trap, and the connections to the faucet and supply lines. If you spot any leaks, tighten the connections further or use joint compound or plumber’s tape to create a better seal.
Step 11. Ensuring Proper Drainage
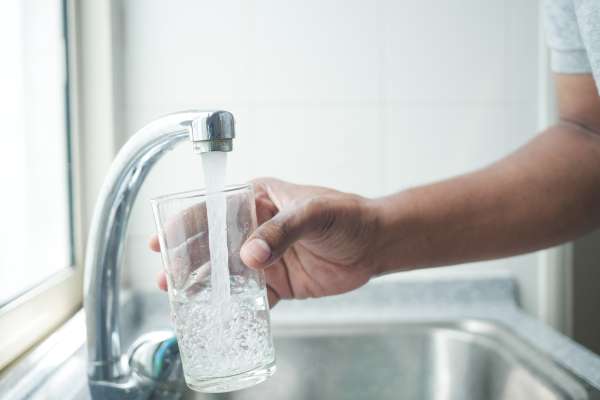
To ensure proper drainage, fill the sink with water and let it drain while observing the flow. Check for any signs of slow drainage or blockages. If the water drains smoothly without any issues, it indicates that the new pipes are functioning correctly. However, if you notice any problems, inspect the connections and pipes for any obstructions or misalignments that might be causing the drainage issues.
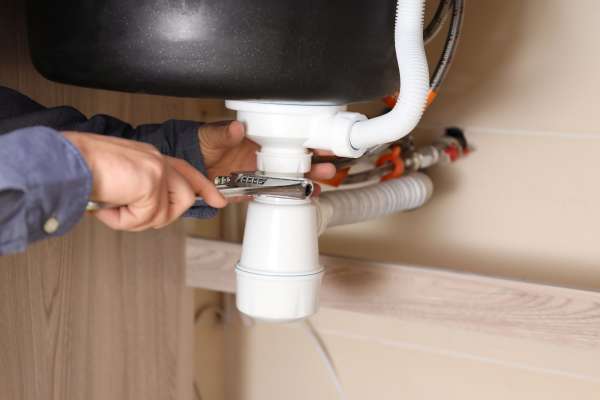
Step 12. Securing And Tightening The Connections
Once you have confirmed that everything is working correctly And there are no leaks or drainage problems, It’s time to secure and tighten all the connections one last time. Use a pipe wrench or pliers to ensure that all the slip nuts and fittings are snug and properly tightened. Avoid over-tightening, as it may cause damage or create leaks.
How Do I Remove The Old Pipes And Install New Ones Under A kitchen Sink?
To remove the old pipes and install new ones under a kitchen sink, follow these steps. First, gather the necessary tools such as a pipe wrench, adjustable pliers, and a bucket to catch water.
Turn off the water supply to the sink. Use a pipe wrench or pliers to loosen the slip nuts connecting the P-trap and other pipes. Carefully remove the old pipes, taking note of their arrangement. Clean the area where the connections were with a rag.
Measure and cut the new pipes to the appropriate lengths. Apply joint compound or plumber’s tape to the threaded ends of the pipe. Connect the new pipes one by one, starting with the longest sections, and tighten the slip nuts securely.
Reattach the P-trap and tighten the slip nuts. Connect the water supply lines to the faucet and tighten them. Turn on the water supply And check for leaks or drips. Ensure proper drainage by filling and draining the sink. Finally, secure and tighten all connections. By following these steps, you can successfully replace the old pipes and install new ones under your kitchen sink.
What Are Some Common Issues Or Troubleshooting Tips When Replacing Pipes Under A Kitchen Sink?
While replacing pipes under a kitchen sink, you may encounter a few common issues.
Here Are Some Troubleshooting Tips To Help You Address Them:
- Leaks or Drips: One of the most common issues is leaks or drips at the connections. Ensure that the slip nuts are tightened securely but not over-tightened, as this can cause damage. Use joint compound or plumber’s tape on the threaded ends of the pipe for a better seal. If leaks persist, double-check the connections and consider replacing faulty components.
- Improper Drainage: If the sink drains slowly or there is a blockage, inspect the pipes for obstructions or misalignments. Ensure that the pipes are properly connected and aligned with proper slope for smooth drainage. Use a plunger or a plumbing snake to clear any clogs in the drain.
- Water Pressure Issues: If you experience reduced water pressure after replacing the pipe, it could indicate a blockage or a partially closed valve. Check for any obstructions in the pipes and ensure that the supply valves are fully open.
- Foul Odors: If you notice unpleasant smells coming from the sink after replacing the pipe, it could be due to poor ventilation or a dry P-trap. Ensure that the P-trap is properly installed and has water in it to create a barrier against sewer gases. You may also need to check the venting system to ensure proper airflow.
- Incorrect Pipe Sizing: Using pipes with incorrect sizes can lead to poor water flow, leaks, or other issues. Double-check the measurements and ensure that you have selected the appropriate pipe sizes for your plumbing system.
- Damage to Pipe Threads: While connecting the pipe, be careful not to damage the threads. Damaged threads can result in leaks or weak connections. Use proper tools, such as pipe wrenches or pliers, and avoid overtightening.
The Final Thoughts
Replace the pipes under a kitchen sink may seem like a daunting task, but with the right knowledge and approach, It is a manageable DIY project. By following the step-by-step process outlined in this guide, You can tackle common issues such As leaks, Drainage problems, And water pressure concerns. Remember to prepare properly, measure accurately, and use the appropriate tools and materials. Pay close attention to the connections, ensure proper sealing, and take the time to check for any leaks or drips before considering the job complete. If you encounter complex problems Or lack confidence in your abilities, Don’t hesitate to seek professional assistance. By successfully replacing the pipes under your kitchen sink, you can restore the functionality and efficiency of your plumbing system, ensuring a leak-free and smoothly running sink for years to come.