Replace your Whirlpool water filter is an essential maintenance task that ensures your refrigerator continues to provide clean, fresh waters. Over time, filters become clogged with contaminants, reducing their effectiveness. Fortunately, replacing the filters is a straightforward process that can be done without any professional help. In this guide, we’ll walk you through each step to make the replacement quick and hassle-free.
Why You Need to Replace Your Whirlpool Water Filters?
Before diving into the replacement process, it’s crucial to understand why changing your water filter regularly is important. Over time, waters filters accumulate debris, chlorine, and other particles, which can lead to a decrease in drink quality. A clogged strainer can also reduce drink flow, putting strain on your refrigerator’s waters dispenser and ice maker. Replacing the strainer ensures that your drink and ice remain clean and fresh, and it keeps your appliance running efficiently.
When to Replace Your Whirlpool Water Filter?
Whirlpool recommends replacing the water filters every six months, but this can vary depending on usage. If you notice a change in drink taste, a decrease in waters pressure, or if the Long Do Fridge Water Filters Last indicator light turns on, it’s time for a replacement. Always check your refrigerator’s manual for specific recommendations related to your model.
Tools You’ll Need
The great news is that replacing a Whirlpool strainer typically requires no tools. However, having a towel on hand can help catch any water drips during the process.
Step-By-Step Instructions
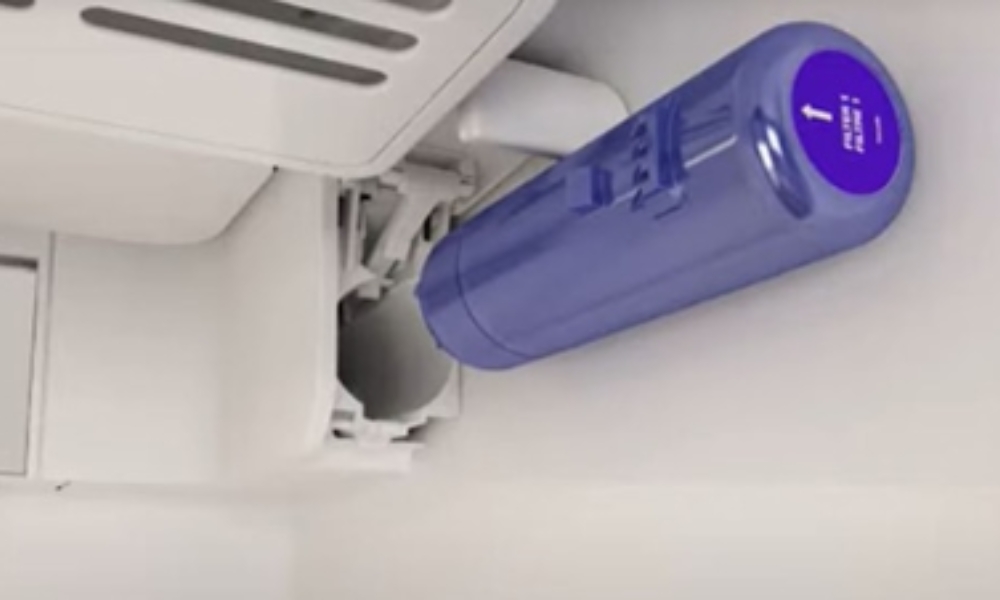
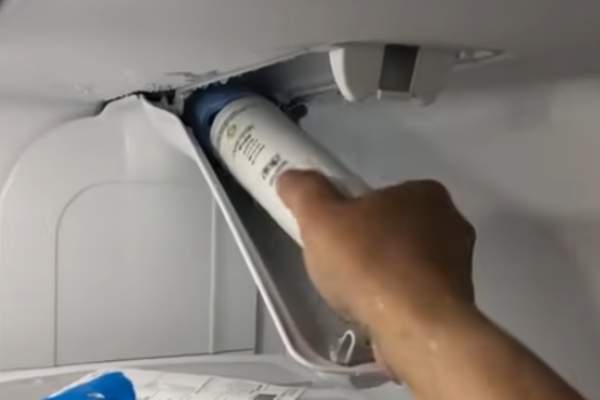
Step 1: Locate The Water Filter
The first step in replacing your Whirlpool strainer is to locate it within your refrigerator. Depending on your specific model, the waters filter can usually be found in one of two places: either inside the refrigerator compartment, often in the upper right-hand corner, or in the lower grille at the front of the appliance. Refer to your user manual if you’re unsure of its exact location. Identifying the correct placement of the strainer is essential for a smooth replacement process and ensures you’re working with the right component from the start.
Step 2: Turn Off The Water Supply
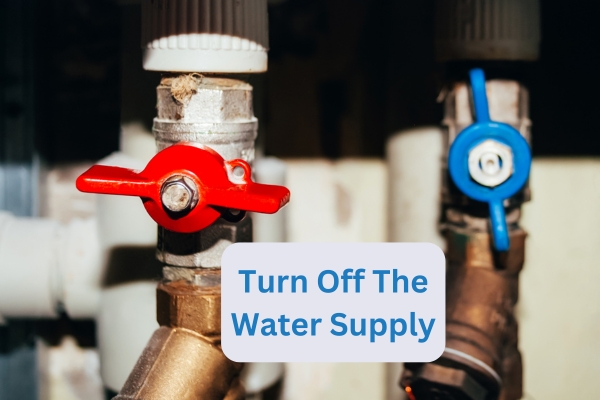
Before you remove the old filter, it’s important to turn off the waters supply to your refrigerator if your model requires it. This step is necessary to prevent any drink from leaking or spilling during the filters replacement process. Locate the shutoff valve, usually found behind the refrigerator or under the sink, and turn it off by rotating it clockwise. Not all Whirlpool models require this step, so be sure to consult your user manual to determine if it applies to your specific refrigerator. Taking this precaution will make the process cleaner and easier.
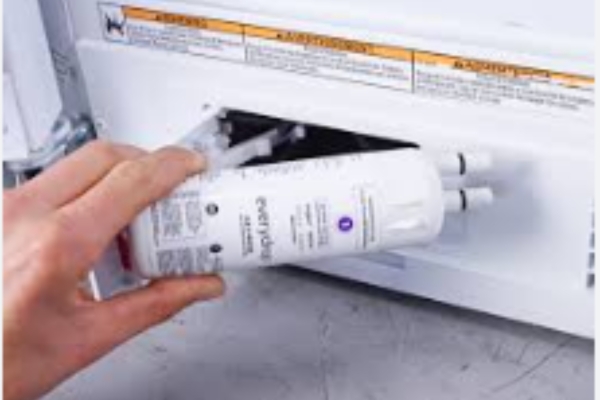
Step 3: Remove The Old Filter
Removing the old filter is a straightforward process but requires careful handling. Depending on your Whirlpool refrigerator model, the filter will either twist out or pull straight out. For models with a twist-lock strainer, turn the strainer counterclockwise to unlock it and then gently pull it out. For push-button filters located in the grille, press the release button and pull the filters straight out. It’s important to do this slowly to avoid any spills or drips. Properly disposing of the old filters ensures that your new strainer can be installed without any issues.
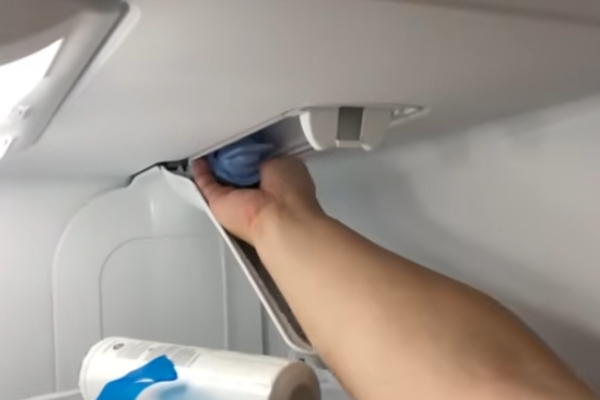
Step 4: Install The New Filter
Installing the new filters is a simple but essential step to ensure your Whirlpool refrigerator continues to deliver clean water. Begin by removing any protective caps from the new filters. Align the strainer with the housing, making sure the notches or arrows match up for a secure fit. If your model has a twist-lock strainer, insert the filters and twist it clockwise until it locks into place. For push-button filters, simply push the new strainer into the slot until it clicks securely. Ensuring a proper installation will help maintain drink flow and filtration efficiency, keeping your water fresh and pure.
Step 5: Turn On The Water Supply
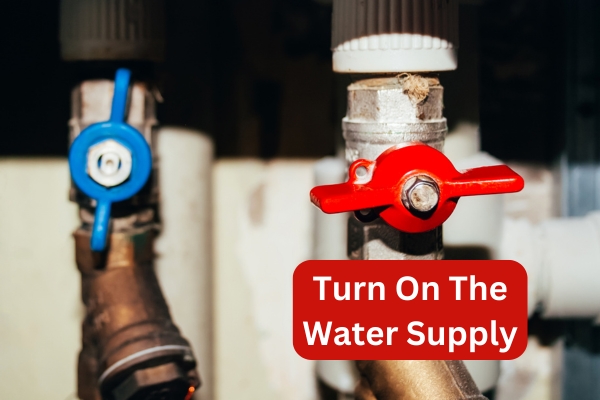
After securely installing the new filter, the next step is to turn the water supply back on if you previously turned it off. Locate the shutoff valve, typically found behind the refrigerator or under the sink, and rotate it counterclockwise to restore the drink flow. This step is crucial for resuming normal operation, allowing the newly installed filter to begin purifying the water. Once the drink supply is on, check for any leaks around the strainer area to ensure it is properly seated. This quick check will help confirm that everything is functioning smoothly.
Step 6: Flush The New Filter
Flushing the new strainer is a vital step to ensure that your water is clean and free of any debris or carbon dust that may be present in the filters from the manufacturing process. To flush the filter, run water through your refrigerator’s dispenser for about 5 minutes or until you’ve dispensed approximately 4 gallons of drink. This will help clear out any impurities and prepare the strainer for regular use. It’s normal to see some cloudy drink or small particles at first, but these should disappear as you continue flushing. This step ensures that your water tastes fresh and remains safe to drink.
Step 7: Reset The Filter Indicator Light
The final step in the process is to reset the strainer indicator light on your Whirlpool refrigerator, ensuring that the system accurately tracks the lifespan of your new filter. To do this, locate the reset button, which is often labeled as “Filter” or “Reset” on your refrigerator’s control panel. Press and hold this button for 3 to 5 seconds until the indicator light changes color or turns off, signaling that the reset is complete. This step is important for keeping track of when your next filter replacement is due, helping you maintain a consistent schedule for optimal water quality.
Additional Tips for Maintaining Your Whirlpool Water Filter
- Keep Track of Replacement Dates: Use a calendar or smartphone reminder to mark the next replacement date.
- Buy Genuine Whirlpool Filters: Always use authentic Whirlpool filters to ensure compatibility and performance.
- Monitor Water Quality: Regularly check the taste and clarity of your drink to catch any issues early.
Conclusion
Replacing your Whirlpool water filter is a simple yet vital task to maintain the quality of your drinking water and the efficiency of your refrigerator. By following these steps, you can easily swap out the old strainer for a new one, ensuring you and your family enjoy clean, fresh drinks year-round. Don’t forget to mark your calendar for the next replacement to keep your drink flowing smoothly!