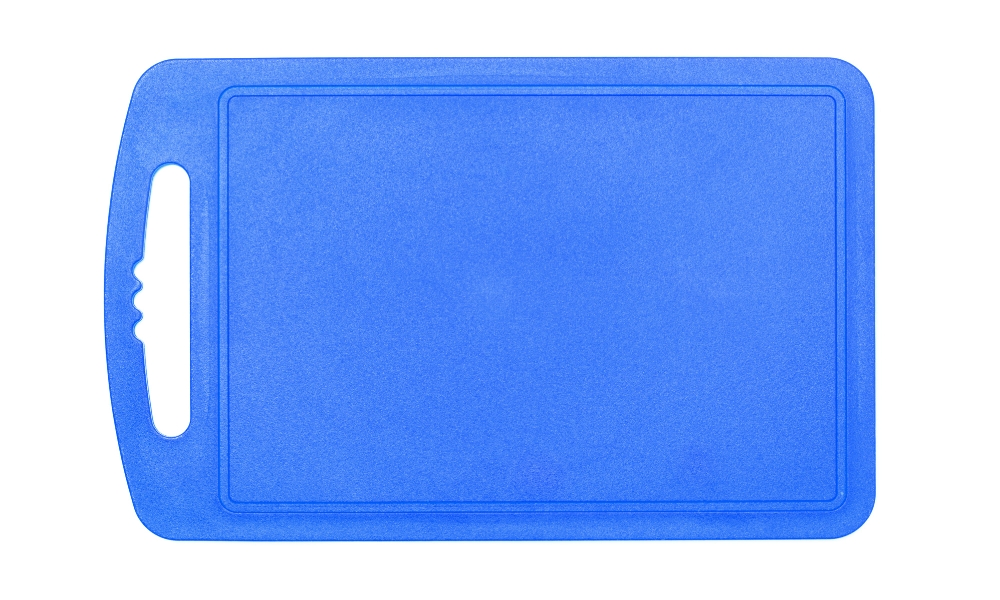
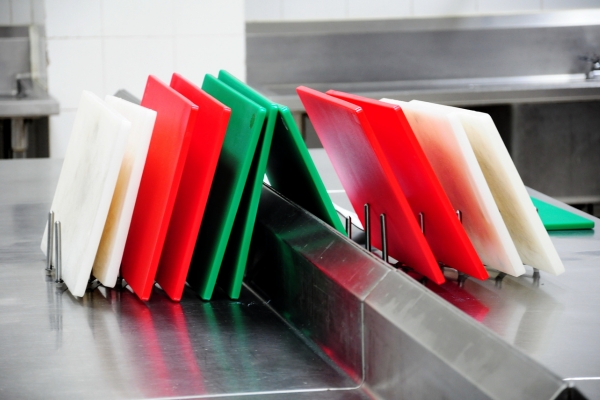
Learning how to resurface a plastic cutting board is essential for maintaining a clean and safe kitchen environment. Over time, these indispensable kitchen tools can become worn and scratched, potentially harboring bacteria and compromising food safety. Resurfacing not only restores the board’s smoothness but also extends its lifespan, making it a cost-effective and sustainable choice. By following a few straightforward steps, you can easily revitalize your plastic cutting board, ensuring it remains a reliable partner in your culinary adventures for years to come. This guide provides a practical approach to achieving a pristine cutting surface, promoting both hygiene and efficiency in your kitchen routines.
When To Replace Instead Of Resurfacing?
Knowing when to replace instead of resurfacing a plastics cutting board is crucial for maintaining food safety. If It has deep gouges, cracks, or excessive staining that cannot be removed through resurfacing, it is safer to replace it. These imperfections can harbor bacteria even after resurfacing attempts, posing a health risk. Additionally, if the board is warped or has become excessively thin, replacement ensures a sturdy and reliable surface for food preparation.
Why Resurface A Plastic Cutting Boards?
Resurfacing a plastics cutting board is beneficial for extending its usability and hygiene. By smoothing out scratches and restoring the boards surface, resurfacing reduces the likelihood of bacterial growth and cross-contamination. It also helps to maintain the boards integrity, preventing it from absorbing odors and stains that could affect the taste of food. Regular resurfacing ensures that your It remains a dependable tool in the kitchen, contributing to a cleaner and safer cooking environment.
Importance Of Maintaining A Cutting Boards
The importance of maintaining a cut boards goes beyond mere convenience; it directly impacts food safety and kitchen hygiene. A properly maintained cut board minimizes the risk of cross-contamination between different foods, especially between raw meats and ready-to-eat items. Regular cleaning and resurfacing remove surface bacteria and prevent them from proliferating, reducing the chances of foodborne illnesses. Additionally, a well-maintained cut board promotes efficient food preparation, as a smooth surface allows for easier chopping and slicing without damaging knives or food items. By incorporating these maintenance practices into your kitchen routine, you ensure that your cut boards remains a reliable and safe tool for years to come.
Materials Needed:
- Sandpaper (Various Grits: 120, 220, And 400)
- A Sanding Block Or An Electric Sander (Optional)
- Warm Soapy Water
- A Sponge Or Cloth
- Mineral Oil (Optional, For Finishing)
Steps:
1. Clean The Cutting Board
Begin by thoroughly cleaning It with hot, soapy water. Use a scrub brush or sponge to remove any food particles, stains, and odors. Rinse the boards well with clean water and dry it completely with a clean towel.
2. Sanding The Surface
Once the Engrave cutting board is dry, use fine-grit sandpaper (around 220 grit) to sand the surface evenly. Sand in a circular motion or back and forth, focusing on areas with deep scratches or rough patches. The goal is to smooth out the surface and remove any imperfections that could harbor bacteria.
3. Smooth The Surface
After sanding, use a finer grit sandpaper (around 400 grit) to further smooth the surface of It. Sand in the direction of the grain if the boards has one, ensuring a uniform and smooth finish. This step helps to restore the board’s original texture and prepares it for use without damaging knives or food.
4. Finish Sanding
After smoothing the surface with fine-grit sandpaper, proceed to finish sanding with an even finer grit sandpaper (around 600 grit). This final step ensures a silky-smooth finish and removes any remaining roughness or scratches from the cut board’s surface. Pay attention to detail and ensure the entire surface is uniformly smooth.
5. Clean The Board Again

Once the sanding is complete, thoroughly clean It again with hot, soapy water. Use a scrub brush or sponge to remove any dust or residue from the sanding process. Rinse the board well with clean water and dry it completely with a clean towel.
6. Optional: Apply Mineral Oil
For added protection and to enhance the appearance of It, you may choose to apply a thin layer of food-grade mineral oil. Use a soft cloth to apply the oil evenly over the entire surface of the cut boards. Let it sit for about 20 minutes to allow the oil to penetrate the plastic. Wipe off any excess oil with a clean cloth before using the cut boards.
Conclusion
Resurfacing a plastics cutting board is a straightforward process that significantly prolongs its lifespan and ensures a clean, safe surface for food preparation. By following these steps—cleaning the board thoroughly, sanding to smooth out imperfections, and optionally applying mineral oil—you can maintain a hygienic kitchen environment and enjoy using It for many years to come. Regular maintenance like resurfacing not only improves the board’s functionality but also contributes to safer food handling practices in your kitchen.