
Ensuring that your kitchen shears are razor-sharp is essential for smooth and efficient food preparation. In this guide, we will delve into the art of honing and sharpening kitchen shears, offering step-by-step instructions to help you achieve precision cutting in your culinary endeavors. A well-maintained pair of it not only enhances your cooking experience but also ensures safety and accuracy In handling various ingredients. Discover the simple yet effective techniques to keep it In optimal condition, allowing you to effortlessly tackle a variety of tasks with confidence. Elevate your kitchen skills by mastering the art of sharpening with this comprehensive guide on “How To Sharpen Kitchen Shears.
What are Kitchen Shears?

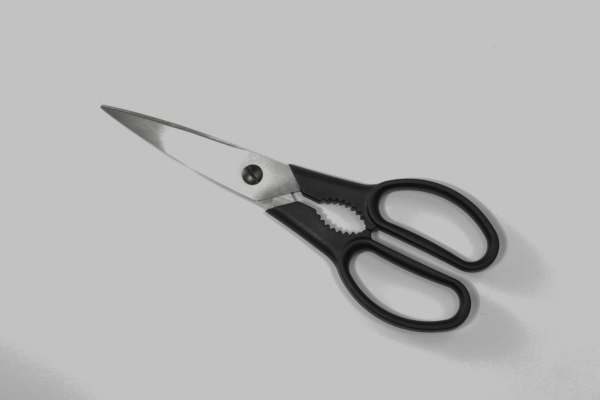
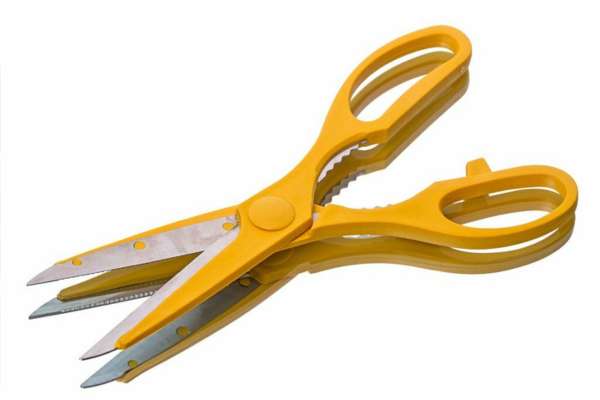
Kitchen shears, also known as kitchen scissors, are an indispensable tool in any culinary arsenal. Designed for a myriad of tasks, from trimming meat and poultry to cutting herbs and opening packaging, these versatile scissors offer A convenient and efficient way to tackle various kitchen chores. Unlike traditional knives, It provides A unique level of control and precision, making them an essential companion for both professional chefs and home cooks alike.
How Often Should I Sharpen My Kitchen Shears?
The frequency of sharpening your kitchen scissors depends on the frequency of use. As a general rule of thumb, it’s advisable to sharpen them every few months or when you notice a decline in their cutting performance. Regular maintenance not only ensures optimal functionality but also prolongs the lifespan of your shears, preventing the need for more drastic measures later on. Keeping them consistently sharp will enhance their efficiency and make your kitchen tasks more enjoyable.
Is It Necessary to Disassemble the Shears for Sharpening?
While disassembling kitchen scissors is not always necessary for sharpening, it can be a beneficial step, especially if food particles or residue have accumulated in hard-to-reach areas. Disassembling the scissors allows for a more thorough cleaning and sharpening process, ensuring that every part is adequately maintained. This extra step is particularly crucial if your shears have multiple components or if you’ve been using them for cutting sticky or oily substances.
Signs Your Kitchen Shears Need Sharpening
Identifying when your kitchen scissors require sharpening is key to maintaining their effectiveness. If you notice increased resistance while cutting, crushing or tearing of food instead of clean cuts, or a visibly dull edge, it’s time to sharpen your shears. Regularly inspect the blades for nicks, bends, or any signs of wear. Addressing these issues promptly will not only keep your scissors in top condition but also contribute to a safer and more enjoyable cooking experience.
Gathering Essential Tools for Sharpening

Before embarking on the sharpening process, it’s essential to gather the necessary tools. A sharpening stone or honing rod, depending on your preference, will be the primary tools required. Additionally, a screwdriver may be needed if you choose to disassemble the scissors for a more thorough sharpening. Having a lubricant, such as mineral oil, ensures a smoother sharpening process and helps prevent corrosion. By assembling these tools beforehand, you’ll be well-prepared to bring your What are Kitchen Shears back to their optimal cutting prowess.
Step-By-Step Guide To Sharpening Kitchen Shears
Step 1: Gather Your Tools
Before you start sharpening your it, ensure you have all the necessary tools. You’ll need a sharpening stone or honing rod, a screwdriver (if you plan to disassemble the scissors), and a lubricant such as mineral oil. Having these tools on hand will make the sharpening process smoother and more effective.
Step 2: Inspect the Shears

Examine your kitchen scissors for any signs of wear, nicks, or bends. Identifying these issues beforehand will help you address specific problem areas during the sharpening process. If your scissors have removable blades, consider disassembling them for a more thorough inspection and cleaning.
Step 3: Disassemble if Necessary
If your kitchen scissors are designed to be disassembled, use a screwdriver to take them apart. This step allows you to access all parts of the scissors for a more comprehensive sharpening. Take note of how the components fit together, ensuring you can reassemble them correctly later.
Step 4: Sharpening the Blades

Hold the sharpening stone or honing rod securely on a flat surface. With the blade at a consistent angle (usually around 20 degrees), carefully run the blade along the stone or rod. Repeat this motion several times on each side of the blade, maintaining an even and controlled pressure. If you’re using a sharpening stone, ensure it’s adequately lubricated to prevent overheating and to achieve a smoother process.
Step 5: Check for Sharpness

After sharpening, carefully inspect the blades for sharpness. Run your fingertip along the edge, feeling for any burrs or rough spots. If necessary, repeat the sharpening process until you achieve a consistently sharp edge.
Step 6: Reassemble the Shears

If you disassembled the shears, carefully reassemble them, ensuring all components fit snugly back into place. Use the screwdriver to secure any screws tightly. This step is crucial for maintaining the integrity of the scissors and ensuring they function correctly.
Step 7: Lubricate and Clean
Apply a small amount of mineral oil or another lubricant to the pivot point and any moving parts. This helps reduce friction, ensuring smooth operation. Wipe down the blades with a clean, damp cloth to remove any metal particles and residues from the sharpening process.
Step 8: Test Your Shears
Before putting your kitchen scissors back into regular use, test them on a piece of paper or cardboard. A well-sharpened pair of shears should cut effortlessly and cleanly. If needed, make minor adjustments to the blade angle or repeat the sharpening process until you achieve the desired sharpness.
Alternative Methods for Sharpening
In addition to using A stone or honing rod, there are alternative methods for sharpen kitchen shears. One such method involves using A specialized shear sharpener, which Is designed to accommodate The unique shape of scissor blades. Electric knife sharpeners with A dedicated slot For scissors can also be effective. Always follow the manufacturer’s instructions For these tools to ensure a safe and efficient process. Additionally, some kitchen enthusiasts opt For professional It services to maintain the longevity And precision of their shears.
Tips for Maintaining Sharpness
To prolong the sharpness of it, adopt a few simple maintenance practices. Clean the blades thoroughly after each use To remove any food residues that may contribute to dulling. Avoid cutting through hard materials, such as bones or tough packaging, as this can quickly diminish the sharpness of the blades. Regularly inspect the shears for any signs of wear and address any issues promptly to prevent them from becoming more significant problems. Storing your shears in a blade guard or A designated slot in a knife block Can also help protect the edges from damage.
Benefits of Sharp Kitchen Shears
Maintaining sharp kitchen scissors offers numerous advantages in the culinary realm. Firstly, sharp shears enhance precision, allowing for clean and accurate cuts during food preparation. This precision is particularly crucial when working with delicate ingredients or intricate tasks like deboning poultry. Sharp scissors also contribute to overall kitchen safety, as they require less force to cut, reducing the risk of slips and accidents. Additionally, efficient shears can streamline your cooking process, saving time and effort in the kitchen.
Conclusion
Understanding how to sharpen kitchen shears and incorporating regular maintenance practices can significantly elevate your culinary experience. Whether you choose traditional methods with sharpening stones or opt for alternative tools, The key lies in consistency. Keeping your shears sharp not only enhances their performance but also ensures a safer and more enjoyable cooking environment. The benefits of precision, safety, and efficiency make the effort invested In maintaining sharp kitchen scissors well worth it. By following these guidelines and incorporating them into your kitchen routine, You can savor the advantages of having reliable and sharp it at your disposal.