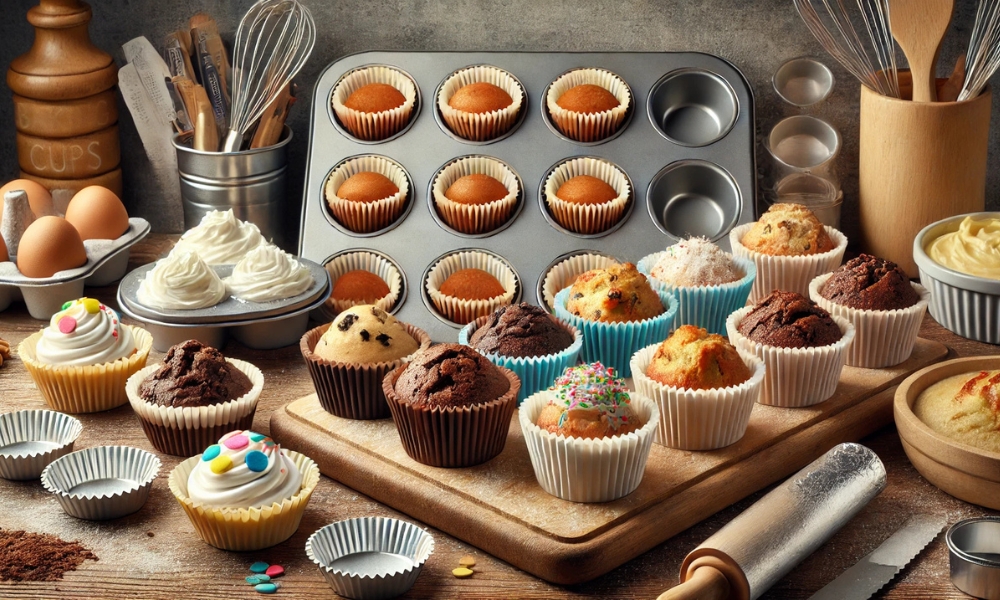
Baking is an art, and like any great artist, the tools you use play a significant role in the final outcome. One such tool that often goes unnoticed but proves invaluable is the humble baking cup. Whether you’re making cupcakes, muffins, or other baked treats, baking cups are essential in both their functionality and aesthetics. But how do you use them effectively? Let’s dive into the world of baking cups and explore their various uses, types, and tips for perfect baking results.
What Are Baking Cups?
Baking cups, sometimes called muffin cups, cupcake liners, or paper liners, are pre-formed cups made from paper, silicone, or foil. They are designed to hold batters while baking and make it easier to remove your treats once they’ve finished cooking. Muffin liners are most commonly used in muffin tins or cupcake pans, but their versatility extends to other baked goods as well.
The primary function of Cup liners is to provide a non-stick surface to ensure your baked goods pop out easily. They also help with portion control, making it easier to measure and serve individual portions. Additionally, they can add a decorative touch, especially when making treats for events like birthdays, holidays, or special celebrations.
Types Of Baking Cup
1. Paper Baking Cup
Paper baking cups are the most common and affordable option for bakeware. They come in a wide range of sizes, colors, and designs, from simple white to elaborate patterns. Paper Muffin liners are typically made of uncoated paper or parchment paper and are available in both standard and mini sizes.
Pros:
- Easy to use and dispose of.
- Available in a variety of designs.
- Great for individual servings.
Cons:
- May burn if exposed to direct heat (if not properly positioned in a pan).
- Can sometimes absorb too much moisture from the batter, leading to soggy liners.
2. Foil Baking Cup
Foil Muffin liners are thicker and sturdier than paper cups. They have a metallic shine and can withstand higher temperatures, making them ideal for bakeware items that require longer cooking times. Foil liners also provide additional insulation, ensuring your baked goods stay warm longer.
Pros:
- Stronger and more durable than paper.
- Ideal for moist or delicate batters.
- Provides a shiny, professional appearance.
Cons:
- Less variety in design compared to paper cups.
- Typically more expensive than paper options.
3. Silicone Baking Cup
Silicone baking cups use are a reusable, eco-friendly option. These cups are flexible and non-stick, making them perfect for removing baked goods without damaging the structure. Silicone cups are durable and can be used for both bakeware and freezing.
Pros:
- Reusable and environmentally friendly.
- Non-stick and easy to clean.
- Can be used in both ovens and freezers.
Cons:
- May not have the same aesthetic appeal as paper cups.
- Can be more expensive upfront, but cost-effective in the long run.
4. Wax Paper Baking Cup
Wax paper Muffin liners are similar to parchment paper but have a wax coating. They are typically used for baked goods that require minimal heat exposure. Wax paper is not ideal for high-temperature baking, as it can melt or catch fire.
Pros:
- Affordable and easy to find.
- Useful for treats that don’t require high heat.
Cons:
- Not suitable for high-temperature bakeware.
- May not be as sturdy as paper or foil cups.
How To Use Baking Cups Correctly
1. Choose The Right Size
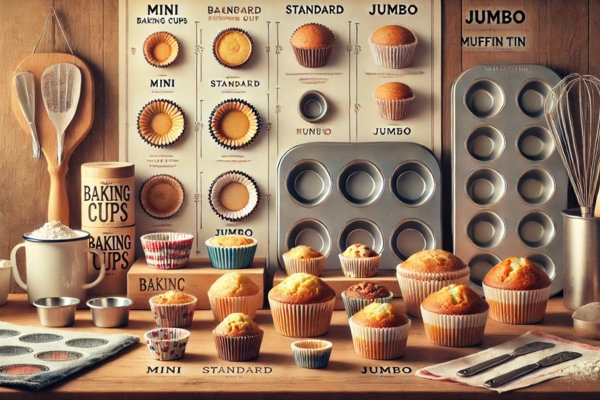
Baking cups come in various sizes, so it’s important to choose the right one for your recipe. Standard Muffin liners typically fit into a regular muffin tin, while mini Bakeware cups are perfect for smaller portions. If your recipe calls for a specific size, make sure to match the liners accordingly to avoid overfilling or underfilling your cup.
2. Prepare Your Muffin Or Cupcake Tin
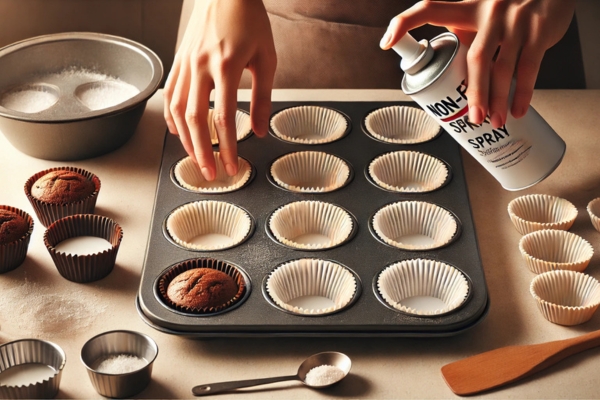
Before you place your Bakeware cups in the pan, ensure that your muffin tin or cupcake pan is clean and dry. Spraying the tin with a non-stick spray is not necessary if you’re using paper or foil liners, but it may be a good idea for silicone cups. Once your tin is ready, place the Muffin liners into each compartment, making sure they fit snugly.
3. Fill The Baking Cups With Batter
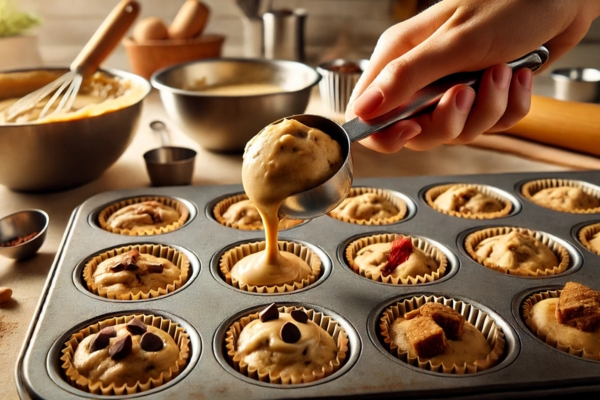
Now that your baking cups are in place, it’s time to fill them with batter. Use a cookie scoop or spoon to ensure each bakeware cup receives the same amount of batter, which helps with even bakeware. Fill the cup about 2/3 of the way full. If you overfill them, the batter could spill over the sides, resulting in messy edges and uneven bakeware.
For muffins or cupcakes, you can add extra toppings like chocolate chips, fruit, or nuts on top of the batter before bakeware. This will not only add flavor but also enhance the appearance of your treats.
4. Bake According To Your Recipe
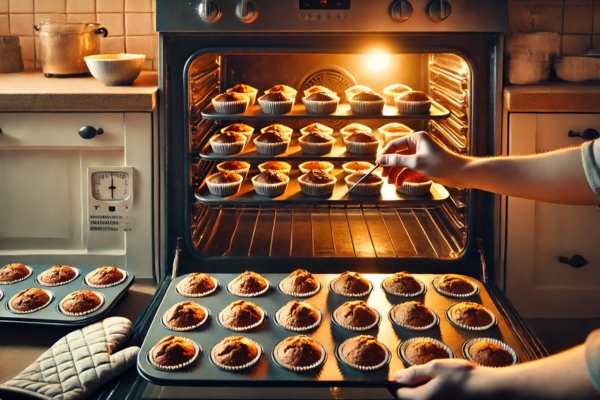
Once the Muffin liners are filled, it’s time to bake! Make sure your oven is preheated and follow the baking temperature and time specified in your recipe. If you’re baking several trays at once, be sure to rotate them halfway through to ensure even bakeware.
Remember that silicone cups may take a little longer to bake compared to paper or foil cups. Keep an eye on your treats, and use a toothpick to check if they are done. The toothpick should come out clean when inserted into the center.
5. Let The Baked Goods Cool
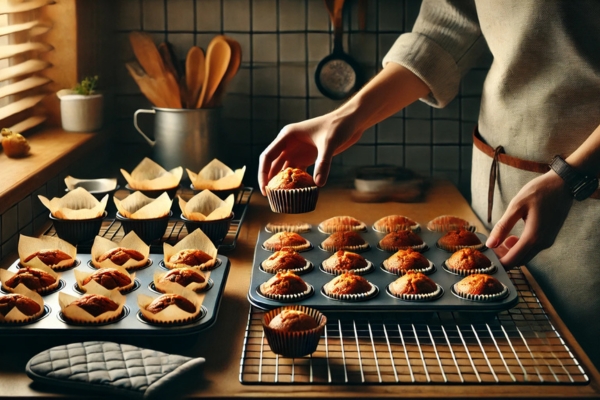
After baking, remove the muffin tin or cupcake pan from the oven. Allow the Cup liners to cool for a few minutes before transferring the baked goods to a cooling rack. This will help prevent them from sticking to the liner.
If you used paper or foil cup, you could leave the baked goods in their cups while cooling, but for silicone cups, it’s best to remove them from the cup while they are still warm. This will prevent the treats from sticking to the silicone.
Tips For Using Baking Cups
1. Avoid Overfilling
As mentioned earlier, overfilling your Muffin liners can cause the battery to spill over the edges, creating a mess in your muffin tin. Stick to the recommended fill line (about 2/3 full) to ensure your treats rise evenly and stay contained in the cups.
2. Use Parchment Paper for Delicate Recipes
For especially delicate or moist recipes, such as cheesecakes or muffins with wet ingredients, parchment paper Muffin liners can be a good option. These cup prevent the batter from sticking, and their high heat resistance helps avoid any issues with sogginess.
3. Consider Cupcake Liners for Decorations
If you’re baking cupcakes or any treats meant for special occasions, consider using decorative paper liners. Printed, colorful, or themed liners can add a fun touch and make your baked goods look more appealing without the need for extra frosting or decoration.
4. Use Silicone Cups for Reusable, Eco-Friendly Options
For an environmentally friendly and cost-effective option, choose silicone Bakeware cups. These are non-stick, reusable, and easy to clean. Over time, you’ll save money and reduce waste, making them an excellent choice for eco-conscious bakers.
5. Check for Burnt Edges
Some Muffin liners, especially paper or foil liners, may develop burnt edges if exposed to heat for too long. If this is a concern, consider reducing the oven temperature slightly or checking the doneness of your baked goods a few minutes before the recipe suggests.
How to Store Baked Goods in Baking Cups
1. Allow to Cool Completely
Before storing your baked goods, make sure they are completely cooled to prevent condensation, which can make them soggy. Once cool, you can leave the baked goods in their Cup liners.
2. Use Airtight Containers
To preserve freshness, store your baked goods in airtight containers. This will prevent them from drying out or absorbing other odors in your kitchen. You can also wrap them individually in plastic wrap for extra protection.
3. Freezing for Later
If you want to freeze your baked goods, place them on a baking sheet to freeze individually before transferring them to a freezer-safe container. This method helps avoid them sticking together. Be sure to label the container with the date so you can enjoy them within a reasonable time frame.
Conclusion
Using baking cups is a simple yet effective way to ensure your baked goods come out perfectly every time. By choosing the right type of baking cup for your recipe, filling it correctly, and following the proper bakeware techniques, you’ll create delicious treats that are easy to serve and fun to look at. Whether you’re a beginner baker or a seasoned pro, Muffin liners are a tool you’ll always want in your kitchen.
So next time you’re preparing to bake, remember that Bakeware cups are not only about convenience but also about ensuring your creations turn out beautifully. Happy baking!
