Creating the perfect finish for a cutting board requires understanding the right techniques and materials, particularly when it comes to sanding. One of the most crucial steps in this process is choosing the appropriate grit to sand Cutting Board surfaces effectively. Whether you’re restoring an old cutting board or completing a new one, the right sandpaper grit can make all the difference in achieving a smooth, safe, and functional surface. In this guide, we’ll explore what grit to sand It to ensure the best results for both aesthetics and usability.
Why Sand Your Cutting Board?
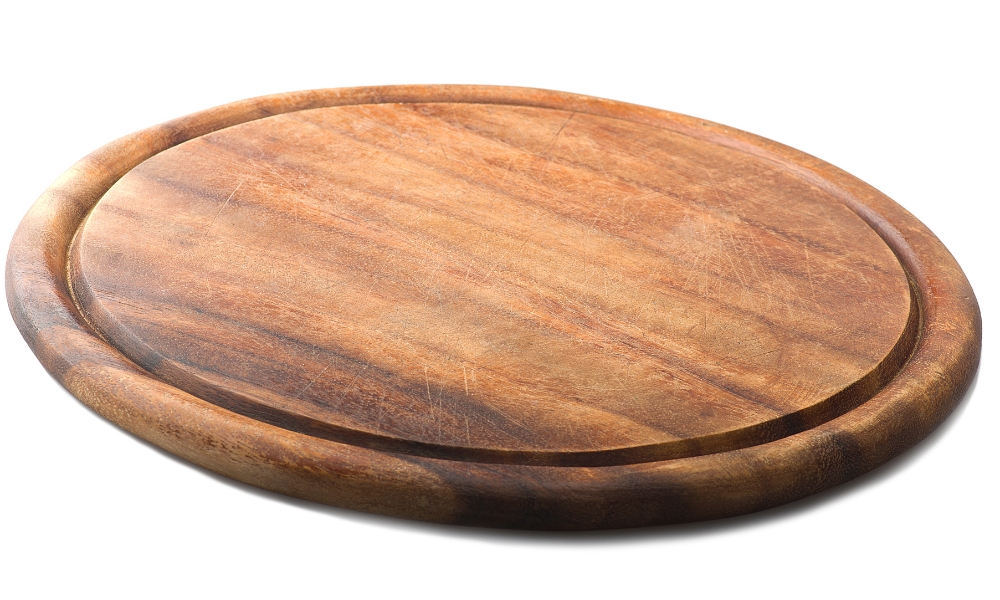
Sanding your cutting boards is a crucial step in maintaining its quality and longevity. Over time, cut boards can develop scratches, knife marks, and even minor gouges that can harbor bacteria and affect the board’s performance. By understanding what grit to sand It, you can effectively smooth out these imperfections, restoring the board’s surface to its original condition. Sanding not only enhances the appearance of the cutting boards but also ensures a more sanitary surface for food preparation. A properly sanded cut board is easier to clean, reduces the risk of contamination, and prolongs the life of the boards by preventing deep cuts and grooves that can compromise its integrity.
Importance Of A Well-Sanded Cutting Boards
The importance of well-sanded cutting boards cannot be overstated. A smooth, well-prepared surface is essential for both the functionality and safety of your cutting board. Using the correct grit to sand cut boards surfaces ensures that the wood is not only smooth but also free of any rough spots that could damage your knives. Moreover, a well-sanded oil for cutting board provides a better cutting experience, reducing the resistance while slicing and chopping, which can enhance precision and ease. Additionally, the sanding process helps to seal the wood, making it more resistant to moisture and staining. This results in a cut board that is not only more hygienic but also more durable, ensuring it can withstand the rigors of daily use in your kitchen.
Choosing The Right Grit
1. Starting With Coarse Grit (80-100)

To begin, start with a coarse grits sandpaper, typically between 80 and 100. This initial step is crucial for removing deep scratches, gouges, and any rough areas on the cut board. The coarse grit efficiently smooths out significant imperfections and prepares the surface for subsequent sanding stages. Understanding what grits to sand at this stage ensures that the boards is adequately prepped, laying the foundation for a smooth finish.
2. Moving To Medium Grit (120-150)

After addressing the major flaws with coarse grit, transition to a medium grit sandpaper, ranging from 120 to 150. This step further refines the surface by eliminating the scratches left by the coarse sandpaper. The medium smooths out the wood, making it feel more even and ready for the final sanding. This intermediate step is essential to bridge the gap between the rough initial sanding and the fine finishing touches, ensuring that the cutting board is progressively becoming smoother.
3. Finishing With Fine Grit (220-400)

The final step in sanding your cutting board involves using fine sandpaper, typically between 220 and 400. This stage polishes the surface, giving it a silky smooth finish that is not only pleasant to touch but also ideal for food preparation. Finishing with a fine grit ensures that the cut board is free of any remaining roughness, providing a smooth, safe surface for all your culinary tasks. By knowing what to sand It at this stage, you can achieve a professional-level finish that enhances both the appearance and functionality of your cutting boards.
Step-By-Step Sanding Process
1. Initial Inspection Of The Cutting Boards

Before you begin sanding, it’s important to perform an initial inspection of your cutting board. Check for deep scratches, gouges, or any other significant damage that needs attention. Make note of any rough areas or stains that will require extra effort. This step helps you understand the extent of work needed and ensures that you address all imperfections. By knowing what grit to sand It, you can choose the appropriate starting point for your sanding process.
2. Starting With Coarse Grit

Once you have assessed the cutting boards, begin the sanding process with coarse grit sandpaper, typically between 80 and 100 grit. Sand in the direction of the wood grain to avoid creating new scratches. The coarse grits will remove deep scratches, knife marks, and any other significant surface flaws. Apply even pressure and sand thoroughly until the board feels more even and the major imperfections are smoothed out. This stage sets the foundation for the smoother surface achieved in later steps.
3. Transitioning To Medium Grit

After you have completed the initial coarse sanding, transition to sandpaper, which ranges from 120 to 150 grit. This step is crucial for refining the surface further and removing the scratches left by the coarse It. Sand the entire board evenly, continuing to follow the wood grain to maintain a smooth finish. The medium grits prepare the surface for the final sanding stage, ensuring that the cutting boards become progressively smoother and ready for fine polishing.
4. Finishing With Fine Grit

The final sanding stage involves using fine grit sandpaper, typically between 220 and 400 grit. This step polishes the surface, giving it a silky smooth finish that is ideal for food preparation. Sand the board gently, applying even pressure and following the wood grain to achieve a flawless finish. The fine grit eliminates any remaining roughness, resulting in a smooth and safe surface. Knowing what grit to sand in this final stage ensures a professional-level finish that enhances both appearance and functionality.
5. Final Inspection
Once you have completed the sanding process, perform a final inspection of the cutting board. Check for any remaining rough spots or imperfections that may need additional attention. Run your hand over the surface to ensure it is smooth and free of any debris. If necessary, do a light touch-up with fine grit sandpaper. This final inspection ensures that your cutting boards is perfectly prepared for use, providing a smooth, safe, and attractive surface for all your culinary tasks.
Can I Use An Electric Sander?
Yes, you can use an electric sander to sand your cutting board. An electric sander can significantly speed up the sanding process and provide a more even finish, especially for larger or heavily worn cutting boards. When using an electric sander, start with coarse grit sandpaper and gradually move to finer grits, just as you would with hand sanding. Ensure you maintain a consistent motion and avoid applying too much pressure to prevent uneven sanding or gouging the wood.
How Do I Know When To Stop Sanding?
Knowing when to stop sanding is crucial to achieving the best results without over-sanding the wood. You should stop sanding when the surface feels smooth and free of significant imperfections. After each grits level, inspect the cutting boards for any remaining scratches or rough spots. If the boards feels even and looks uniformly smooth after using fine sandpaper, it is ready for use. Additionally, running your hand over the surface can help you detect any minor rough areas that might need further attention.
Conclusion
Sanding your cutting boards is an essential maintenance task that ensures its longevity, hygiene, and functionality. By understanding what grit to sand It and following a step-by-step sanding process, you can achieve a perfectly smooth and safe surface for all your culinary needs. Whether you choose to sand by hand or use an electric sander, the key is to be thorough and patient, progressively moving from coarse to fine grits. With proper sanding and care, your cutting boards will remain a reliable and attractive kitchen tool for years to come.