Cut a dry erase board may seem like a daunting task, but with the right tools and techniques, it can be accomplished smoothly and accurately. Whether you need to resize a board to fit a specific space or create custom shapes for various projects, mastering the art of cutting dry erase boards is essential. In this comprehensive guide, we will explore the step-by-step process of cutting dry erase boards effectively, ensuring precision and clean edges every time. From selecting the appropriate tools to executing precise cuts, this guide will equip you with the knowledge and skills necessary to tackle this task with confidence.
What Are Dry Erase Boards?
Dry erase boards, also known as whiteboards, are versatile tools commonly used in classrooms, offices, and various other settings for brainstorming, teaching, presenting, and organizing information. These boards feature a smooth, glossy surface that allows users to write on them with dry erase markers and easily erase the markings using a dry cloth or eraser. They offer a convenient alternative to traditional chalkboards, allowing for quick changes and updates without leaving behind dust or residue.
Why You Might Need To Cut A Dry Erase Board?
There are several reasons why you might need to cut a dry erase board. One common reason is to resize the board to fit a specific space. Whether you’re installing the board in a classroom, office, or home, you may find that standard-sized boards don’t quite fit the available area, requiring you to trim them down to size. Additionally, you might need to cut a dry erase board to create custom shapes or designs for specific projects or presentations.
Importance Of Dry Erase Boards
Dry erase boards play a crucial role in facilitating communication, collaboration, and organization in various environments. In educational settings, they provide a dynamic platform for teachers to engage students, illustrate concepts, and encourage participation. In offices, they serve as valuable tools for brainstorming sessions, project planning, and presentations. Their versatility and ease of use make them indispensable in countless professional and personal applications.
Choosing The Right Location
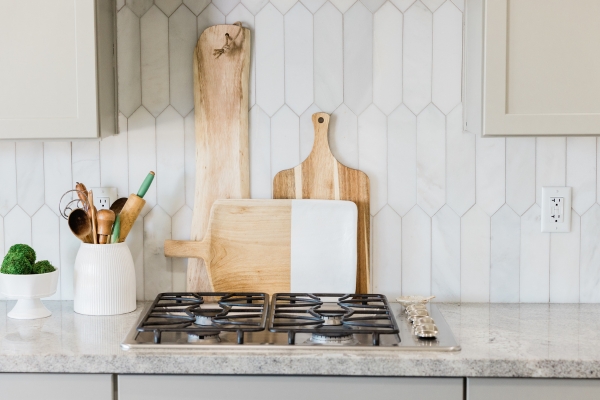
Before cutting a dry erase board, it’s essential to carefully consider the location where it will be installed. Choose a spot that is easily accessible to all intended users and provides adequate space for viewing and interacting with the board. Additionally, ensure that the surface where the board will be mounted is flat, smooth, and free of obstructions. Avoid placing the board in areas exposed to direct sunlight or excessive moisture, as these conditions can affect the durability and readability of the Hang Cutting Board over time.
Measuring And Marking The Board
Once you’ve selected the location for your dry erase board, it’s time to measure and mark the board for cutting. Use a tape measure and a straightedge to determine the desired dimensions for the board, taking into account any allowances for framing or mounting hardware. Mark the cutting lines lightly with a pencil, ensuring accuracy and precision. Double-check your measurements before proceeding to ensure that the board will fit perfectly in its intended space once cut.
Materials Needed:
- Dry erase board
- Measuring tape
- Pencil or marker
- Straight edge or ruler
- Clamps (optional)
- Safety goggles
- Dust mask
- Fine-toothed saw (circular saw, jigsaw, or hand saw)
- Sandpaper or a file (optional)
Cutting Methods
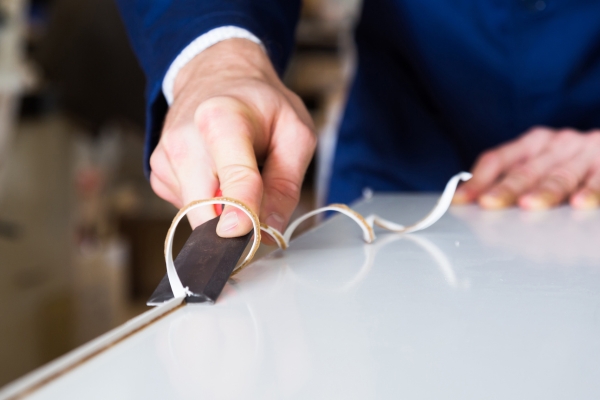
1. Using A Utility Knife
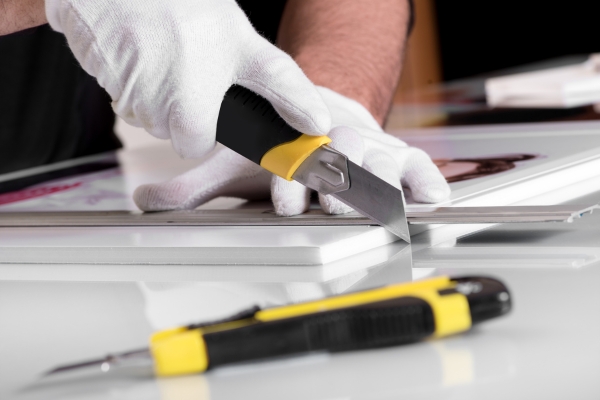
Start by scoring the surface of the dry erase board along the marked cutting line using a sharp utility knife. Apply firm and consistent pressure to create a shallow groove. Once the surface is scored, carefully snap the board along the scored line, ensuring a clean break. Repeat the process on the backside of the board to complete the cut.
2. Using A Circular Saw
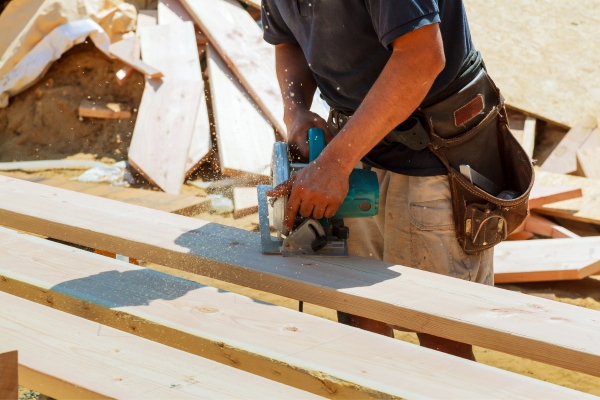
For larger cuts or thicker dry erase boards, a circular saw can be an efficient option. Use a fine-toothed blade suitable for cutting laminate or plastic materials. Secure the board firmly on a stable surface and guide the saw along the marked cutting line, keeping a steady hand to ensure a straight cut. Use a straightedge or guide to maintain accuracy.
3. Using A Jigsaw
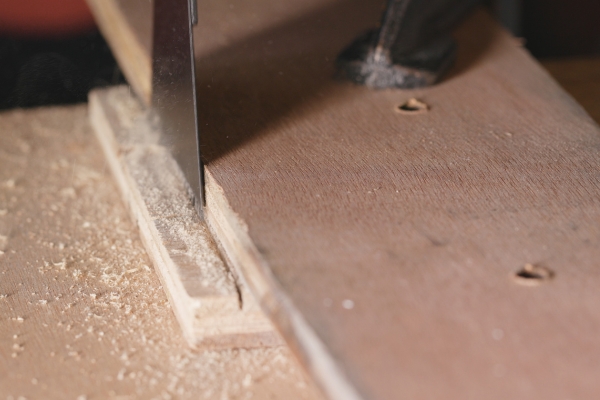
When cutting curves or intricate shapes, a jigsaw offers versatility and precision. Choose a fine-toothed blade suitable for cutting plastic or laminate materials. Secure the board to a workbench or sawhorse and carefully follow the marked cutting line with the jigsaw, moving at a consistent pace to maintain control and accuracy.
4. Finishing The Edges
After cutting the dry erase board, use sandpaper or a fine file to smooth any rough or uneven edges. This step helps to ensure a professional-looking finish and prevents potential injuries from sharp edges. Take care to remove any dust or debris from the surface of the board before use.
Common Mistakes To Avoid
- Rushing the cutting process: Take your time to measure and mark the board accurately, and use the appropriate cutting method for your needs.
- Neglecting safety precautions: Always wear appropriate safety gear, such as goggles and gloves, when cutting dry erase boards to prevent injuries.
- Using dull blades: Ensure your cutting tools are sharp and in good condition to achieve clean cuts without damaging the board.
Benefits Of Custom-Sized Dry Erase Boards
Custom-sized dry erase boards offer several advantages, including:
- Optimizing space utilization
- Tailoring the board to specific needs or preferences
- Enhancing aesthetics and functionality of the environment
How To Choose The Right Size?
Consider the available space, intended use, and aesthetic preferences when selecting the size of a dry erase board. Measure the area where the board will be installed and choose dimensions that provide sufficient writing space without overwhelming the room.
Conclusion
Mastering the art of cutting dry erase boards opens up a world of possibilities for customization and optimization. By employing the appropriate cutting methods, finishing techniques, and avoiding common mistakes, you can create custom-sized dry erase boards that meet your exact specifications and enhance your workspace or learning environment. Whether you prefer the precision of a utility knife, the efficiency of a circular saw, or the versatility of a jigsaw, with the right tools and techniques, you can achieve professional-quality results every time.