Hanging a cutting board on the wall is a practical and stylish solution for optimizing kitchen space. Whether you have a small kitchen or simply want to keep your countertops clear, learning how to hang a cutting board on the wall can enhance both functionality and aesthetics. This guide will walk you through the steps and materials needed to securely mount your cut board, ensuring it becomes an easily accessible and attractive feature in your kitchen. By following these simple instructions, you can transform your cutting board from a mere kitchen tool to a decorative piece that adds charm and convenience to your culinary space.
What If I Don’t Want to Drill Holes in My Wall?
There are alternative methods to hang a cutting board without causing any permanent damage. One option is to use adhesive hooks specifically designed for hanging lightweight items. These hooks adhere securely to the wall and can easily support the weight of a It. Alternatively, you can explore magnetic mounting systems that allow you to attach It to the wall using powerful magnets. These methods provide convenient solutions for those who prefer not to use screws or nails.
Can I Hang Multiple Cutting Boards Together?
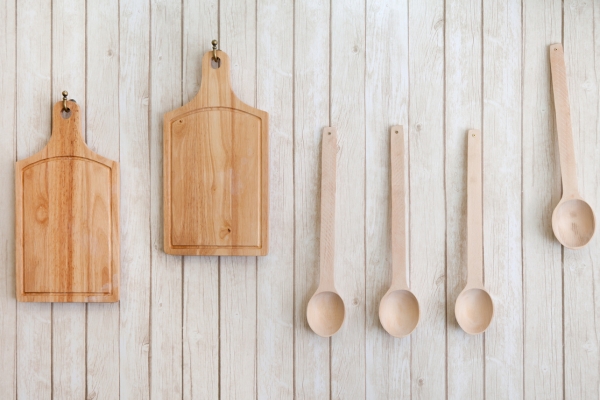
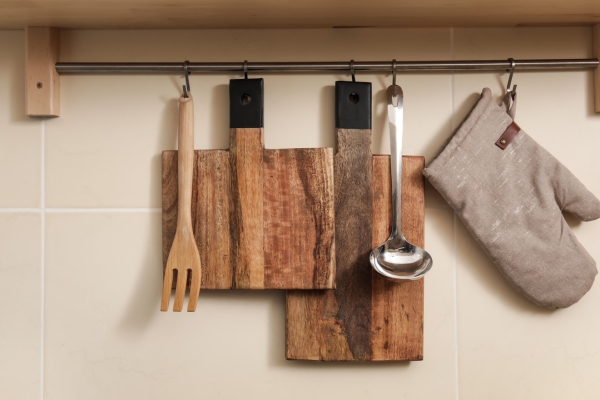
Absolutely! Hanging multiple cutting boards together can not only save space but also create an eye-catching display in your kitchen. To achieve this, you can install a long rail or strip of wood along the wall and attach hooks or clips at regular intervals. This setup allows you to hang several cutting boards vertically, maximizing vertical space utilization. Additionally, you can coordinate the colors and designs of your cutting boards to add a touch of personality to your kitchen decor. Whether you’re a culinary enthusiast with an extensive collection or a professional chef looking for efficient storage, hanging multiple cutting boards together is a practical and visually appealing solution.
Importance of Organizing Kitchen Space
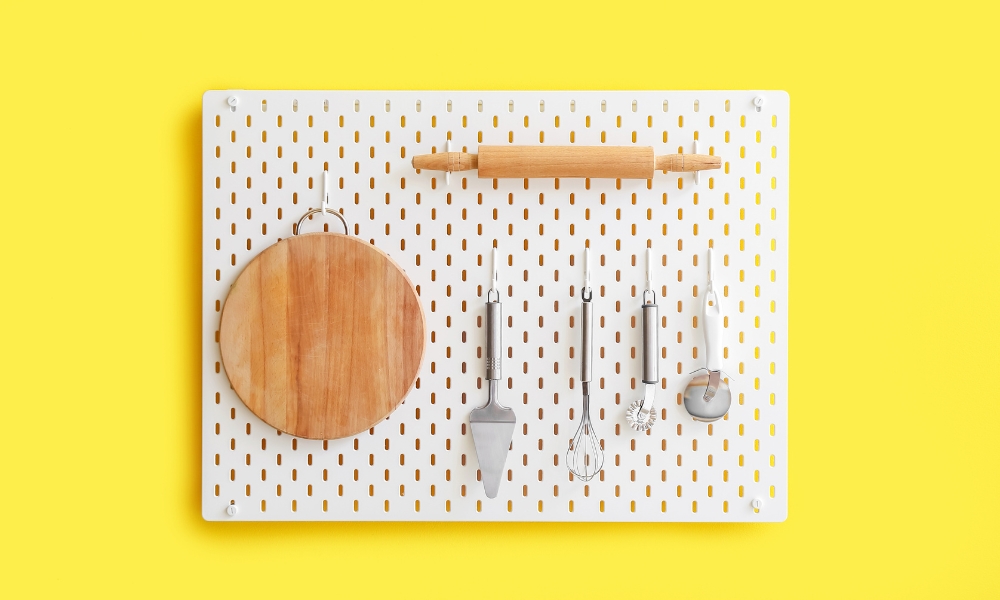
Organizing kitchen space is essential for efficiency, safety, and aesthetics. By hanging Wood Cutting Boards on it, you free up valuable countertop space for meal preparation and other kitchen tasks. This decluttering not only streamlines your workflow but also reduces the risk of accidents caused by overcrowded surfaces. Furthermore, a well-organized kitchen enhances the overall look and feel of your home, creating a welcoming environment for cooking and entertaining. With cutting boards neatly displayed on the wall, you can easily access them whenever needed, saving time and effort in the kitchen. Embracing efficient storage solutions like wall-mounted It holders contributes to a more functional and enjoyable culinary experience.
Materials Needed:
- Cutting Board
- Wall-Mounted Hooks Or Brackets
- Screws And Anchors
- Drill
- Screwdriver
- Measuring Tape
- Pencil
- Level
Step-By-Step Instructions
Step 1: Choose The Location
Begin by selecting the ideal location on your kitchen wall to hang the cut board. Consider factors such as accessibility and convenience, ensuring that it’s within reach while cooking. Additionally, make sure the chosen spot allows enough clearance for the It to hang freely without obstructing other items.
Step 2: Measure And Mark
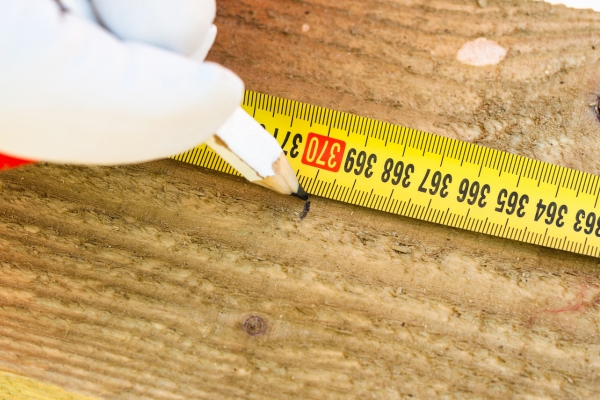
Using a tape measure and pencil, carefully measure and mark the precise positions where you’ll install the wall anchors or screws. Double-check your measurements to ensure accuracy, as this will determine the stability and alignment of the It once it’s hung.
Step 3: Install Wall Anchors
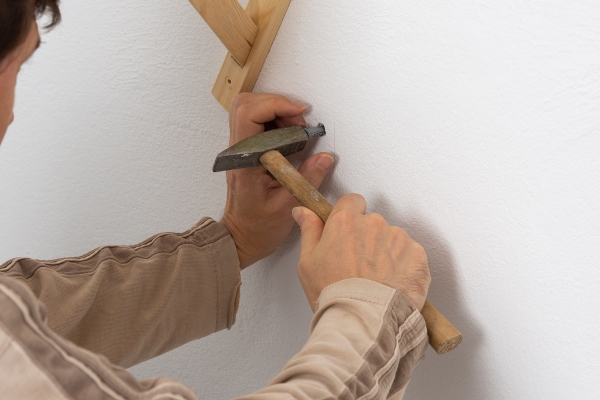
If you’re drilling into drywall or a similarly soft material, it’s essential to use wall anchors to provide sturdy support for the screws. Follow the manufacturer’s instructions to properly install It anchors at the marked locations on It. For harder surfaces like wood or concrete, you may skip this step and proceed directly to screwing in the hooks or brackets.
Step 4: Attach The Hooks Or Brackets
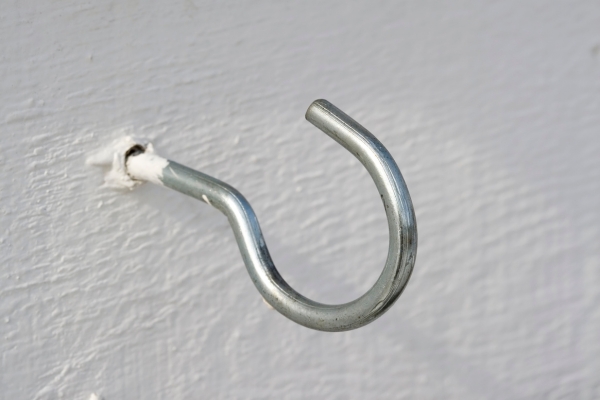
Once the wall anchors are in place, securely attach the hooks or brackets to the wall using the provided screws. Ensure that they are firmly anchored and level to prevent any wobbling or instability when the cut board is hung.
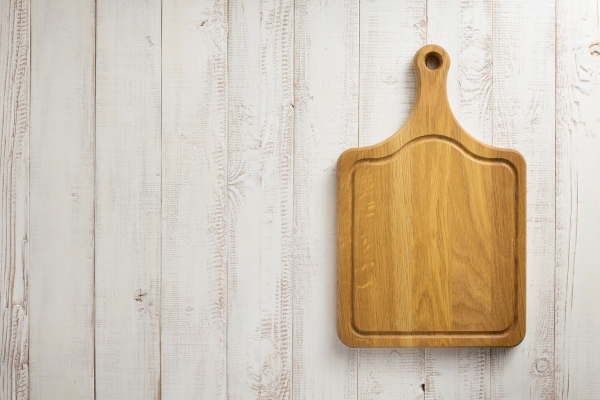
Step 5: Prepare The Cutt Board
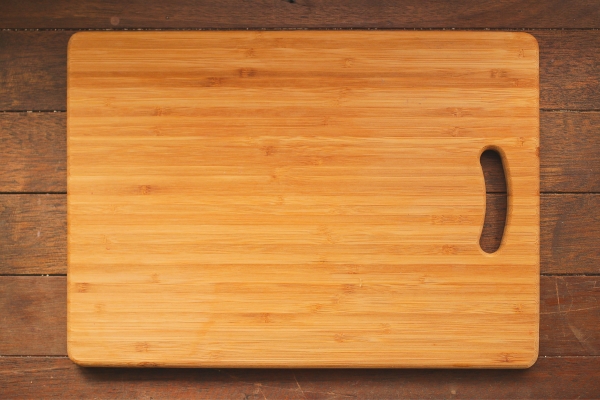
Before hanging the cutting board, ensure it’s clean and dry. If It doesn’t already have hooks or holes for hanging, you may need to attach them. For example, you can screw small hooks into the top edge of the It or drill holes to accommodate hanging hardware.
Step 6: Hang The Cutting Boards
With the hooks or brackets securely in place and the It properly prepared, it’s time to hang the It on the wall. Align the hooks or holes on the cutting boards with the hooks or brackets on It, then gently lift and hang the board in position. Ensure that it hangs evenly and securely before releasing it.
Conclusion
By following these step-by-step instructions, you can easily hang a cutting board on your kitchen wall, freeing up valuable countertop space and adding a decorative touch to your culinary space. With proper installation and preparation, your It will be readily accessible whenever you need it, making meal preparation more efficient and enjoyable.