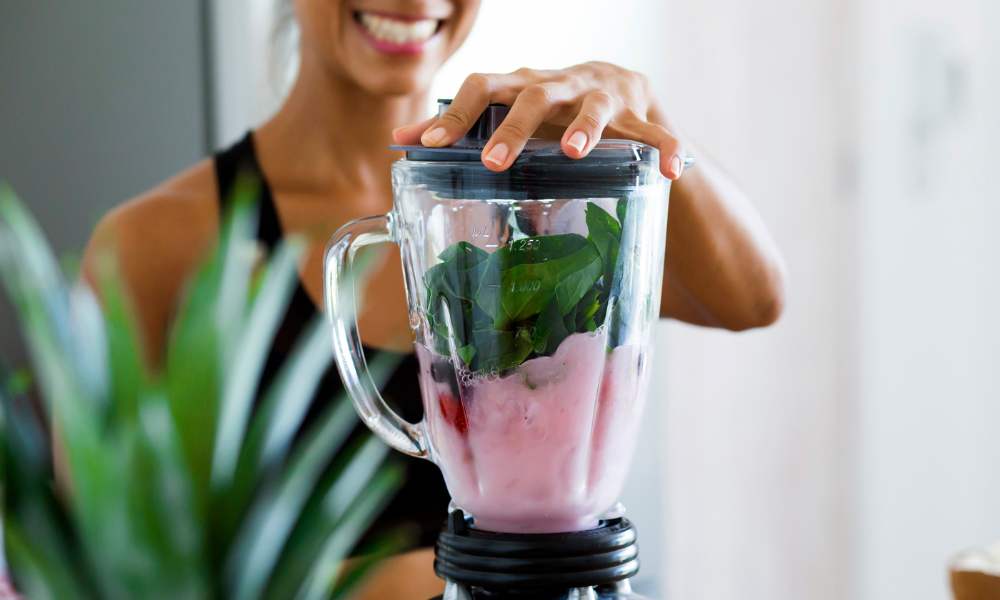
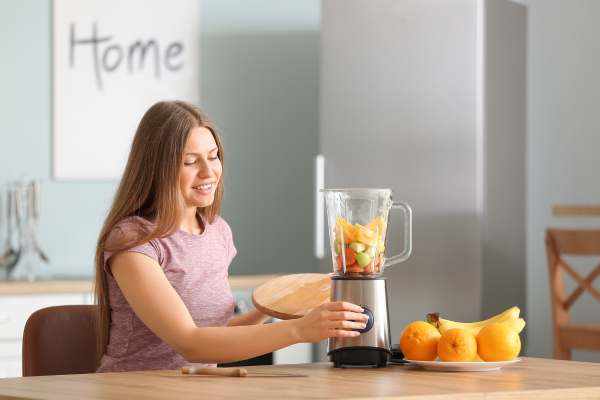
Smoothies are a delightful and nutritious way to kickstart your day or refuel after a workout. However, what if you don’t have a blender on hand? Fear not! Making a smoothie without a blender is entirely possible and surprisingly easy. Whether you’re traveling, camping, or simply don’t own a blender, this guide will walk you through creative and efficient methods to whip up delicious smoothies using simple kitchen tools. From handheld immersion blenders to mason jars and even a good old-fashioned fork, there’s a method suited to every situation. With a bit of ingenuity and these helpful tips, you’ll soon be enjoying a refreshing smoothie, blender-free.
Can I Use A Food Processor Instead Of A Blender To Make Smoothies?
Yes, a food processor can be a viable alternative to a blender when making smoothies. While blenders are specifically designed for blending liquids and solids into a smooth consistency, food processors can also effectively blend ingredients, although they may not achieve the same level of smoothness. Food processors typically have sharp blades and powerful motors that can handle chopping, pureeing, and mixing, making them suitable for creating smoothies with softer fruits and vegetables. However, it’s important to note that food processors may not be as efficient at breaking down tougher ingredients like frozen fruits or ice cubes compared to high-powered blenders.
Benefits Of Making Smoothies Without A Blender
- Portability: One of the significant advantages of making smoothies without a blender is the portability factor. Blenders can be bulky and require electricity, making them impractical for outdoor activities such as camping, hiking, or picnics. By using alternative methods like a handheld immersion blender or a manual masher, you can enjoy nutritious smoothies on the go without the need for electricity.
- Easy Cleanup: Another benefit of making smoothies without an Immersion blender is the simplified cleanup process. Traditional blenders often involve disassembling multiple parts and cleaning each component separately, which can be time-consuming. With methods like using a mason jar or a fork to mash ingredients, cleanup becomes as simple as washing a single container or utensil, saving you time and effort in the kitchen.
- Versatility: Making smoothies without a blender opens up a world of creativity and versatility in the kitchen. While blenders offer convenience and speed. Alternative methods allow you to experiment with different textures and flavors by adjusting the consistency of your smoothie manually. Whether you prefer a chunky fruit smoothie or a creamy green smoothie. You have the freedom to customize your drink to suit your taste preferences without being limited by blender settings.
- Cost-Effectiveness: Lastly, making smoothies without a blender can be a cost-effective option for those on a budget or living in small spaces. High-quality blenders can be expensive investments, and not everyone has the space or resources to accommodate bulky kitchen appliances. By utilizing simple tools like a food processor, immersion blender, or manual masher. You can achieve similar results without breaking the bank or sacrificing valuable countertop space.
Step-by-Step Guide to Making a Smoothie Without a Blender
Step 1: Selecting Ingredients
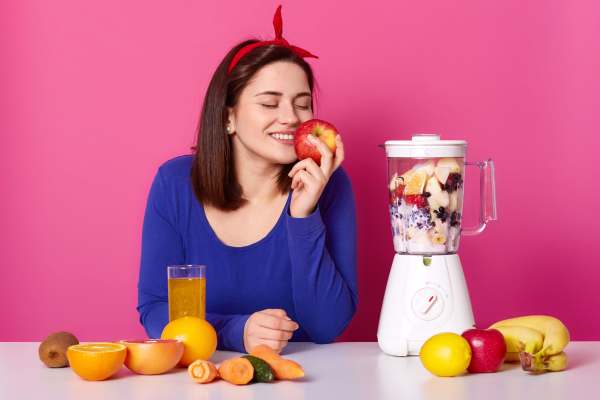
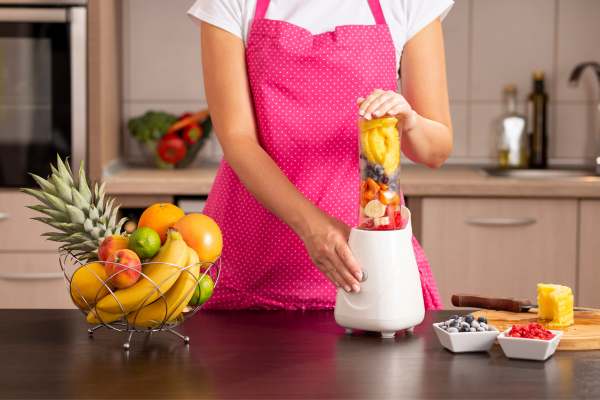
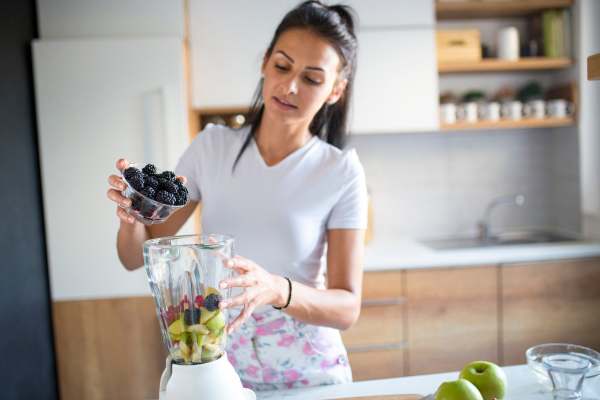
Before you begin making your smoothie, it’s essential to choose the right ingredients based on your preferences and dietary needs. Opt for a combination of fruits, vegetables, liquid bases, and additional mix-ins such as protein powder, nuts, seeds, or sweeteners. Fresh or frozen fruits like bananas, berries, mangoes, and spinach are popular choices for smoothies. Ensure that your ingredients are ripe, washed, and chopped into smaller pieces if necessary to facilitate blending using alternative methods.
Step 2: Preparation Techniques

Once you have selected your ingredients, it’s time to prepare them using various techniques suitable for making smoothies without a blender:
- Hand Mashing: For soft fruits like bananas or berries, you can use a fork or potato masher to mash them into a smooth consistency. Place the fruits in a bowl or container and use the utensil to mash them until you achieve the desired texture.
- Manual Chopping: If you’re using firmer fruits or vegetables like apples or carrots, manually chop them into small pieces using a sharp knife and cutting board. This will help soften the ingredients and make them easier to blend using alternative methods.
- Using a Food Processor: If you have access to a food processor, it can be a convenient tool for making smoothies without a blender. Simply add your ingredients to the food processor bowl and pulse or blend them until smooth. Keep in mind that you may need to pause and scrape down the sides of the bowl periodically to ensure even blending.
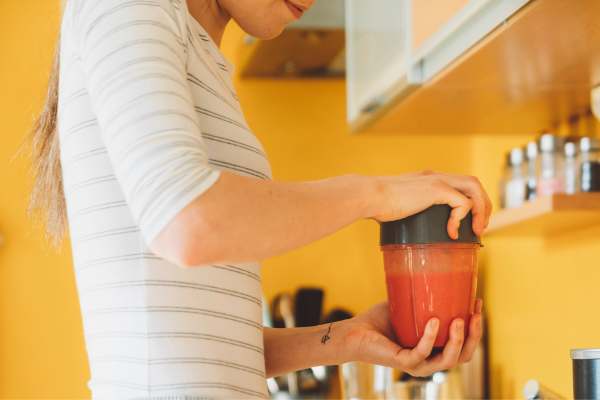
- Handheld Immersion Blender: Another option is to use a handheld immersion blender. Also known as a stick blender, to blend your ingredients directly in the container. Place all the ingredients in a tall and narrow container such as a mason jar or measuring cup, then insert the immersion blender and blend until smooth.
- Shaking in a Container: For a simple and portable method, you can combine your ingredients in a tightly sealed container such as a mason jar or water bottle. Shake the container vigorously until the ingredients are well mixed and reach a smooth consistency.
Step 3: Liquid Base Options
After selecting your ingredients and preparing them, it’s time to choose. A liquid base to help bind everything together and achieve the desired consistency for your smoothie. Here are some options to consider:
- Water: The simplest and most readily available option, water can be used. As a base for your smoothie if you prefer a lighter and more hydrating drink.
- Milk: Dairy milk, almond milk, soy milk, coconut milk, or any other plant-based milk can add creaminess and a subtle flavor to your smoothie. Choose the type of milk based on your dietary preferences and taste preferences.
- Juice: Fruit juices such as orange juice, apple juice, or pineapple juice can add sweetness and acidity to your smoothie. Keep in mind that juices may contain added sugars, so opt for 100% pure juice or dilute it with water if desired.
- Yogurt: Plain or flavored yogurt can be used as a creamy liquid base for your smoothie, adding protein, probiotics, and a tangy flavor. Greek yogurt, in particular, provides extra creaminess and thickness to the smoothie.
- Coconut Water: For a tropical twist, coconut water can be used as a refreshing and hydrating liquid base. It adds a subtle coconut flavor and electrolytes to your smoothie.
- Green Tea: Brewed and cooled green tea can serve as a nutritious liquid base. For your smoothie, providing antioxidants and a slight caffeine boost. It pairs well with fruity and green smoothie recipes.
Step 4: Enhancing Flavor And Nutrition
To elevate the flavor and nutritional value of your smoothie, consider adding additional ingredients and mix-ins. Here are some ideas to enhance your smoothie:
- Protein: Incorporate protein-rich ingredients such as protein powder, Greek yogurt, tofu, or nut butter to make your smoothie more satisfying and nourishing, especially post-workout or as a meal replacement.
- Healthy Fats: Add healthy fats from sources like avocado, coconut oil, flaxseeds, chia seeds, or nuts to provide satiety and promote heart health. These ingredients also contribute to a creamy texture and rich flavor.
- Sweeteners: If you prefer a sweeter smoothie, you can add natural sweeteners such as honey, maple syrup, agave nectar, or dates. Alternatively, ripe fruits like bananas, mangoes, or dates can act as natural sweeteners without the need for added sugars.
- Flavor Boosters: Enhance the flavor of your smoothie with spices and flavorings such as cinnamon, vanilla extract, ginger, mint, or cocoa powder. These ingredients add depth and complexity to your smoothie without extra calories.
- Superfood Additions: Boost the nutritional content of your smoothie by adding superfoods like spinach, kale, spirulina, acai berries, matcha powder, or hemp seeds. These ingredients are packed with vitamins, minerals, and antioxidants to support overall health and well-being.
Step 5: Mixing Techniques
Once you have assembled all your ingredients, it’s time to mix them together to create a smooth and well-incorporated smoothie. Here are some mixing techniques you can use:
- Stirring: Using a spoon or spatula, gently stir the ingredients together in a bowl or container until they are evenly combined. This method works well for softer ingredients like yogurt, milk, and mashed fruits.
- Shaking: If you’re using a sealed container such as a mason jar or water bottle, simply shake the container vigorously to mix the ingredients. This technique is convenient and effective for combining all the components of the smoothie quickly.
- Whisking: In a bowl, whisk the ingredients together using a handheld whisk or fork until they are thoroughly blended. This method helps incorporate air into the smoothie, resulting in a lighter and frothier texture.
- Blending with a Handheld Immersion Blender: If you have a handheld immersion blender. You can use it to blend the ingredients directly in the container. Insert the blender into the mixture and blend until smooth and creamy.
Step 6: Adjusting Texture And Thickness
After mixing the ingredients, you may need to adjust the texture and thickness of your smoothie to your liking. Here are some ways to do this:
- Adding More Liquid: If the smoothie is too thick, gradually add more liquid (water, milk, juice, etc.) until you reach the desired consistency. Blend or mix again to incorporate the additional liquid thoroughly.
- Adding Ice: For a thicker and colder smoothie, add ice cubes to the mixture and blend until smooth. Adjust the amount of ice based on your preference for thickness and temperature.
- Adding Thickeners: To thicken a runny smoothie, add ingredients like frozen fruits, yogurt, nut butter, avocado, or oats. These ingredients add body and creaminess to the smoothie without diluting the flavor.
- Straining: If your smoothie contains seeds or pulp that you prefer to remove, strain the mixture through a fine-mesh sieve or cheesecloth to achieve a smoother texture.
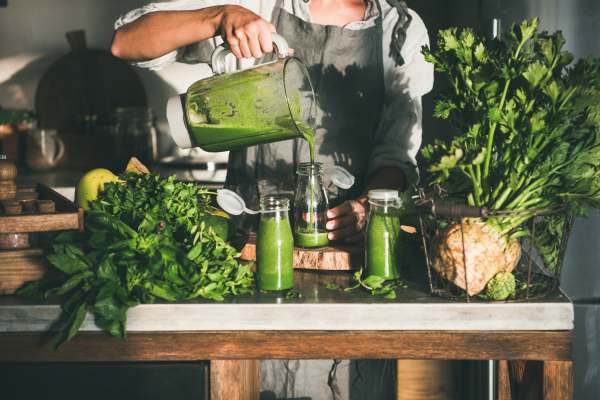
Step 7: Serving Suggestions
Once your smoothie is ready, it’s time to serve and enjoy! Here are some serving suggestions to enhance your smoothie experience:
- Garnish: Sprinkle toppings like granola, shredded coconut, chopped nuts, or fresh fruit slices on top of your smoothie for added flavor and texture.
- Serve Chilled: For a refreshing treat, serve your smoothie chilled by adding ice cubes or storing it in the refrigerator for a few hours before serving.
- Use Decorative Glassware: Serve your smoothie in a fancy glass or mason jar to make it visually appealing and inviting.
- Pair with a Healthy Snack: Enjoy your smoothie as part of a balanced meal or snack by pairing it with whole grain toast, yogurt parfait, or a handful of nuts for added nutrition and satiety.
- Enjoy Immediately: Smoothies are best enjoyed fresh, so drink your smoothie as soon as possible after making it to preserve the flavor and nutrient content.
Cleanup And Maintenance
After enjoying your delicious smoothie, it’s important to clean up and maintain your kitchen tools and equipment for future use. Here are some tips for easy cleanup and maintenance:
- Rinse Immediately: Rinse your utensils, containers, and any other equipment used to make. The smoothie immediately after use to prevent ingredients from drying and sticking.
- Use Hot, Soapy Water: Wash all components with hot, soapy water and a sponge or dishcloth, ensuring that no residue is left behind. Pay special attention to blades, lids, and crevices where food particles may accumulate.
- Air Dry: Allow all washed components to air dry thoroughly before storing them away to prevent mold and bacteria growth. Alternatively, use a clean towel to dry them by hand.
- Store Properly: Store your kitchen tools and equipment in a clean, dry area away from heat. And moisture to prolong their lifespan and prevent damage.
- Regular Maintenance: Periodically check your appliances, such as immersion blenders or food processors, for any signs of wear or malfunction. Clean and lubricate the blades and moving parts as needed to ensure optimal performance.
Can I Make A Smoothie Without Using Sweeteners?
Yes, you can definitely make a delicious smoothie without using sweeteners. Many fruits, such as bananas, berries, mangoes, and pineapples. Naturally contain sugars that add sweetness to the smoothie without the need for additional sweeteners. Additionally, ingredients like yogurt, milk, and flavored protein powders can contribute sweetness to the smoothie while also providing nutritional benefits. If you prefer a less sweet smoothie, simply omit any added sweeteners and rely on the natural sweetness of the ingredients. Experiment with different combinations of fruits and other ingredients to find the perfect balance of flavors for your taste preferences.
Conclusion
Making a smoothie without a blender is entirely possible and offers a range of benefits, including portability, easy cleanup, versatility, and cost-effectiveness. By following simple steps and utilizing alternative methods such as hand mashing, manual chopping, or using a food processor, you can create delicious and nutritious smoothies without the need for specialized equipment. From selecting ingredients to adjusting texture and serving suggestions, there are endless possibilities for creating customized smoothie creations to suit your taste preferences and lifestyle. So whether you’re blending on the go or simplifying cleanup in the kitchen, enjoy the convenience and creativity of making smoothies without a blender.