Introducing the Ninja Blender – the sleek, powerhouse appliance that revolutionizes your kitchen game. Whether you’re a culinary novice or a seasoned chef, mastering the art of assembling your Ninja Blender is the first step towards culinary greatness. In this guide, we’ll unravel the mystery behind putting together this versatile kitchen essential with ease and confidence. From understanding each component’s function to troubleshooting common assembly hiccups, we’ve got you covered. Get ready to blend, puree, and crush your way to culinary mastery as we unlock the secrets to assembling your Together Ninja Blender like a true kitchen ninja.
Unboxing and Organizing
Unboxing
Unveil the excitement of unboxing your Ninja Blender. Delve into the packaging, uncovering each component with anticipation. Feel the thrill as you reveal the sleek base, the durable pitcher, and the assortment of blades and accessories. Experience the satisfaction of unwrapping quality craftsmanship designed for culinary mastery.
Organizing
Create a workspace conducive to assembly. Lay out all components systematically, ensuring nothing is overlooked. Familiarize yourself with each part, from the pitcher to the blades, understanding their roles in the blending process. Establish a clear mental map of how everything fits together seamlessly.
Understanding Components

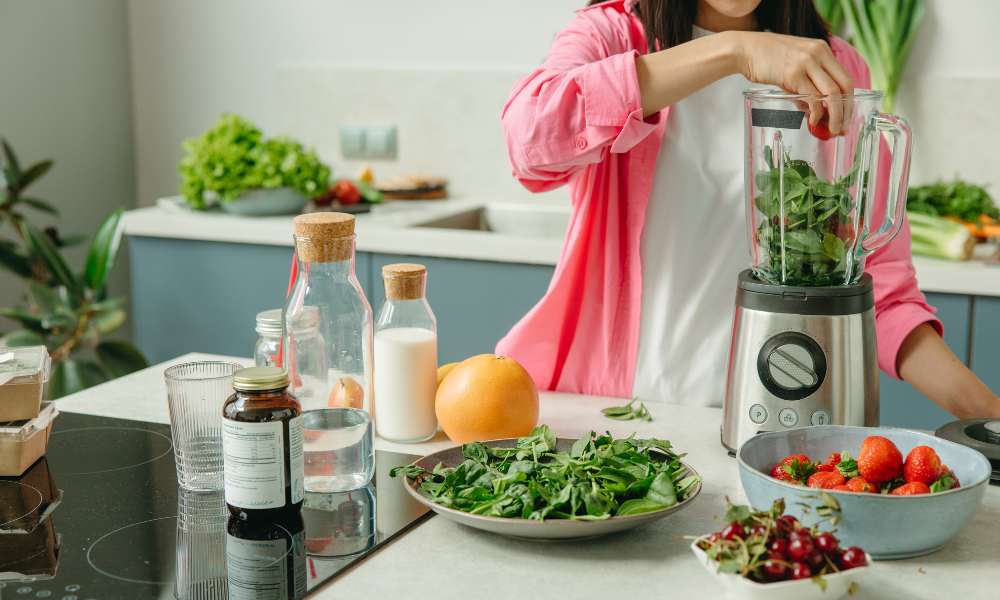
Dive deeper into the function and purpose of each component. Explore the power base, the heart of the Ninja Blender, where the magic happens. Familiarize yourself with the pitcher, noting its capacity and durability. Examine the various blades, each tailored for specific tasks, from crushing ice to pureeing vegetables. With these steps, you’ll embark on a journey of culinary creativity and efficiency with your Together Ninja Blender.
Assembling the Base

To start your Ninja Blender journey, begin by assembling the base. Place the main unit on a flat, stable surface, ensuring it’s securely positioned. Double-check that the power cord is safely connected to a power outlet. Next, inspect the base to locate the locking mechanism, typically found at the bottom. Align the pitcher or container with the base, ensuring it sits snugly within the designated area. Once aligned, gently press down until you hear a satisfying click, indicating the pitcher is securely in place. Congratulations, you’ve successfully assembled the base of your Ninja Blender!
Installing the Blades

Now that the base is ready, let’s dive into installing the blades for optimal blending performance. Begin by carefully examining the blades to identify their orientation and any safety features. Most Ninja Blender models feature a removable blade assembly that slots into the pitcher or container. Align the blades with the designated slots or grooves inside the pitcher. Take extra care to avoid contact with the sharp edges of the blades. Once aligned, firmly press down until you feel the blades lock into position. With the blades securely installed, your Ninja Blender is now primed and ready for action!
Attaching the Pitcher

With the base assembled and the blades installed, it’s time to attach the pitcher to your Ninja Blender. Hold the pitcher by its handle and carefully align it with the base. Ensure the pitcher sits securely on the base, with the blade assembly fitting snugly into the pitcher’s bottom. Once aligned, gently twist the pitcher clockwise until you feel it lock into place. You may hear a clicking sound, indicating that the pitcher is securely attached. Double-check to ensure there are no gaps between the pitcher and the base. Your Ninja Blender is now one step closer to blending perfection!
Securing the Lid
Before you start blending, it’s crucial to secure the lid in place to prevent any potential mess or accidents. Take the lid of your Ninja Blender and inspect it for any seals or locking mechanisms. Place the lid on top of the pitcher, ensuring it aligns correctly with the pitcher’s spout and handle. Depending on your Ninja Blender model, you may need to twist or snap the lid into place to secure it. Once secured, give the lid a gentle tug to confirm it’s properly fasten. With the lid securely in position, your Ninja Blender is now ready for action!
Powering On and Testing

Locate the power button on the main unit of the blender. Depending on your model, it may be a simple on/off switch or a more advanced control panel with multiple settings. Press the power button to activate the blender. Once powered on, you can select your desired blending speed or program depending on your recipe. With everything set, press the start button to begin blending. Listen for the smooth hum of the motor and watch as your ingredients transform into delicious creations. Congratulations, you’ve successfully powered on and tested your Ninja Blender!
Cleaning and Maintenance
Keeping your Ninja Blender clean is essential for optimal performance and longevity. After each use ninja blender, disassemble the blender by removing the pitcher and blades. Rinse them thoroughly with warm, soapy water, and use a brush to remove any stubborn residue. Avoid submerging the main unit in water; instead, use a damp cloth to wipe it clean. Allow all parts to air dry completely before reassembling. Regular maintenance includes checking for any signs of wear or damage and ensuring all parts are securely tighten. By following these cleaning and maintenance practices, you’ll keep your Ninja Blender in top condition for years to come.
Troubleshooting
Encountering issues with your together Ninja Blender? Don’t fret; troubleshooting common problems can help you get back to blending in no time. If the blender fails to start, ensure it’s properly plugg in and the power switch is on. Check for any obstructions in the pitcher or blades that may be hindering operation. If the blender is making unusual noises or vibrating excessively, double-check that all parts are securely assembl. For leaks or spills, confirm the lid is tightly sealed and the pitcher is properly attached to the base. If problems persist, consult the user manual or contact customer support for further assistance.
Conclusion
Mastering your together Ninja Blender is within reach with the right knowledge and techniques. By following the steps outlined in this guide, you can confidently assemble, use, and maintain your blender for years of delicious blending adventures. From attaching the pitcher to securing the lid and troubleshooting common issues. You’re now equipped with the skills to harness the full potential of your Ninja Blender. So go ahead, unleash your inner culinary ninja, and let your creativity flourish with every blend. Cheers to countless smoothies, soups, sauces, and beyond!