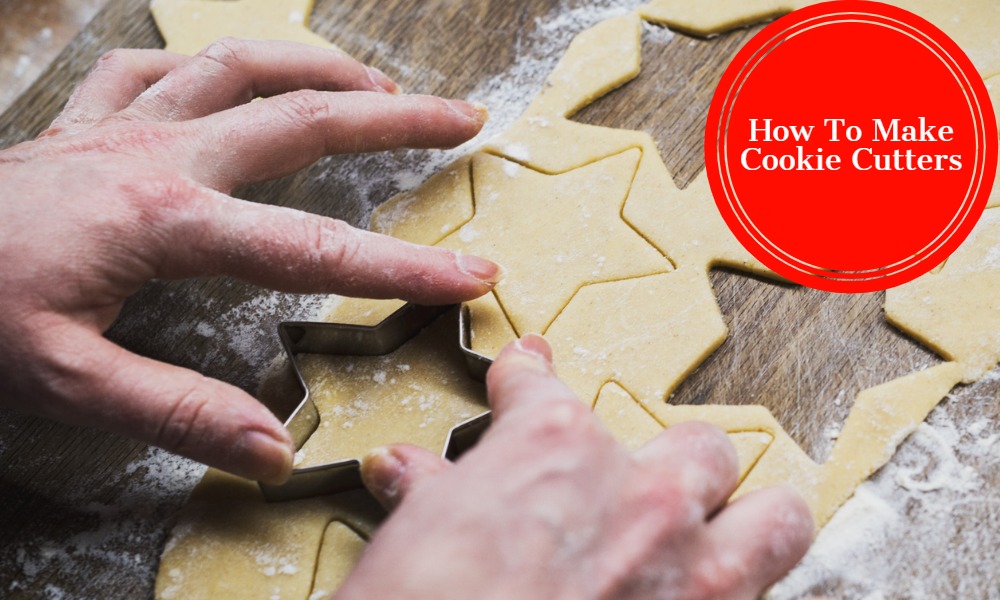
As a lover of all things sweet, Baking And creativity, I couldn’t help but notice the rising trend Of custom-made cookie cutters. Imagine transforming a simple dough into a personalized treat, shaped in any form your heart desires. From birthday party themes to holiday designs, cookie cutters offer unlimited potential in making every baking experience unique and delightful. If you’re like me, constantly searching for ways to bring an extra dash Of personality to your baking, Creating your own cutters could Be the exciting DIY project you’ve been looking for. In this blog post, We’re about to embark on A journey together, To master the art and craft of making our very own cookie cutters. Are you ready to add a personal touch to your sweet treats?
What Materials Are Commonly Used To Make Cookie Cutters?
The world of homemade cookie cutters can be incredibly diverse, as a variety of materials can be used to craft these handy baking tools. Traditionally, These are made from metals like tin, aluminum, copper, And stainless steel, prized for their durability and ease Of cleaning.
These materials retain their shape well, making them ideal for producing precise, detailed cookies. However, In recent years, Food-safe plastic (such as PLA) has gained popularity, particularly for 3D printed cookie cutters, due to its flexibility, affordability, And the ability to create intricate designs.
Additionally, for a more DIY approach, some home bakers even use food-safe silicone or crafting thick cardboard, coated with a food-safe sealant, for more simple shapes. It’s crucial, however, to ensure that whatever material you choose, it’s food-safe and can withstand the baking environment.
Why Make Your Own Cookie Cutters?
Choosing to make your own cookie cutters opens up A world of possibilities, Allowing you to truly unleash your creativity. Rather than being limited to standard store-bought shapes, creating your own cutters gives you the freedom to design cookies in any shape or theme you can imagine.
This customization can add a personal touch to your baked goods, making them perfect for special events or simply as a reflection of your unique style. Additionally, crafting your own cutters can be a cost-effective alternative to purchasing individual cutter or sets, especially for one-off or unusual designs.
Beyond the practical benefits, making your own cutters is simply a lot of fun and a rewarding experience. It offers an opportunity to engage in a hands-on project that blends creativity, craftsmanship, and baking a winning combination for any DIY enthusiast or home baker.
Necessary Materials For Making Cookie Cutters
Certainly, here are the necessary materials you’ll need to make your own cookie cutter:
- Sheet of metal, aluminum or tin (for traditional cutters), or food-safe plastic like PLA (for 3D printed cutters)
- Metal shears or a utility knife (depending on your chosen material)
- Needle nose pliers
- Ruler or measuring tape
- Permanent marker
- Protective gloves
- Sandpaper (optional, for smoothing rough edges)
- Adhesive or metal joining strips (for securing the ends of the cutter)
- Template for your desired shape (optional but helpful, especially for complex shapes)
- 3D modeling software (if you are 3D printing the cutters)
Where To Buy Materials
The materials needed to make cookie cutters can Be found at A variety of retail locations both online and offline. For traditional metal cutters, sheets of tin or aluminum can be purchased from most hardware stores.
Tools such as metal shears, needle nose pliers, rulers, and protective gloves are also commonly found at hardware stores. If you’re planning to 3D print your cutter, PLA (Polylactic Acid) filament can be purchased from specialized tech shops or online marketplaces like Amazon or eBay.
The same goes for 3D modeling software—many options are available online, some even for free, like Tinkercad or Blender. Templates for cutter shapes can be found online or you can design your own using graphic software.
Lastly, for your adhesive or metal joining strips, check out craft stores or online platforms. Always remember to check the product details To ensure they Are safe for use with food.
Step-By-Step Guide To Making Cookie Cutters
1. Design Your Cookie Cutter

The first step in making your own cookie cutter is to decide On the design. This could be anything from a simple circle or star to a more complex character or logo. Once you’ve chosen your design, Sketch it out on A piece of paper to create A template. It’s important to keep in mind that the shape needs to Be simple enough to be formed by hand Or machine, without any undercuts. If you’re making a 3D printed cookie cutter, you’ll create this design in your chosen 3D modeling software.
2. Cut Your Cookie Cutter Shape
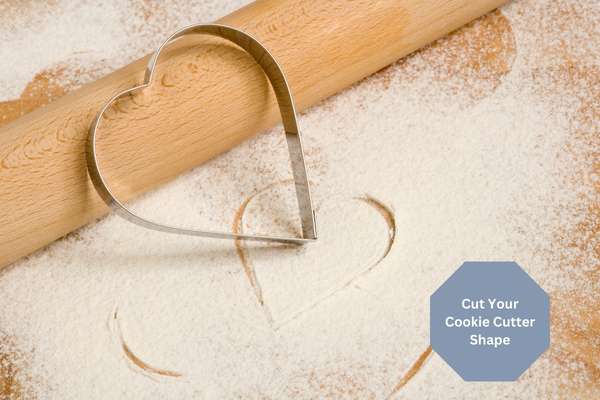
After finalizing your design, The next step is to transfer it onto your chosen material. If you’re using a metal sheet, Use A permanent marker to trace the design onto the metal. Make sure you add a straight line at the end of the design, this will be the part that you will eventually connect to close the shape. Using metal shears or a utility knife (if you’re using a plastic sheet), cut the shape out carefully, following the lines. If you’re using A 3D printer, This step involves simply sending your design to the printer.
3. Form The Shape Of Your Cookie Cutter
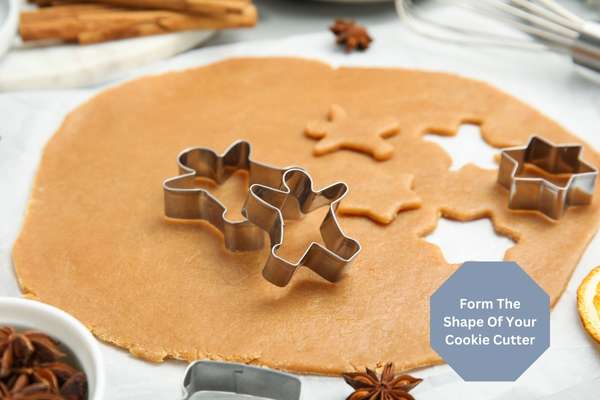
With your design cut out, Now it’s time To shape it. If you’re working with metal or plastic by hand, use needle nose pliers to carefully bend the material along the lines of your design. Take your time and make gradual bends to avoid snapping or cracking your material. Patience is key here as complex shapes can take some time to get right. For 3D printed cutters, the printer will handle this step for you.
4. Secure The Ends Of Your Cookie Cutter

Finally, once your cutter is in the correct shape, It’s time to secure the ends together To complete the loop. This can be done using adhesive suitable for the material you’re using, or by using a small piece of metal joining strip. Ensure any adhesive used is food safe and has had enough time to cure before using the cutter. For 3D printed cutter, the ends will be connected in the design stage, so there’s no need for this step. Now, you have your very own homemade cutter ready to use. Don’t forget To clean it thoroughly before making your first batch Of cookies!
Safety Tips For Making Cookie Cutters
Safety should always be the priority when working with tools and materials. Here are some safety tips for making cookie cutter:
- Wear Protective Gear: Always use protective gloves when handling and cutting metals or plastics to avoid cuts and scratches. Safety glasses can also protect your eyes from flying debris when cutting.
- Work in A Well-Ventilated Area: If you’re using any type Of adhesive Or sealant, ensure you’re working in A well-ventilated area to avoid inhaling fumes.
- Use Tools Properly: Make sure you are using all tools as they are intended to be used And follow all manufacturer safety guidelines.
- Handle Sharp Edges with Care: Be cautious when working with cut metal or plastic, as the edges can be very sharp.
- Ensure Materials Are Food-Safe: Always verify that all materials you’re using are food-safe. This includes the material for the cutter itself, as well as any adhesives or sealants.
- Double Check 3D Printer Settings: If you’re using A 3D printer. Double-check the settings to ensure the filament is heated to the correct temperature and that the printer is functioning properly to avoid malfunctions Or errors.
- Clean Cutters Before Use: Ensure to thoroughly clean your homemade cookie cutters before using them on the dough to ensure no residue Of materials or dirt is transferred onto your cookies.
- Store Safely: Store your homemade cutter safely out of reach of children, as they can have sharp edges.
Remember, safety first when crafting your own cutters. Happy and safe crafting!
The Final Thoughts
Creating your own cookie cutter is a fun, creative, And cost-effective process. All you need are the right materials – such as metal sheets or PLA plastic for 3D printing, basic tools, and a little bit of creativity. The process involves designing your cutter, cutting and shaping the material to match your design. And securing the ends to complete the cutter. While crafting your cutters, always prioritize safety, ensuring all materials are food-safe and handling tools properly. Whether you’re A baking enthusiast or a DIY lover, making your own cookie cutters offers A unique way to personalize your baked goods. Remember to clean your cutters before use and store them safely. Enjoy the process and happy baking!