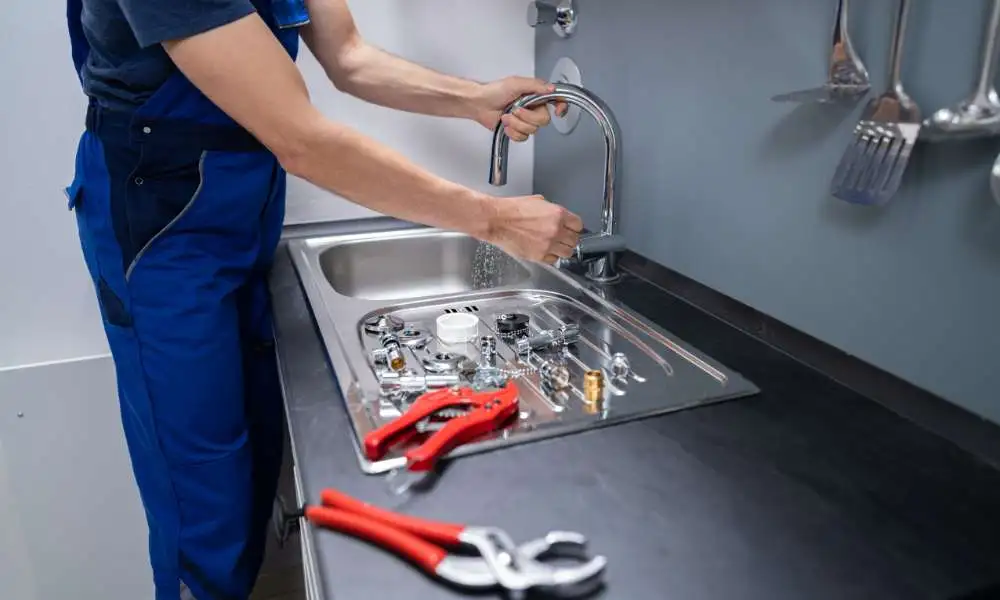
Removing a Moen cookhouse faucet is an easy home renovation project that requires minimal tools and materials. It’s always important to shut off the water supply before beginning any plumbing job, So the first step of this project is to turn off the valves under the sink. Installing a new kitchen faucet can enhance the look of your kitchen, But it can be a daunting task if you have never done it before. If you need to remove your moen kitchen faucet for replacement or repair, Then this article is for you! We’ll walk you through the step-by-step process of how to remove Moen cookhouse faucets and provide helpful tips along the way to make the job easier.
What is Moen Kitchen Faucet?
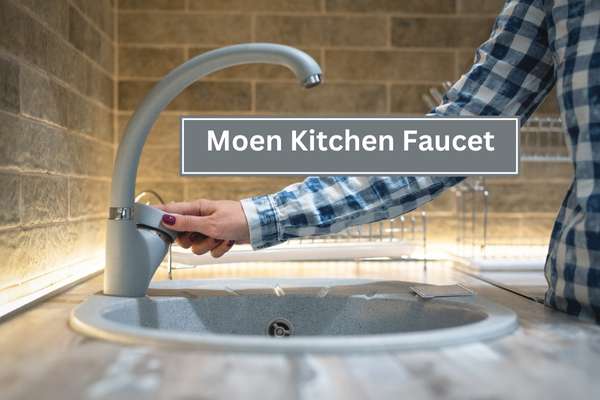
Moen Kitchen Faucets are a type of kitchen faucet, designed and manufactured by Moen Inc. They come in a variety of styles and finishes and offer a range of features such as pull-out sprayers, single-handle operation, And spot-resistant finishes. Moen faucets are designed to be easy to use and install, with intuitive controls that make it simple to adjust the water flow or temperature. They also come with advanced features like MotionSense technology, Which allows you to turn on your faucet without ever touching it. Moen cookhouse Faucets are a great choice for any kitchen remodel or upgrade, offering both style and convenience.
Why do you Remove Moen Kitchen Faucets?

I recently removed my kitchen faucet because it was leaking. The faucets had been in place for several years, And the seals were worn out. I could tell that the leak was getting worse, so I decided to take it out before it caused any further damage.
Removing a kitchen faucet is relatively straightforward. First, You must shut off the water supply lines and disconnect the hoses from the faucet. Then, You can unscrew the nuts that are holding the faucet in place and pull them away from the sink. Finally, You can remove any remaining hardware such as screws or bolts that may attach to the moen kitchen faucet.
Once I had removed my Moen cookhouse faucet. I replaced it with a new one that was more energy efficient and better suited to my needs.
The benefit of Remove Moen Kitchen Faucet
Moen Kitchens Faucets are an integral part of any kitchen remodeling project. Not only do they provide a stylish and modern look to the kitchen. But they can also make life easier through their convenient features. Removing an old Kitchen faucet and replacing it with a new one offers numerous benefits to homeowners.
One of the main benefits of remove a moen Kitchen Faucet is that it can replace with a higher quality model that is more reliable and has better features such as adjustable water flow or temperature control. Additionally, installing new Kitchen Faucets may also help reduce water bills due to their energy efficiency features.
Furthermore, replacing your faucet gives you the opportunity to choose from a variety of styles and finishes that not only enhance the design of your kitchen but also match existing cabinetry or countertops perfectly.
Types Of Moen Kitchen Faucets

Moen kitchen faucets are one of the most popular models on the market today. With a variety of styles and designs, These faucets can meet any needs that homeowners may have in their kitchens. Some common types of kitchen faucets include pull-down, pull-out, single-handle, two-handle, And wall mount.
Pull-down Moen cookhouse faucets feature a hose that pulls down from the spout for increased accessibility when doing dishes or other tasks in the sink area. Pull-out types offer similar benefits with a hose that can pull out from the spout to increase reachability. Single-handle models allow users to switch between hot and cold water by turning one lever rather than two separate ones as with two handle varieties.
Your Needs:
- Wrench
- Phillips head screwdriver
- Safety Glasses (optional)
- A small bowl
- Towel
- A Flashlight
Wrench
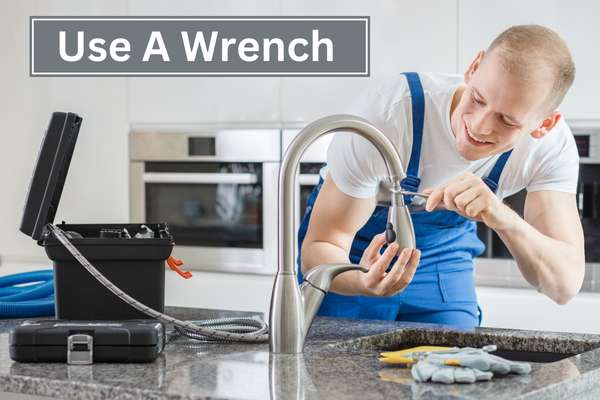
A wrench is a must-have tool for this project as it can help loosen and remove nuts, bolts, And fasteners that may be hard to reach or difficult to turn by hand. To begin, shut off the water supply to the faucets before taking out any components. Loosen the nut located under the sink that holds the faucet in place with a wrench. Ensure you use an adjustable or open-end type of wrench as it will provide more flexibility when trying to reach tight spaces between pipes and other plumbing fixtures. Unscrew all of the screws holding down any parts surrounding your faucets including those holding down its base plate if present.
Phillips Head Screwdriver

The most important tool needed for this project is the Phillips head screwdriver it is used to remove screws from the base of the faucets and will make it easier to take apart, allowing you to replace or repair components. Locate all of the screws that need to remove and use your Phillips head screwdriver to loosen them. It’s important not to over-tighten these screws as they can strip easily and make it difficult or impossible to remove them in the future.
Safety Glasses (optional)

Before starting your project, make sure to put on safety glasses and gloves. Safety glasses will protect your eyes from debris that can occur during the installation or removal of a fixture. Gloves will help you get a better grip on any tools you may use, as well as protect your hands from any sharp objects that could be present. With these two essential items, You are ready and able to begin safely installing or removing your Moen cookhouse faucets with ease.
A Small Bowl
Place a small bowl beneath the area where you’ll be working to catch any water that may remain in the pipes. Now you’re ready to begin unscrewing the nuts connecting your old faucets to the basin! Use an adjustable wrench for this part of the process until all of them have remove. You should now be able to remove your moen kitchen faucet from their mount without any issues.
Towel
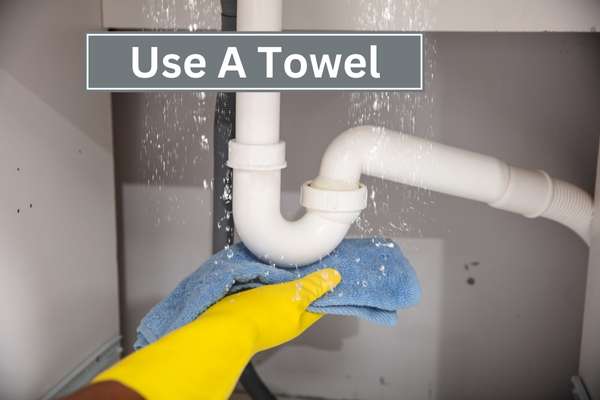
Place a towel underneath the faucet so you can catch any dripping water. Once this is done, Use an adjustable wrench to loosen the mounting nuts located under your sink before unfastening the hoses and connecting them to your plumbing system. This will allow you to pull out the faucets without damaging any pipes or fixtures in your home.
A Flashlight

Flashlights are one of the most useful tools you can have when working on any project, especially removing a Moen kitchen faucet. Flashlights provide targeted light to any area and illuminate hard-to-reach spaces that would otherwise be difficult or impossible to see clearly. Additionally, They come in various shapes and sizes making them portable and convenient for home tasks such as this one.
Step To Step Tips for Removing The Faucet
1. Shut Off the Hot and Cold-Water Supply Lines

To shut off the hot and cold water supply lines for kitchen faucets, first, locate the valves beneath your sink. Most likely they’ll connect directly to the incoming pipes; if not. Use adjustable pliers to disconnect them from any flex lines that may have use during installation. Then simply turn each valve clockwise until they’re both in their fully closed position. The job is done!
2. Dry the Pipes

In order to remove the moen kitchen faucet and properly dry the pipes, You must first turn off the water supply. This will help prevent any water damage while performing maintenance on your kitchen fixtures. Once you have turned off the water supply, Use an adjustable wrench to loosen and remove the mounting hardware on your kitchen faucets. After this step is complete, carefully lift out the old faucet with pliers or a flathead screwdriver. Finally, inspect both ends of the pipe for any signs of leakage before installing a new fixture in its place.
3. Remove The Faucet’s Handle
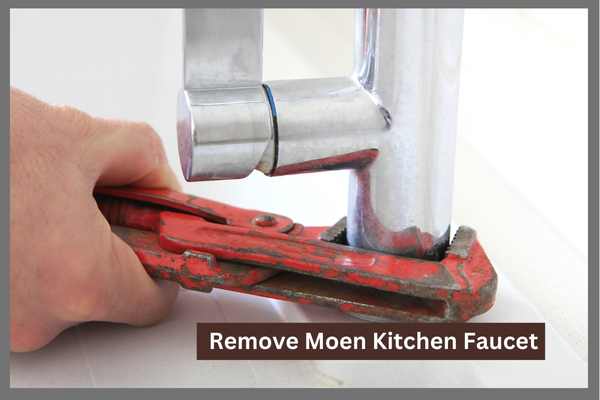
Locate the set screw located on the underside of the handle. Use an Allen wrench to loosen and remove it. Next, pull off the decorative cap from underneath the handle with your fingers or a flathead screwdriver. Then you can use a pair of channel-lock pliers to grip and twist off the main body of the faucet’s handle from its stem. If necessary, spray some penetrating oil around it first so that it will come off more easily. Once removed, inspect all parts for any damage or wear and replace them as needed before reassembling them in reverse order for installation.
4. Remove The Dome And Plastic Part
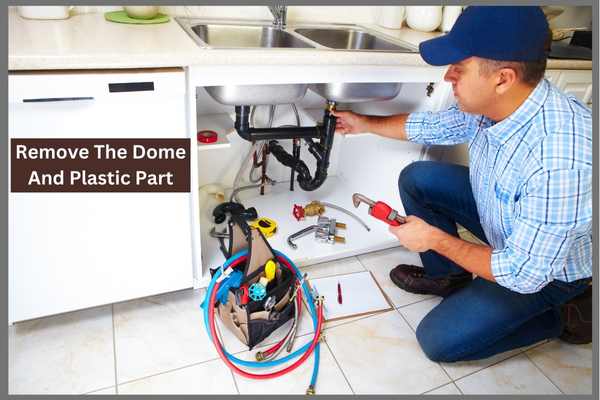
This is necessary in order to access the nuts that hold the faucet to the sink. To do this, use a flat-head screwdriver or similar tool to carefully remove any caps or screws near. Where the dome and plastic part is attached to the base of the faucets. Once these are removed. Gently pull off the dome and plastic part from both sides until it comes away from its mounting area. This should expose two nuts that need to unscrew in order to detach any hoses connecting them to water supply lines as well as fully release them from their place on your sink.
5. Take Out The Mechanism

To take out the mechanism you are going to need a few supplies including pliers. An adjustable wrench, And cloth rags. Start by turning off the water supply valves under your sink before disconnecting any connections. After that, You will use pliers to remove the screws on either side of the neck of your Moen kitchen faucets. Then use the adjustable wrench to loosen up any compression nuts or lines connected at each end of the valve body.
6. Remove the Ring and Washer
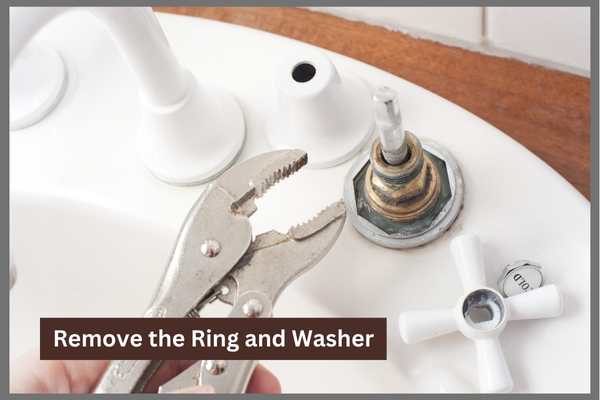
The most effective way to remove the ring and washer is by using a basin wrench or adjustable wrench. Both of these tools allow for more leverage than regular wrenches. Which makes them ideal for loosening stubborn bolts and nuts. Additionally, using a pair of pliers can help with any nut that’s been overly tightened down or corroded over time.
7. Clean Rusty/Corrosive Mounting Bracket
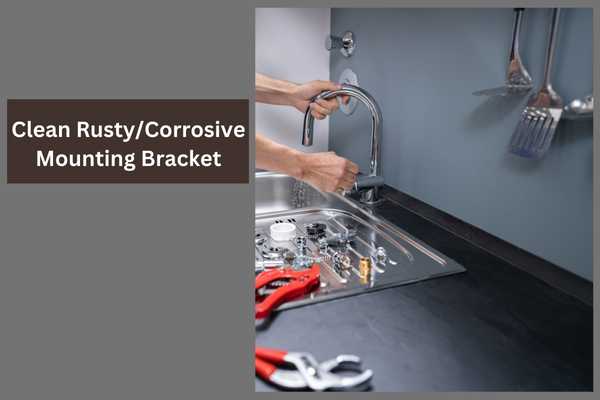
Clean rusty corrosion on your kitchen faucet mounting bracket to ensure years of reliable use. The first step in cleaning rust from any surface is to take precautions against damaging yourself or the object you’re working on. Be sure to wear protective gloves and safety glasses before beginning work on the faucet. Additionally, make sure that all parts of the faucets are securely fastened before you start cleaning or removal so that nothing loosens during the process.
8. Clean Inaccessible Mounting Hardware
Removing a Moen cookhouse faucet can be difficult and frustrating if the mounting hardware is inaccessible. To remove this type of moen kitchen faucet. It is important to take a few careful steps in order to successfully clean out the inaccessible mounting hardware. First, shut off the main water supply and drain any remaining water from the pipes by opening up the hot and cold valves. Once all of the remaining water has been completely drained. Unscrew any parts that are attached to the mounting hardware using an adjustable wrench or pliers. Lastly, use a brush to clean out any dirt or grime that may have built up inside the faucet’s mounting area.
9. Take Off The White Ring

Taking off the white ring is an essential step in successfully removing your kitchen faucets. The white ring is located inside the handle of the faucets. Serves as a plug that keeps water from escaping through the base of the handle when turned off. While the removal of this piece may seem intimidating. With just a few simple steps you can easily remove your white ring and complete the removal of your Moen kitchen faucets.
10. Lift The Spout
Taking out the spout is an important first step in replacing your Moen kitchen faucets. To begin, start by turning off both hot and cold water supplies to the faucets. This will prevent any water from leaking while you’re working on it. If your faucet has an escutcheon plate, This should remove prior to lifting off the spout. Once it’s out of the way. You’ll need either a screwdriver or an Allen wrench depending on what kind of mounting nut fastens your spout onto the valve body. Use whichever tool is necessary to loosen and remove the mounting nut carefully until you can pull up on your spout without any resistance.
Possible Moen Kitchen Faucet Repairs
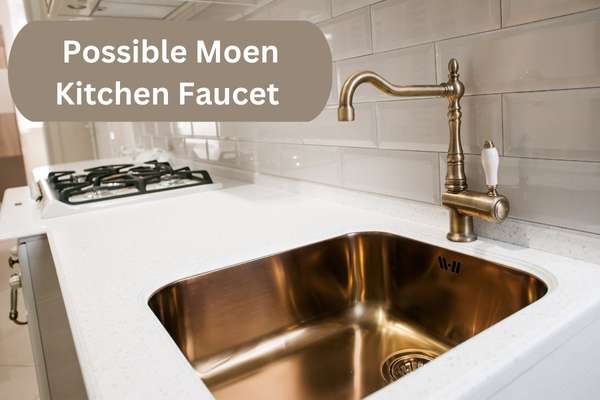
Homeowners with Moen Kitchen Faucets may find themselves in need of repairs or replacements. Replacing a kitchen faucet requires basic knowledge of plumbing and the right tools to complete the job.
First, turn off the water supply before beginning any repair or replacement. Then, use an adjustable wrench to remove the nuts that secure the faucet in place under the sink. Securely fasten a bucket underneath it to catch any dripping water and then twist off both hot and cold water supply lines with pliers.
After these steps have been taken, carefully pull out the entire assembly from under your sink. To replace your old Moen cookhousefaucet with a new one. First, mount it onto your countertop according to the instructions included in its packaging before turning your water supply back on and verifying there are no leaks around its base.
How To Install A Faucet
Installing a faucet is not a difficult task, But it does require some basic plumbing knowledge. The first step is to turn off the water supply. This can be done by turning the shutoff valves for the hot and cold water lines located under the sink. Once the water is off. Remove the old faucet by unscrewing it from the sink and disconnecting any hoses Or pipes attached to it.
Next, You will need to install the new faucets. Depending on what type of faucets you have purchased, There may be different instructions for installation. Generally speaking, You will attach the new faucets to the sink with mounting nuts and bolts that come with it. You may also need to attach hoses or pipes to connect them to your water supply lines.
Finally, once everything is connected and installed correctly. Turn on your water supply and check for any leaks around your new faucet.
Rebuilding Your Moen Faucet
Removing and rebuilding a Moen cookhouse faucet is something that any homeowner can do. This project only requires a few basic tools and supplies. Along with a bit of patience to get the job done right. To begin, shut off the water supply for the sink by turning off the valves under the countertop or behind it. Once all of the water has been turned off. Use an adjustable wrench to loosen and remove the nuts on either side of the faucet base. Then, carefully pull out the old faucets from their mounting place on top of your sink so you can start rebuilding your Moen kitchen fixture.
Discover how to easily care for and clean your laminate kitchen cabinets! Learn a few useful tips and tricks to keep them looking new and shining bright.
The Final Thoughts
Removing a Moen kitchen faucet is an easy process that requires minimal tools and time. By following the instructions provided, You can successfully complete the task. Replacing a Moen cookhouse faucet with a new model is also relatively simple and may be done in the same manner as removal. It is always important to follow manufacturer instructions and safety guidelines when working on any project. If the problem seems too difficult or beyond your capabilities, Then it is best to seek professional help.