Engraving a cutting board is a timeless way to infuse personality and charm into a kitchen staple while also adding a touch of custom flair to culinary endeavors. Whether you’re a seasoned crafter or a novice DIY enthusiast, mastering the art of engraving can elevate your cutting board from ordinary to extraordinary. From personalized gifts to enhancing your own culinary space, this guide will walk you through the steps of how to engrave a cutting board with precision and creativity, ensuring a stunning result that reflects your unique style and taste. With just a few tools and a dash of inspiration, you can transform a simple wooden board into a cherished piece that serves both practical and aesthetic purposes in the heart of your home.
What Wood Is Best For Engraving?
Engraving a cutting board is a delightful way to imbue a touch of personalization into an everyday kitchen essential. One crucial consideration in this endeavor is selecting the ideal wood for engraving. Hardwoods like maple, cherry, and walnut are popular choices due to their durability and smooth texture, which provide a pristine canvas for intricate designs. These woods also offer excellent contrast when engraved, ensuring that your designs stand out beautifully against the natural grain.
How Deep Should The Engraving Be?
Once you’ve chosen the perfect wood for Hang Cutting Board On Wall, determining the depth of the engraving is paramount to achieving optimal results. While it may be tempting to engrave deeply for a more pronounced effect, experts recommend striking a balance between depth and functionality. Ideally, the engraving should be shallow enough to preserve the integrity of the cutting surface, ensuring that it remains smooth and easy to clean. A depth of around 1/8 to 1/4 of an inch is generally sufficient to create crisp, defined lines without compromising the board’s usability. By adhering to these guidelines, you can achieve a striking engraving that not only enhances the aesthetic appeal of your cutting board but also maintains its practicality for everyday use.
Materials Needed:
- Cutting Board
- Stencil Or Design Template
- Pencil
- Engraving Tool
- Safety Gea
- Clamps
- Sandpaper
- Wood Finish
Steps To Steps Guide:
1. Choose Your Design
Start by selecting a design that reflects your personal style or resonates with the intended recipient if it’s a gift. Whether it’s a monogram, a favorite quote, or a intricate pattern, ensure that the design is suitable for engraving on a cutting board and will complement its shape and size.
2. Prepare The Cutting Board
Before you begin engraving, it’s essential to prepare the cutting board surface to ensure optimal results. Begin by sanding the board to create a smooth and even surface, removing any rough patches or imperfections that could affect the engraving process. Wipe away any dust or debris with a clean cloth to ensure a clean canvas for your design.
3. Transfer The Design
Once your cutting board is prepared, transfer your chosen design onto the surface using a stencil, transfer paper, or by freehand drawing if you’re confident in your artistic abilities. Take your time to position the design accurately, ensuring that it’s centered and aligned correctly for the best visual impact.
4. Secure The Cutting Board
To prevent any movement or slippage during the engraving process, securely clamp or fasten the cutting board to a stable surface. This will ensure that the board remains steady and stationary, allowing you to engrave with precision and control. Double-check the placement of the board to avoid any mishaps that could compromise the integrity of your design.
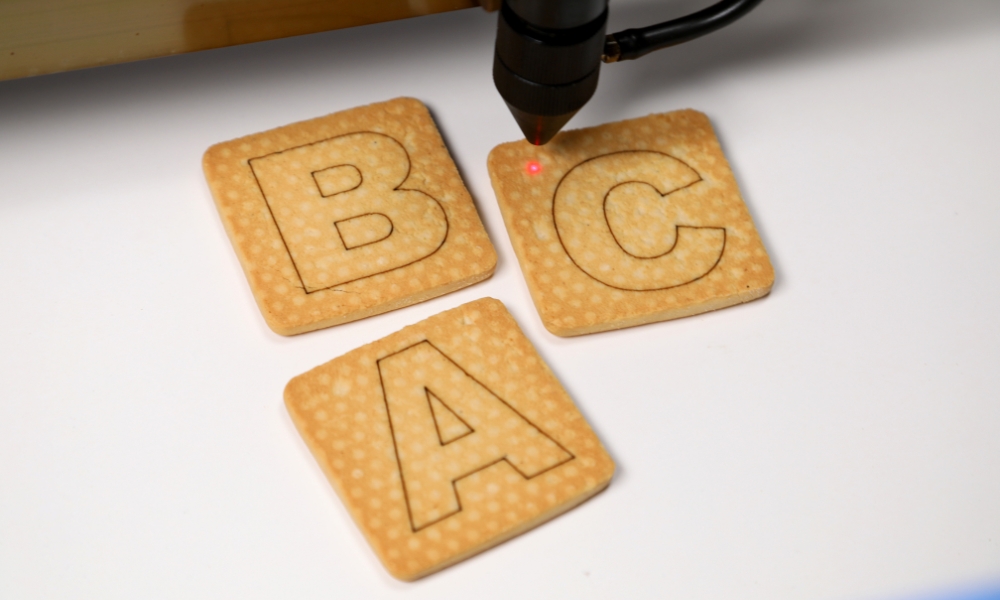
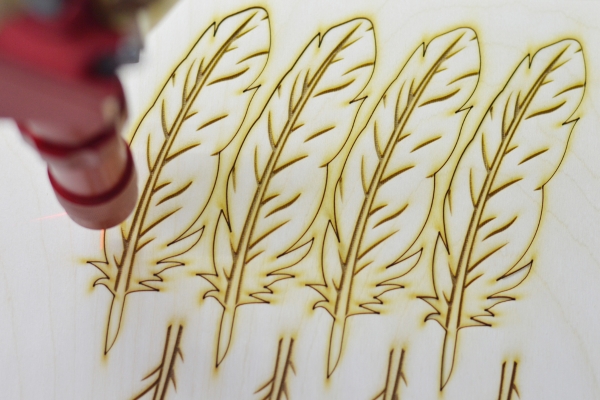
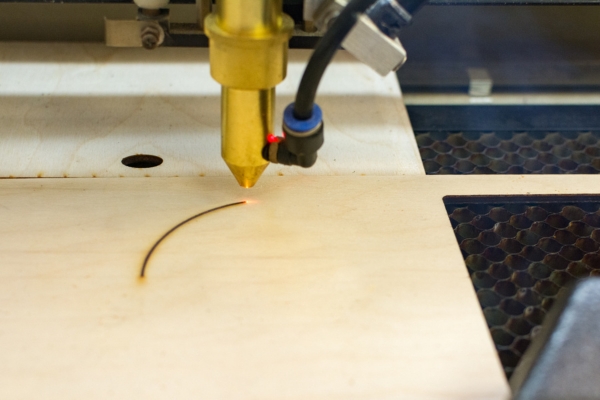
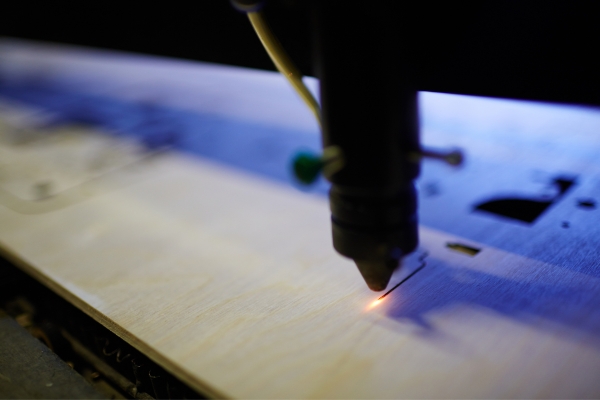
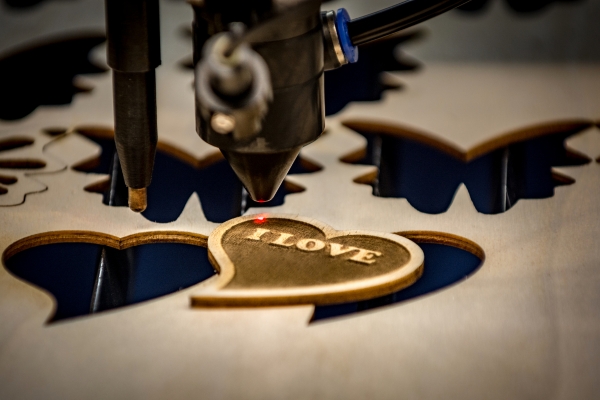
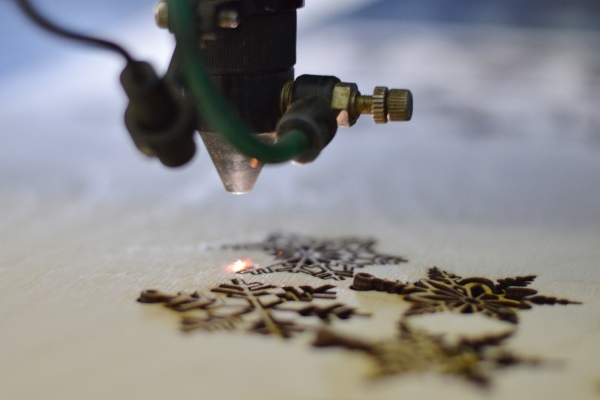
5. Engrave The Design
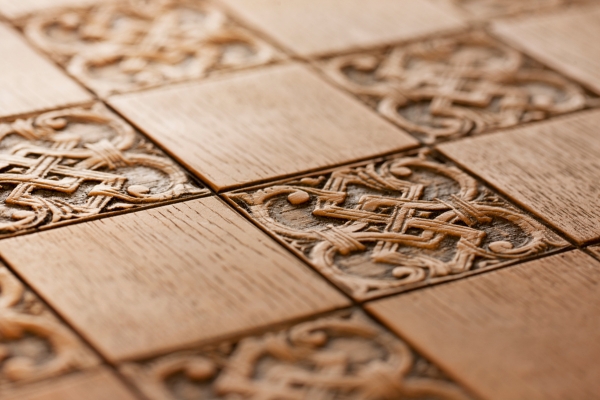
With your cutting board securely in place, carefully engrave the design onto the surface using a suitable engraving tool or machine. Take your time and work methodically to ensure clean, precise lines and consistent depth throughout the design. Depending on the complexity of your design, this step may require patience and attention to detail, but the end result will be well worth the effort.
6. Finish The Engraving
Once the design is fully engraved, take a moment to inspect the cutting board and make any necessary touch-ups or refinements to ensure perfection. Use a fine-grit sandpaper to gently smooth any rough edges or uneven surfaces, paying particular attention to the engraved areas. This final step will help enhance the clarity and definition of your design, resulting in a polished and professional finish.
7. Seal The Cutting Board
To protect the engraved design and prolong the lifespan of the cutting board, consider applying a food-safe sealant or finish. Choose a product specifically designed for use on cutting boards and follow the manufacturer’s instructions for application. This will help prevent moisture damage, staining, and bacterial growth, ensuring that your cutting board remains both functional and aesthetically pleasing for years to come.
Is Engraving Safe For Food Use?
Engraving a cutting board is generally safe for food use, provided that the materials and techniques used are food-safe. It’s important to use non-toxic engraving tools and finishes that won’t leach harmful chemicals into food. Additionally, ensure that the cutting board is properly sealed to create a protective barrier between the engraved surface and food. With proper care and maintenance, an engraved cutting board can be enjoyed as both a functional kitchen tool and a decorative accent.
Conclusion
Engraving a cutting board is a rewarding and creative endeavor that allows you to personalize a practical kitchen essential with your own unique touch. By following these step-by-step instructions and considering important factors such as design selection, preparation, engraving techniques, and safety considerations, you can create a stunning piece that adds charm and personality to your culinary space. Whether you’re crafting a custom gift or enhancing your own kitchen decor, engraving a cutting board is sure to leave a lasting impression.