
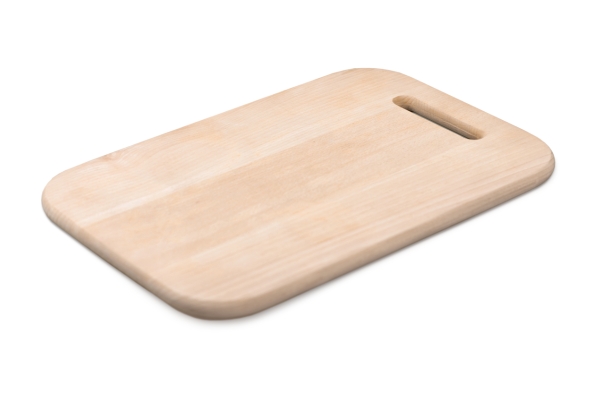
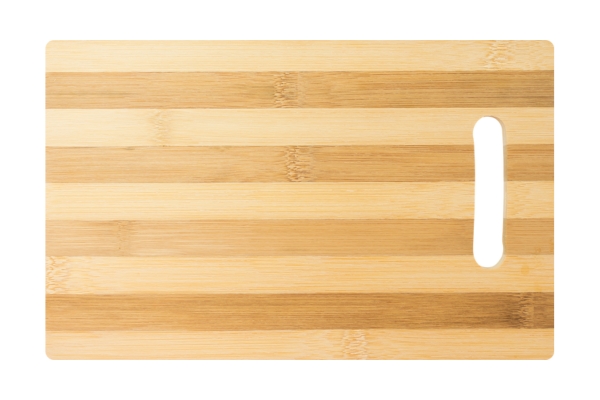
Ensuring that your cutting board Finish is food safe is an essential step for any kitchen enthusiast or professional chef. “How to Finish a Cutting Board Foods Safe” guides you through the necessary procedures to protect your cut board while maintaining its functionality and appearance. This comprehensive guide will cover everything from selecting the right materials and tools to applying the proper finishes that are both safe for food contact and durable. By following these steps, you can ensure your cut board remains a hygienic and reliable tool in your culinary arsenal.
What Oils Are Not Food Safe?
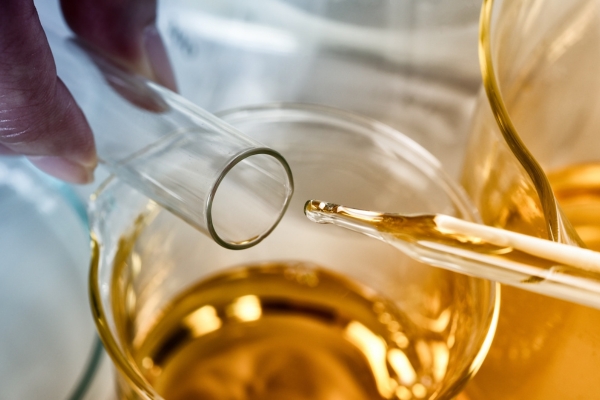
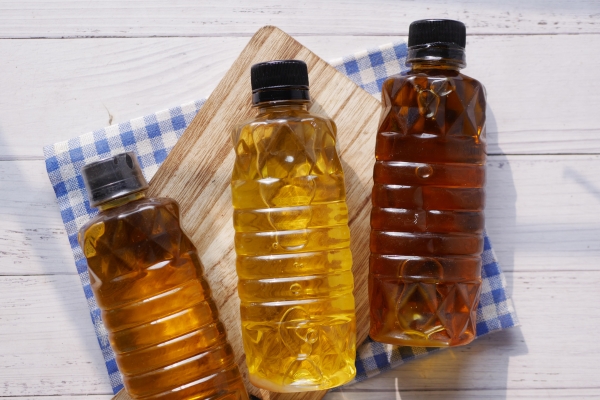
When finishing a cut board, it’s crucial to choose oils that are safe for food contact. Oils such as motor oil, vegetable fat, and linseed oil are not foods safe and should be avoided. Motor oil and other industrial oils contain harmful chemicals that can leach into food, posing serious health risks. Vegetable fat can go rancid over time, creating an unpleasant smell and potentially harboring bacteria. Linseed fat, while used in some wood finishing applications, often contains additives that are not safe for food contact. Instead, opt for food-grade mineral oils or beeswax, which are both safe and effective in protecting your cutting board.
How Often Should You Oil A Cutting Board?
Regular maintenance is essential for keeping your cutting boards in top condition. Ideally, you should oils your cut board once a month, or more frequently if it sees heavy use. Oiling helps to seal the wood, preventing it from drying out, cracking, or absorbing harmful bacteria. To oil your cutting boards, apply a generous amount of food-grade mineral oil or a specialized cutting boards oils, spreading it evenly across the surface. Let it soak in overnight, then wipe off any excess. Regular oiling not only prolongs the life of Hang Cutting Board On Wall but also ensures it remains a safe and sanitary tool in your kitchen.
Importance Of A Food-Safe Cutting Board
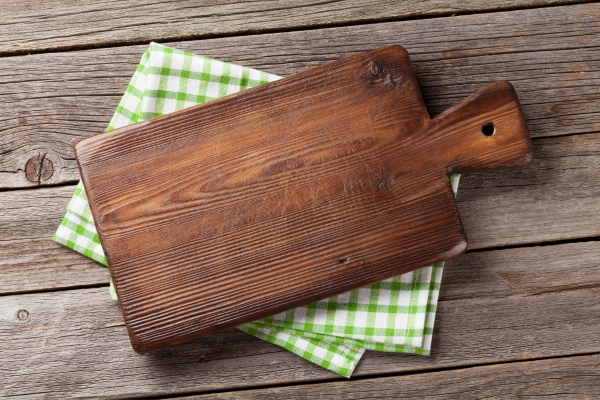
Having a food-safe cut board is essential for maintaining kitchen hygiene and ensuring the safety of the food you prepare. A properly finished cutting boards resists moisture, reducing the risk of bacterial growth. It also prevents contamination from wood particles or harmful substances that could leach into your food. By following proper finishing techniques, such as using food-safe oils and maintaining regular upkeep, you can ensure that your cut board remains a reliable and safe tool for meal preparation. Investing the time to finish your cut board properly not only enhances its durability but also safeguards your health and that of those you cook for.
Materials Needed:
- Sandpaper (In Various Grits: 80, 120, 220, And Optionally 320)
- Clean Cloths Or Paper Towels
- Food-Safe Mineral Oil Or Butcher Block Oil
- Beeswax
- A Clean, Lint-Free Cloth For Applying The Finish
Step-By-Step Process:
Step 1: Sand The Cutting Board
Begin by thoroughly sanding the cutting boards to create a smooth, even surface. Start with coarse-grit sandpaper (around 80-grit) to remove any deep cuts or imperfections. Progressively work your way up to finer grits (up to 220-grit) to achieve a polished finish. Sand along the grain of the wood to avoid scratching the surface. Proper sanding is crucial as it ensures the oil penetrates evenly and provides a smooth surface for food preparation.
Step 2: Clean The Surface
After sanding, clean the cutting boards to remove any dust and debris. Use a damp cloth to wipe down the entire surface, ensuring it is free of any particles. Allow the board to dry completely before proceeding to the next step. A clean surface ensures that the oil can be absorbed properly, providing a consistent and effective finish.
Step 3: Apply Food-Safe Mineral Oil
Once the cutting boards is clean and dry, apply a generous amount of food-safe mineral oil. Pour the oil directly onto the board and use a clean cloth or paper towel to spread it evenly over the entire surface, including the edges and sides. Allow the oil to soak in for at least a few hours, or preferably overnight. This initial application is critical for sealing the wood and preventing it from drying out.
Step 4: Repeat The Oil Application
For optimal results, repeat the oil application process several times. Each layer of oil provides additional protection and enhances the board’s durability. Apply the oil, let it soak in, and then wipe off any excess. Generally, three to four applications are sufficient, but you can add more if the wood appears to absorb it readily. This step ensures the cutting boards are thoroughly saturated and protected.
Step 5: Optional Beeswax Finish
For an extra layer of protection and a smoother finish, consider applying a beeswax finish. Melt a small amount of beeswax and mix it with mineral oils. Apply this mixture to the cutting boards using a cloth, spreading it evenly. The beeswax helps to create a barrier that repels water and prevents bacteria buildup. Allow the beeswax to dry and then buff the surface with a clean cloth to achieve a polished look.
Step 6: Final Buffing
After the oil and optional beeswax finish have been applied and dried, perform a final buffing. Use a clean, dry cloth to buff the surface of the cutting board, enhancing its shine and smoothness. This final step ensures that the cutting board looks great and is ready for use in your kitchen.
Conclusion
By following these steps, you can ensure your cutting board is It and well-maintained. Proper sanding, cleaning, and the application of food-safe mineral oil, along with an optional beeswax finish, will protect the wood and extend the board’s lifespan. Regular maintenance and care will keep your cutting boards in top condition, making it a reliable and safe tool for all your culinary needs.